
EBT設定フォームの拡張
新しいEBT設定フォームクラスの作成
EBTモジュールの設定項目の多さを心配するプログラマーからの懸念をよく聞きます。「DOM Box」、背景、枠線、クラスなどです。こうしたプログラマーは、コンテンツ編集者が混乱するか、あるいは全く異なるブロック、マージン、背景を作るように 促さ れることを示唆していました。柔軟性とコンテンツ編集者向けのより多くの設定を必要とするプロジェクトもあれば、コンポーネントを使ったかなり厳格なストーリーブックを持つプロジェクトもあります。このようなケースでは、EBT設定フィールドウィジェットを変更する必要があります。
また、新しいEBTモジュールを作成してオプション付きのJavaScriptプラグインを添付する場合は、これらのオプション用の設定フィールドを持つ独自のEBT設定ウィジェットを使用する必要があります。
EBT Coreモジュールには、EBT設定フィールドウィジェット用のEbtSettingsDefaultWidgetクラスがあります。これにはDOM Box、背景、その他すべての設定が含まれています。新しいクラスEbtSettingsSimpleWidgetを作成してみましょう(EBT Coreモジュールに配置します)。これには、幅(Width)、間隔(Spacing)(ブロック下部のマージン用)のみが含まれます。
新しいファイルを作成します:
/src/Plugin/Field/FieldWidget/EbtSettingsSimpleWidget.php
<?php

namespace Drupal\ebt_core\Plugin\Field\FieldWidget;

use Drupal\Core\Field\FieldItemListInterface;
use Drupal\Core\Form\FormStateInterface;
use Drupal\ebt_core\Plugin\Field\FieldWidget\EbtSettingsDefaultWidget;

/**
 * Plugin implementation of the 'ebt_settings_simple' widget.
 *
 * @FieldWidget(
 *   id = "ebt_settings_simple",
 *   label = @Translation("EBT Simple settings"),
 *   field_types = {
 *     "ebt_settings"
 *   }
 * )
 */
class EbtSettingsSimpleWidget extends EbtSettingsDefaultWidget {

  /**
   * {@inheritdoc}
   */
  public function formElement(FieldItemListInterface $items, $delta, array $element, array &$form, FormStateInterface $form_state) {
    $element = parent::formElement($items, $delta, $element, $form, $form_state);


    return $element;
  }

  /**
   * {@inheritdoc}
   */
  public function massageFormValues(array $values, array $form, FormStateInterface $form_state) {
    foreach ($values as &$value) {
      $value += ['ebt_settings' => []];
    }

    return $values;
  }

}
基本設定クラスEbtSettingsDefaultWidgetを拡張します。アノテーションコメント @FieldWidgetで、ウィジェットに id = "ebt_settings_simple" と label = @Translation("EBT Simple settings") という名前を付けます。
/**
 * Plugin implementation of the 'ebt_settings_simple' widget.
 *
 * @FieldWidget(
 *   id = "ebt_settings_simple",
 *   label = @Translation("EBT Simple settings"),
 *   field_types = {
 *     "ebt_settings"
 *   }
 * )
 */
formElement() と massageFormValues() という2つのメソッドもあります。massageFormValues() はこのままにして構いません。Drupalはすべての設定を1つのフィールドfield_ebt_settingsに自動的にシリアライズします。したがって、設定の数に関係なく、シリアライズされた配列として保存され、Form APIで設定フィールドを指定するだけで済みます:
https://www.drupal.org/docs/drupal-apis/form-api
formElement() で設定フィールドを定義します。DOM Boxと枠線(border)の設定を非表示にしましょう:
  /**
   * {@inheritdoc}
   */
  public function formElement(FieldItemListInterface $items, $delta, array $element, array &$form, FormStateInterface $form_state) {
    $element = parent::formElement($items, $delta, $element, $form, $form_state);
    unset($element['ebt_settings']['design_options']['box1']);
    unset($element['ebt_settings']['design_options']['other_settings']['border_color']);
    unset($element['ebt_settings']['design_options']['other_settings']['border_style']);
    unset($element['ebt_settings']['design_options']['other_settings']['border_radius']);


    return $element;
  }
新しいフィールドウィジェットをEBTブロックタイプの1つに適用すると:
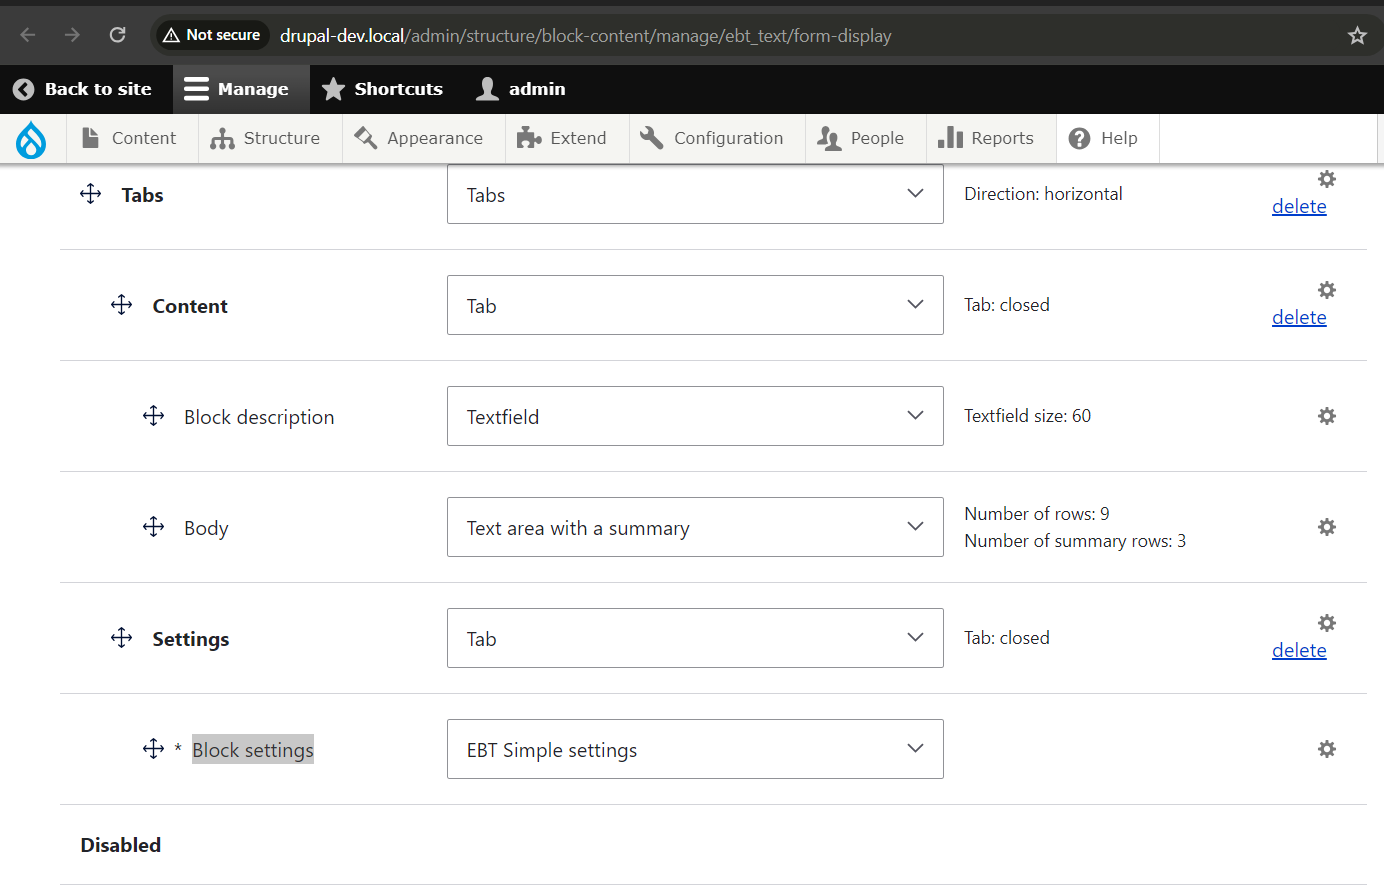
より小さい設定フォームが表示されます:
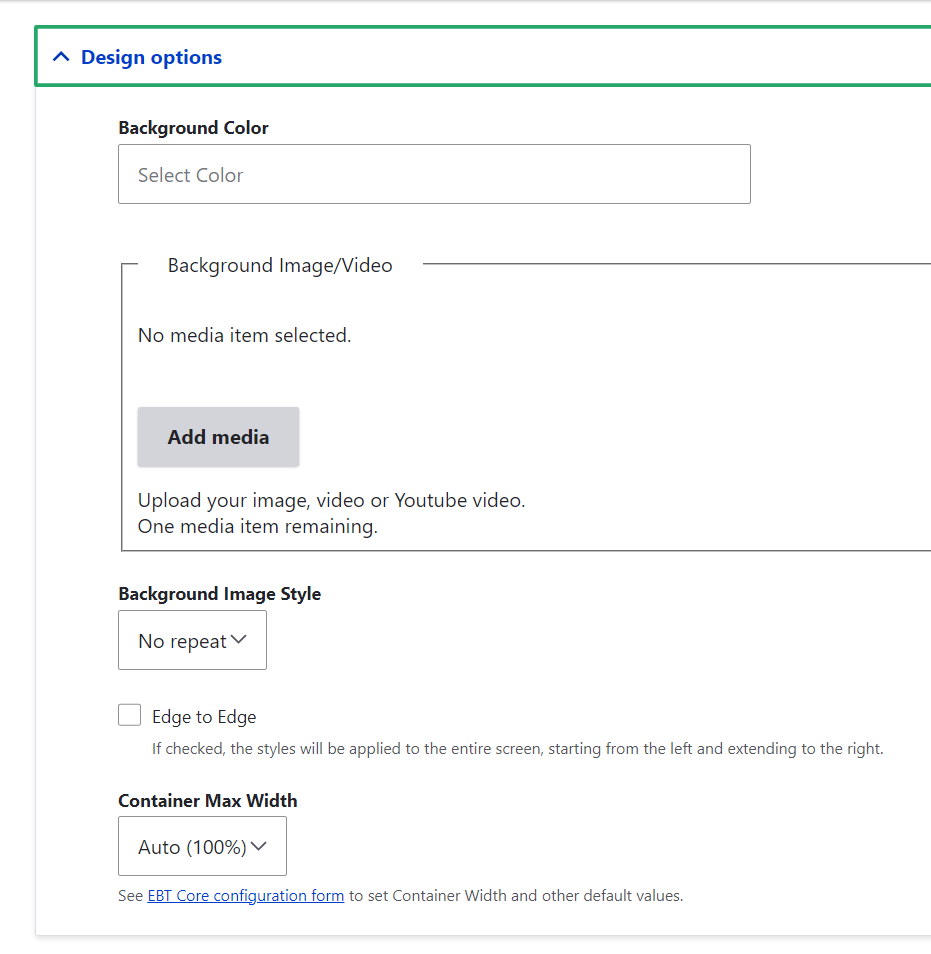
次に、背景設定も削除しましょう。背景設定が必要で他の設定が不要な場合は、EbtSettingsDefaultWidgetクラスを拡張して独自のフィールドウィジェットを作成できます。EBT設定をできるだけ小さくする方法の例を以下に示します。
...
    unset($element['ebt_settings']['design_options']['other_settings']['background_color']);
    unset($element['ebt_settings']['design_options']['other_settings']['background_media']);
    unset($element['ebt_settings']['design_options']['other_settings']['background_image_style']);
...
フォームにはすでに2つの設定しかありません:
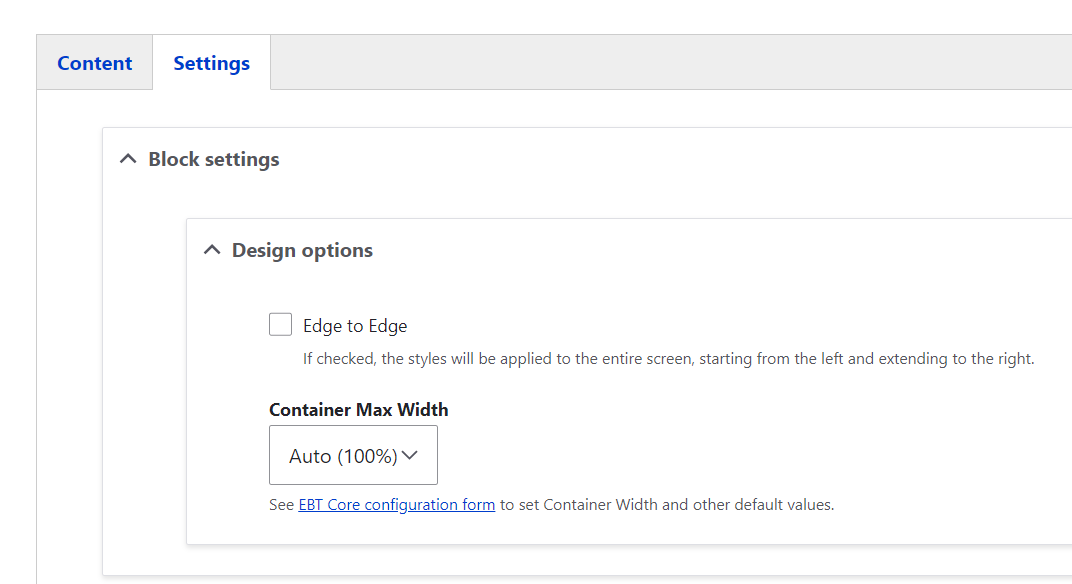
残る作業は、下部にマージンを追加するSpacing(間隔)フィールドを追加するだけです。間隔を整理するために追加のクラスとCSSを使用します:
spacing-none,
spacing-sm,
spacing-md,
spacing-lg,
spacing-xl,
spacing-xxl
より多くの間隔リストが必要になるかもしれませんが、EbtSettingsSimpleWidgetクラスを拡張して、EbtSettingsDefaultWidgetクラスで行ったようにそこから独自のフィールドウィジェットクラスを作成してください。
    $element['ebt_settings']['design_options']['other_settings']['spacing'] = [
      '#type' => 'select',
      '#title' => $this->t('Spacing'),
      '#options' => [
        'spacing-none' => $this->t('None'),
        'spacing-sm' => $this->t('Small'),
        'spacing-md' => $this->t('Medium'),
        'spacing-lg' => $this->t('Large'),
        'spacing-xl' => $this->t('Extra Large'),
        'spacing-xxl' => $this->t('Double Extra Large'),
      ],
      '#default_value' => $items[$delta]->ebt_settings['design_options']['other_settings']['spacing'] ?? 'spacing-none',
    ];
ブロックにスタイルを追加する方法は3つあります:
1. ブロックテンプレートをオーバーライドし、ブロッククラスとして間隔を設定します。
2. その場でスタイルを生成し、各ブロックのカスタムCSSスタイルとして含めます。
3. 各EBTブロック用のカスタムJavaScriptを生成して、クラスを追加します。
4. template_preprocess_block() 関数でクラスのリストをオーバーライドします。
これらすべての方法で動作しますが、template_process_block() 関数を使用する方が簡単だと思います。少なくとも、ebt_core.moduleファイルにはebt_core_preprocess_block() 関数がすでにあります。それを使ってみましょう:
...
  if (!empty($ebt_settings[0]['ebt_settings']['design_options']['other_settings']['spacing'])) {
    $variables['attributes']['class'][] = $ebt_settings[0]['ebt_settings']['design_options']['other_settings']['spacing'];
  }
...
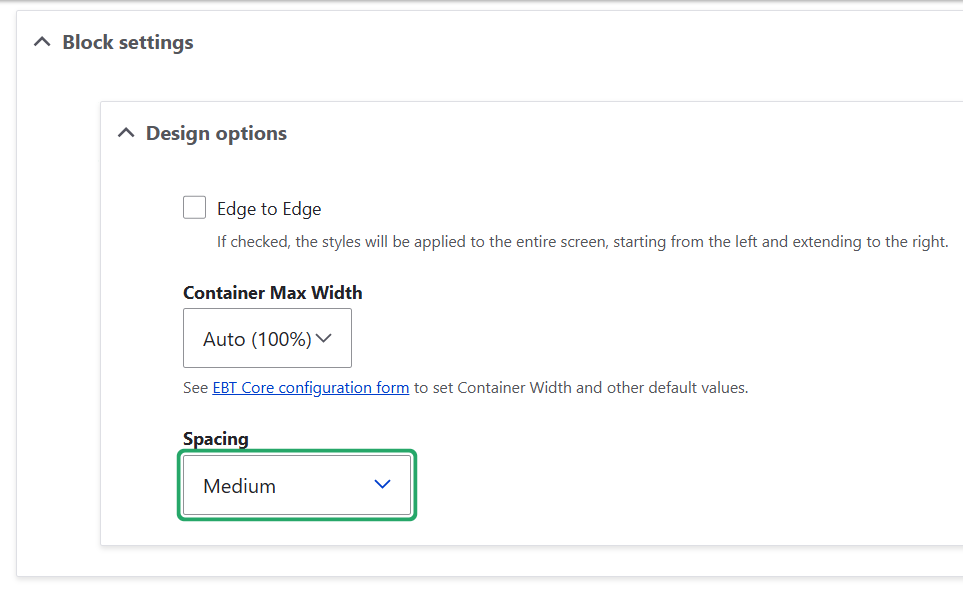
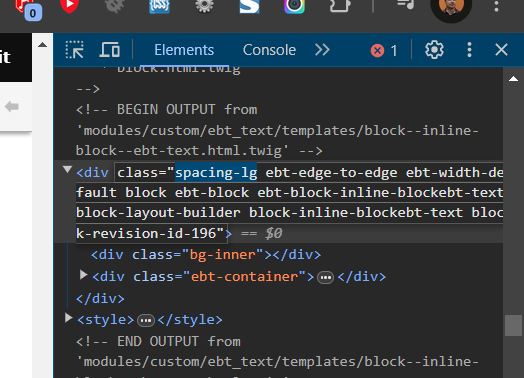
次に、Spacing(間隔)フィールドのキーをクラス名として渡します。そしてCSSを使用して、これらのクラスに基づいてマージンの値を定義します:
/ebt_core/scss/ebt_core.scss
.spacing-sm {
  margin-bottom: 10px;
}

.spacing-md {
  margin-bottom: 20px;
}

.spacing-lg {
  margin-bottom: 30px;
}

.spacing-xl {
  margin-bottom: 40px;
}

.spacing-xxl {
  margin-bottom: 50px;
}
独自のCSSファイルで値をオーバーライドできます。たとえば、コンテンツまたはbodyタグの任意のクラスを使用します:
body .spacing-sm {
  margin-bottom: 15px;
}
また、EBT設定フィールドウィジェット用のカスタムクラスで間隔のリストをオーバーライドできます。
以上です。EBTブロックのマージンを設定する際に、DOM Boxと通常のセレクトボックスのどちらかを選択できるようになりました。
EBTモジュールについてDrupal.orgやお問い合わせフォームでお気軽に質問してください: