4.6. Webforms - мощный конструктор форм.
In this video, we will explore how to work with the powerful form builder Webform. Let’s go to the modules page. To create webforms, we need to enable the Webform and Webform UI modules. If you want to display webforms as node pages, then you will need the Webform Node module.
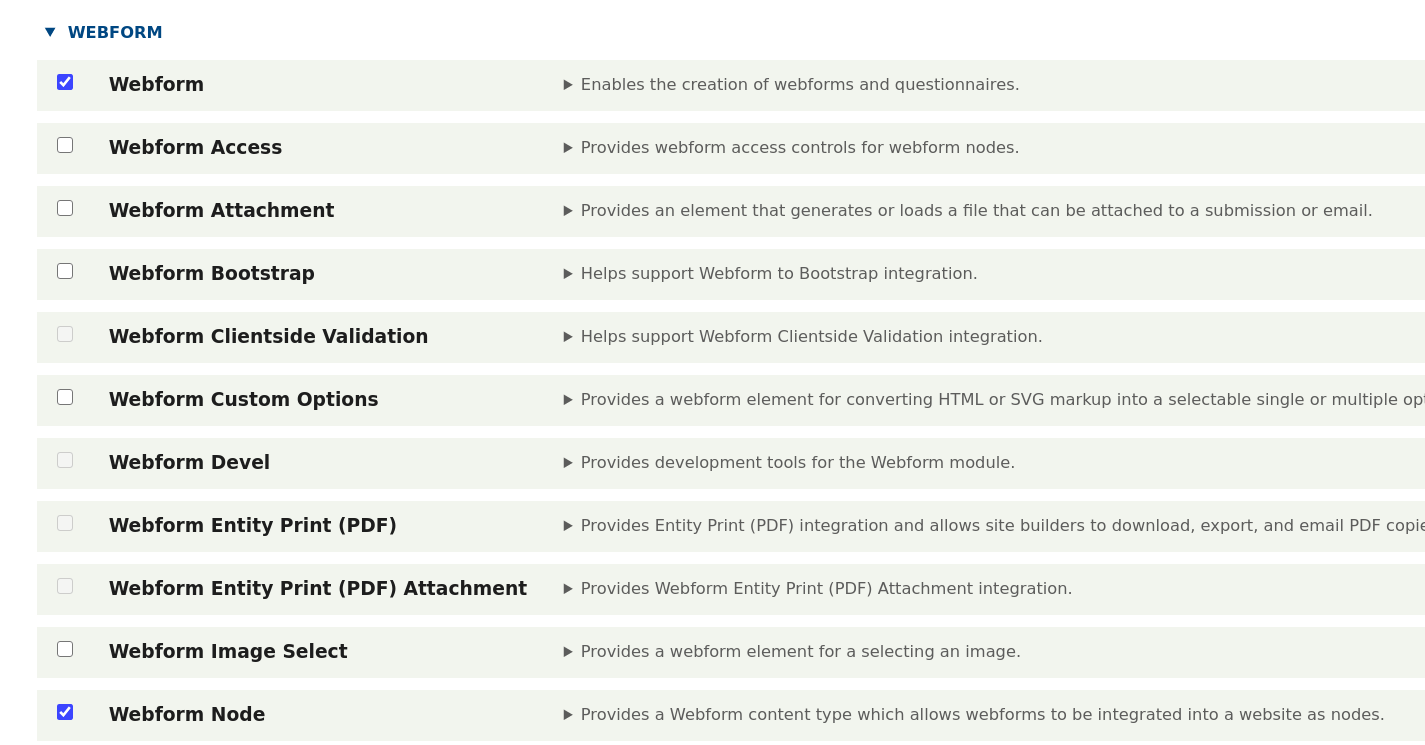
In Drupal 6 and 7, Webform worked through node pages — a webform was attached to the Webform content type. In Drupal 8 and later, a separate node page isn’t required, as each webform has its own page, and the form itself can be displayed as a block on any page.
Once the Webform module is enabled, we can start creating new webforms.
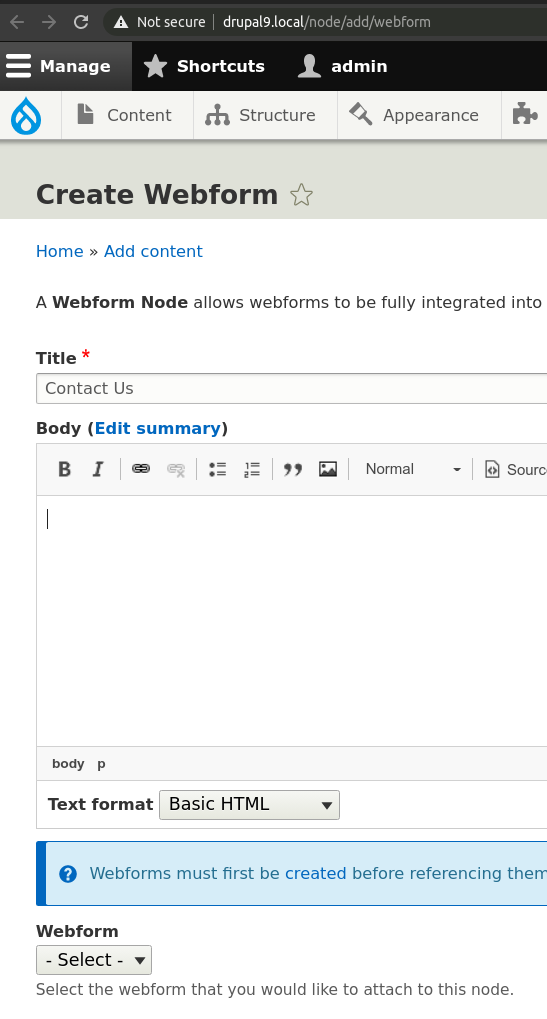
If you enabled the Webform Node module, the link to create a webform can be found at Content > Add content > Webform. On the page you create, add a Title and Description. You can also select an existing webform in the Form field, or leave it blank to create a new one.
/node/add/webform
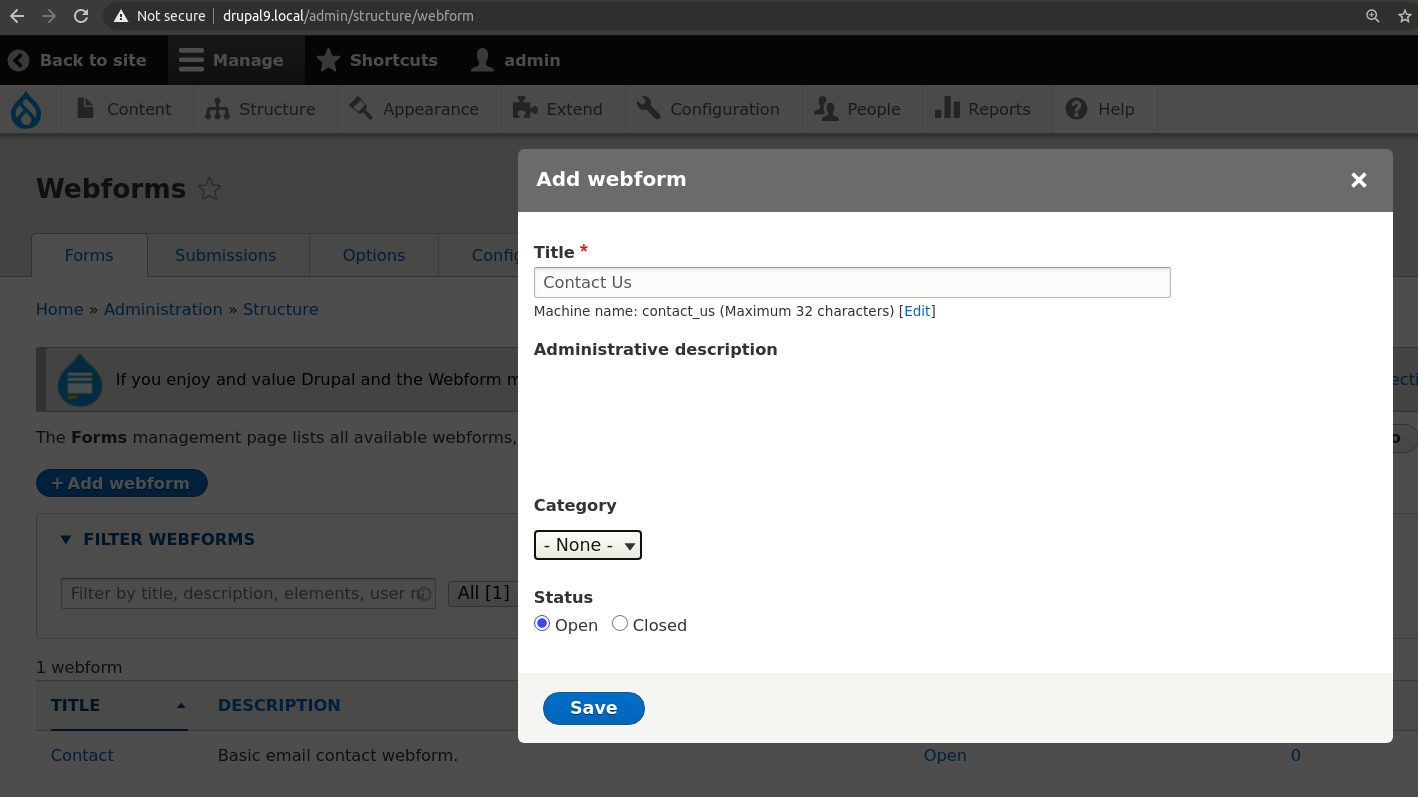
To create the form itself, go to the Structure - Webforms menu, then you can insert it into the node page.
Currently we have only one contact form, let’s add a new one. You can use the default form, of course, but to explore how the fields in Webform work, we will create a new one:
/admin/structure/webform
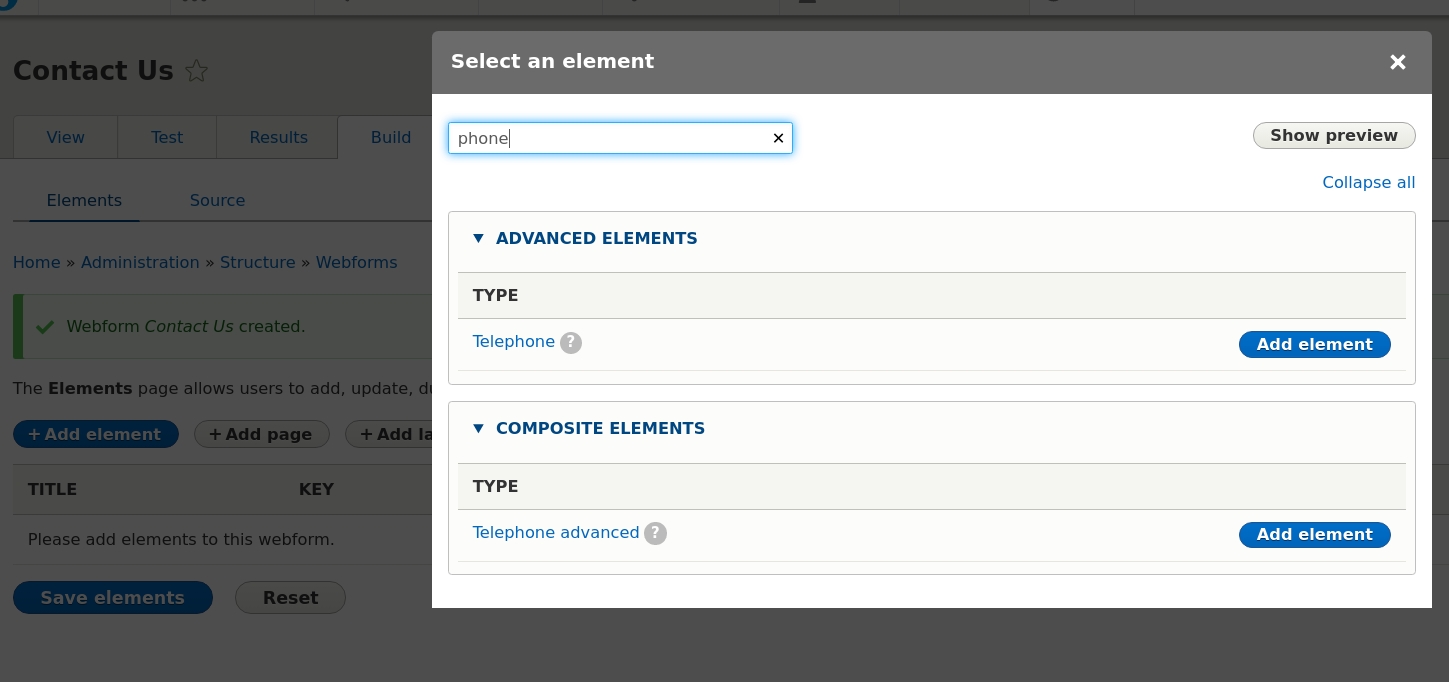
Now we can add new elements to the form:
Text field – Our Name
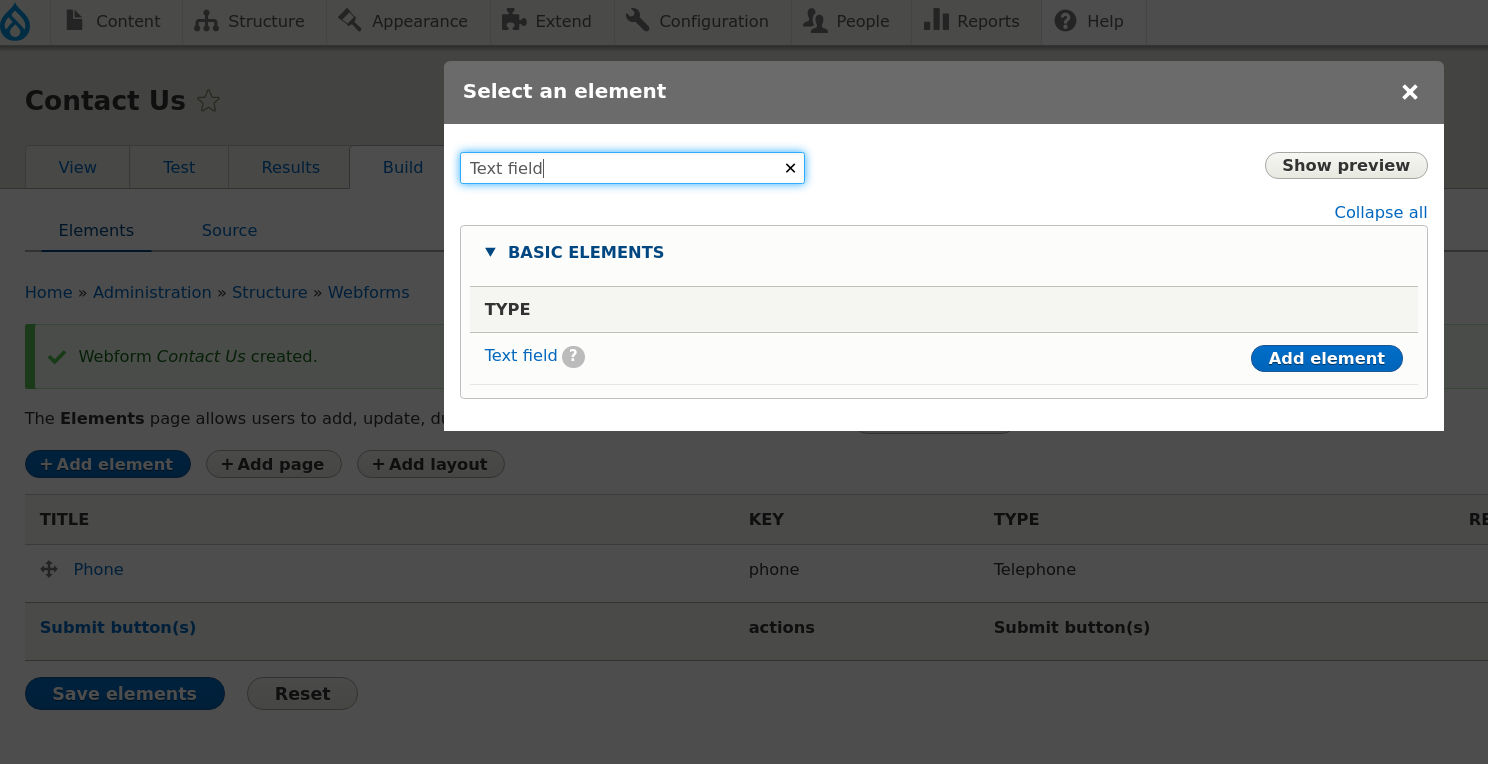
Phone field – Phone
The Webform module uses Drupal's Fields API, and you can use any fields available to any Entity on the site—those that can be attached to nodes, blocks, taxonomy terms, and other entities.
If you go into editing for any field, you'll find a large number of settings. You can configure dependent fields so that one field is shown when another has a specific value. For example, if your contact form allows selecting between a legal entity and an individual, you can display different fields for each type.
You can also perform validation using regular expressions. But you can also add validation programmatically via hook_form_alter() in a custom module.
You can configure classes for fields — for instance, if you're using Bootstrap for layout, you can assign column classes for the field wrapper so fields align in columns as needed, like col-md-6 for a two-column layout.
In the Form display section, you can configure whether to show the field label, add descriptions before or after the field, set a placeholder, and define minimum and maximum field lengths.
We still need to add an Email field so we can reply to the sender, and a text area field for the message content.
Webform settings
You can write a message to display if the form is not working.
Override the Submit button text, add layout classes
Wizard settings
You can change the labels for Next / Previous buttons in multi-page forms.
Description of other settings.
Thank you message settings.
Displaying the webform as a block in the left column.
Notification settings in Webform.