Scroll
Drupal und jQuery. Lektion 8. jQuery UI und jQuery UI Tabs in Drupal 7 einbinden
Code der Datei
/sites/all/modules/custom/custom.info
name = custom
description = custom module
core = 7.x
/sites/all/modules/custom/custom.module
<?php

  drupal_add_library('system', 'ui.tabs');
CSS-Code:
#tabs {
  border: 0px;
}

.ui-tabs-nav {
  background: none;
  border: none;
}
HTML-Code in node-product.tpl.php:
<div id="tabs">
  <ul>
    <li>
      <a href="#tabs-1">Beschreibung</a>
    </li>
    <li>
      <a href="#tabs-2">Eigenschaften</a>
    </li>
  </ul>

  <div id="tabs-1">
    <?php
      print render($content['body']);
    ?>
  </div>
  <div id="tabs-2">
    <?php
      print render($content);
    ?>
  </div>
</div>
Zu Beginn muss ein eigenes (custom) Modul erstellt werden.
https://rupalbook.org/content/iz-chego-sostoit-modul-drupala
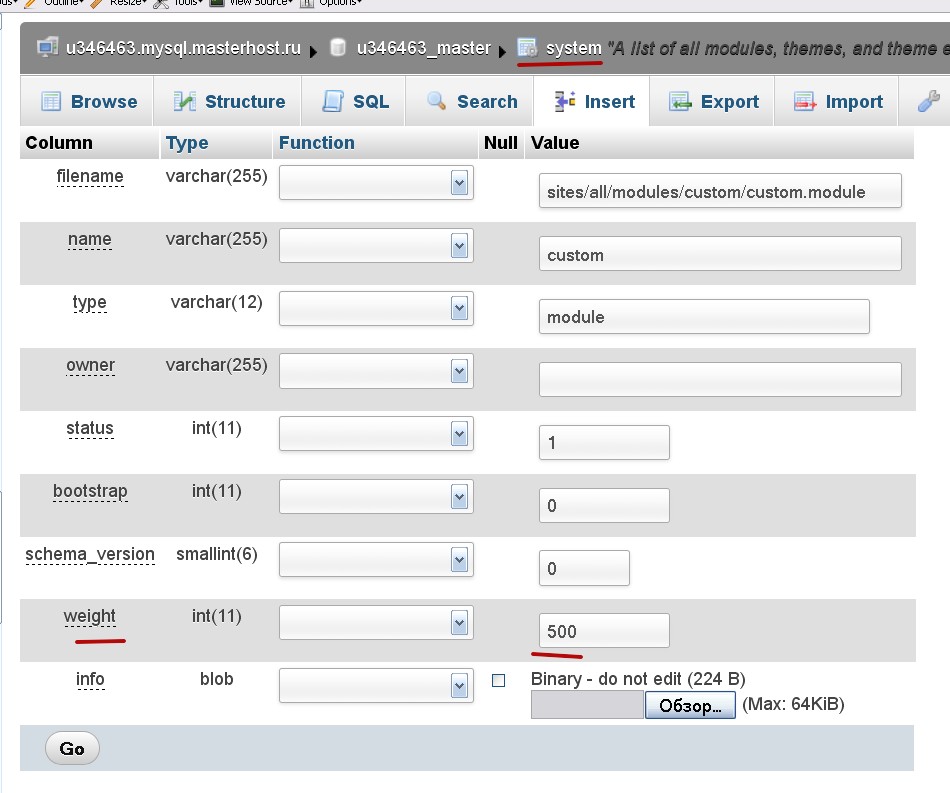
Danach sollte das Gewicht (weight) des Moduls "custom" höher sein als das der Kernmodule. Dazu öffnen Sie die Datenbank via phpMyAdmin und setzen das Gewicht (weight) auf 100 oder höher. Den Eintrag zum Modul finden Sie in der Tabelle "system":
Nun können Sie jQuery UI Plugins in Ihrem Modul custom einbinden, z.B. so:
<?php
drupal_add_library('system', 'ui.tabs');
drupal_add_library('system', 'ui.accordion');
Der Code wird am besten ganz am Anfang der Moduldatei direkt nach dem öffnenden PHP-Tag eingefügt.