Install LAMP on Ubuntu
Install Apache
sudo apt-get update
sudo apt-get install apache2
Also update settings for apache:
sudo ufw app list
sudo ufw allow in "Apache Full"
You can use /var/www folder for one site, but it will be good to have another folder in your home ~/ directory. So let's add these settings in your apache configs:
sudo nano /etc/apache2/apache2.conf
<Directory /home/laptop/projects/>
        Options Indexes FollowSymLinks
        AllowOverride All
        Require all granted
</Directory>
You can find another <Directory> settings and put it below.
To avoid 403 error, you should update permissions for /home/username/projects folder and likely add www-data apache user in your username user group:
sudo adduser username www-data
or
sudo usermod -aG www-data username
Install additional packages:
sudo apt-get install curl git
Install MySQL
sudo apt-get install mysql-server
Execute mysql secure installation:
mysql_secure_installation
Install PHP
First start by adding Ondřej Surý PPA to install different versions of PHP – PHP 5.6, PHP 7.0 and PHP 7.1 on Ubuntu system.
sudo add-apt-repository ppa:ondrej/php
sudo apt-get update
Install PHP with different versions
sudo apt-get install php libapache2-mod-php php-mysql php-gd

sudo apt-get install php5.6 php5.6-mysql php5.6-gd php5.6-xml php5.6-dom php5.6-curl php5.6-mcrypt php5.6-mbstring php5.6-pdo php5.6-json php5.6-xsl php5.6-bz2

sudo apt-get install php7.0 php7.0-mysql php7.0-gd php7.0-xml php7.0-dom php7.0-curl php7.0-mbstring php7.0-bcmath php7.0-pdo php7.0-json php7.0-xsl php7.0-bz2

sudo apt-get install php7.1 php7.1-mysql php7.1-gd php7.1-xml php7.1-dom php7.1-curl php7.1-mbstring php7.1-bcmath php7.1-pdo php7.1-json php7.1-xsl php7.1-bz2

sudo apt-get install php7.2 php7.2-mysql php7.2-gd php7.2-xml php7.2-dom php7.2-curl php7.2-mbstring php7.2-bcmath php7.2-pdo php7.2-json php7.2-xsl php7.2-bz2

sudo apt install php8.1 php8.1-mysql php8.1-gd php8.1-xml php8.1-dom php8.1-curl php8.1-mbstring php8.1-bcmath php8.1-pdo php8.1-xsl libapache2-mod-php8.1

sudo apt install php8.2 php8.2-mysql php8.2-gd php8.2-xml php8.2-dom php8.2-curl php8.2-mbstring php8.2-bcmath php8.2-pdo php8.2-xsl libapache2-mod-php8.2
To set the PHP version that will work with Apache web server, use the commands below. First disable the current version with the a2dismod command and then enable the one you want with the a2enmod command.
sudo a2dismod php7.0
sudo a2enmod php7.1
sudo service apache2 restart
Install composer and other tools
Composer installation is really simple and can be done with a single command:
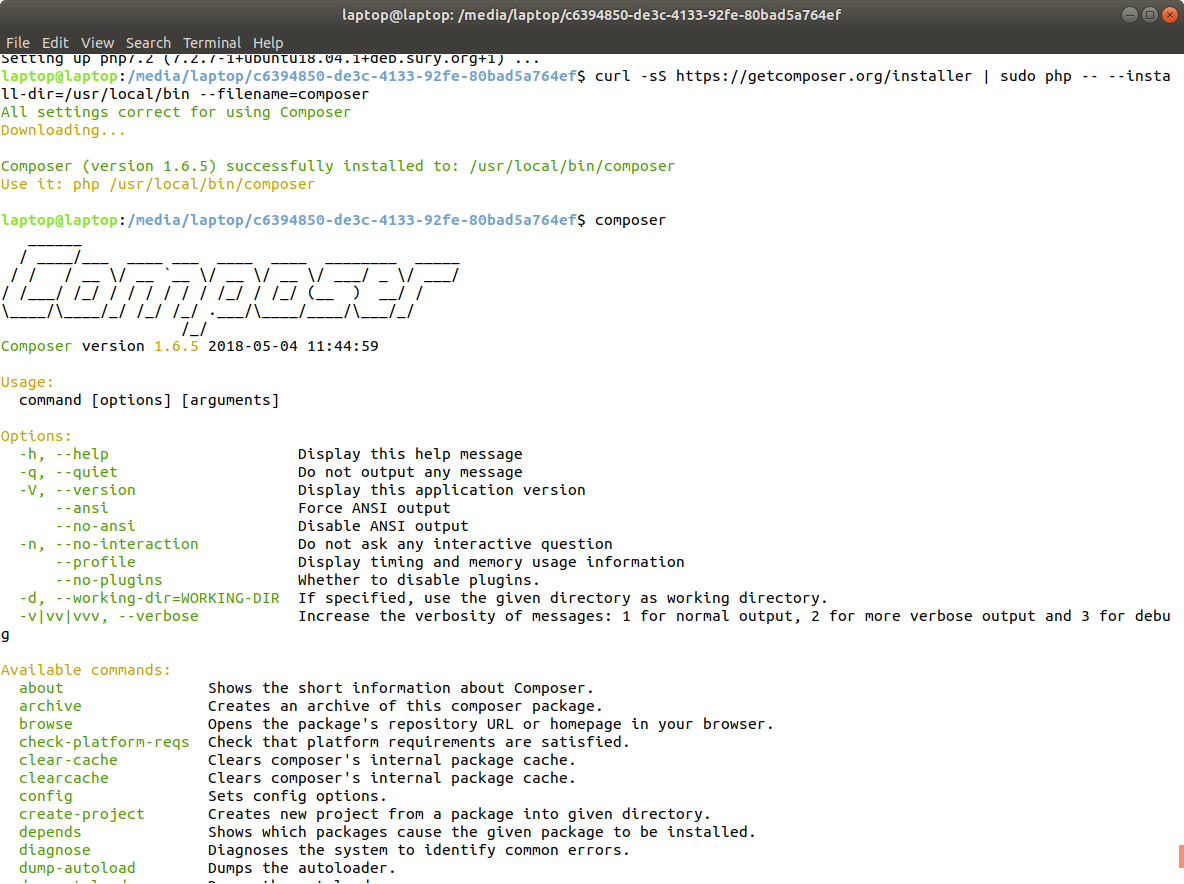
curl -sS https://getcomposer.org/installer | sudo php -- --install-dir=/usr/local/bin --filename=composer
This will download and install Composer as a system-wide command named composer, under /usr/local/bin. The output should look like this:
#!/usr/bin/env php All settings correct for using Composer Downloading...
Composer successfully installed to: /usr/local/bin/composer Use it: php /usr/local/bin/composer
To test your installation, run:
composer
And you should get output similar to this:
Install drush and drupal console globally:
composer global require drush/drush
composer global require drupal/console
Install Node.js
sudo apt-get install nodejs
sudo apt-get install npm
Install globally gulp:
sudo npm install -g gulp
Install xdebug for specific PHP versions: