1.2. Installing Modules in Drupal
Like many other CMSs, Drupal consists of modules. This allows different sites to use different functionalities—blogs, galleries, private messages, forums, and other modules can be enabled as needed. Or unnecessary modules can be disabled to lighten the site.
Adding a new module in Drupal is quite simple. All additional modules in Drupal are placed in the modules folder in the root of the site. Here is the translation of the README.TXT file from that folder:
A place for downloaded and custom modules to extend your site's functionality. This folder separates core modules from contributed modules to ensure safe Drupal updates. Contributed modules can be downloaded here: http://drupal.org/project/modules.
Let’s follow the link http://drupal.org/project/modules and find the Backup and Migrate module.
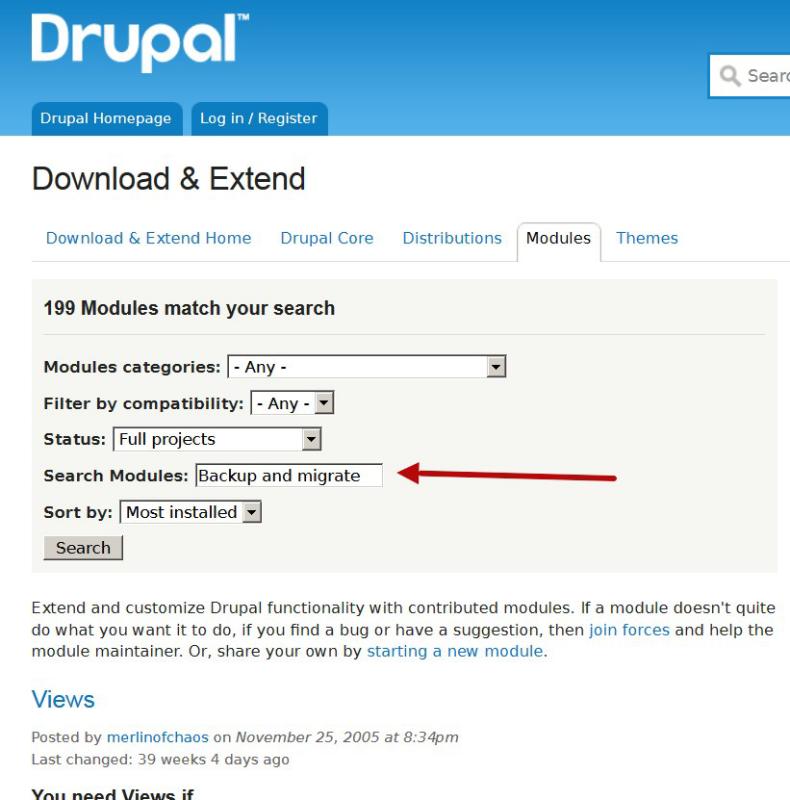
Now let's go to the module's page:
https://drupal.org/project/backup_migrate
Here we see the module description, and below that, links to download various versions.
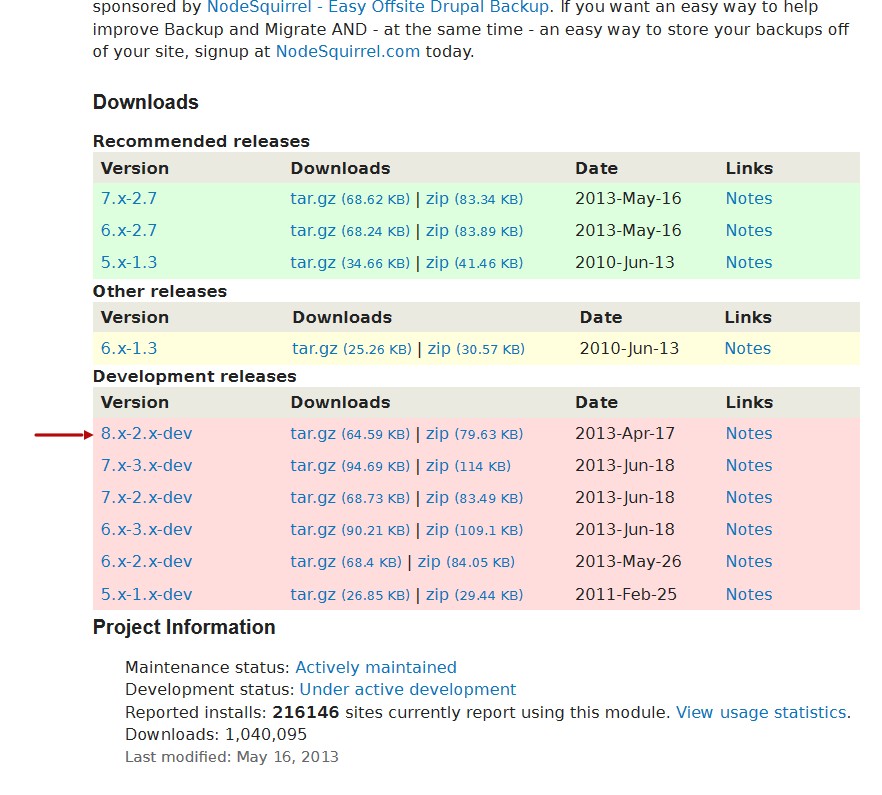
Here we have modules available for different Drupal versions. Numbering like 5.x, 6.x, 7.x, 8.x is used to differentiate them—the first number indicates which Drupal version the module is for. We need a module for version 8, so it should start with 8.x.
Modules can also have multiple versions for the same Drupal core. For example, for Drupal 7 there are versions like 7.x-2.7 and 7.x-1.3. If we were using Drupal 7, we’d choose 7.x-2.7, since it’s the more recent release (major version 2, subversion 7). It’s best to download the latest version, preferably from the “Recommended releases” section (highlighted in green). If that’s not available, you can get one from “Other releases” (yellow) or “Development releases” (red). Development releases aren’t necessarily non-functional—they may work well, but could include unfinished features or bugs that might cause issues in certain cases.
That’s why I’m downloading the module version 8.x-2.x-dev.
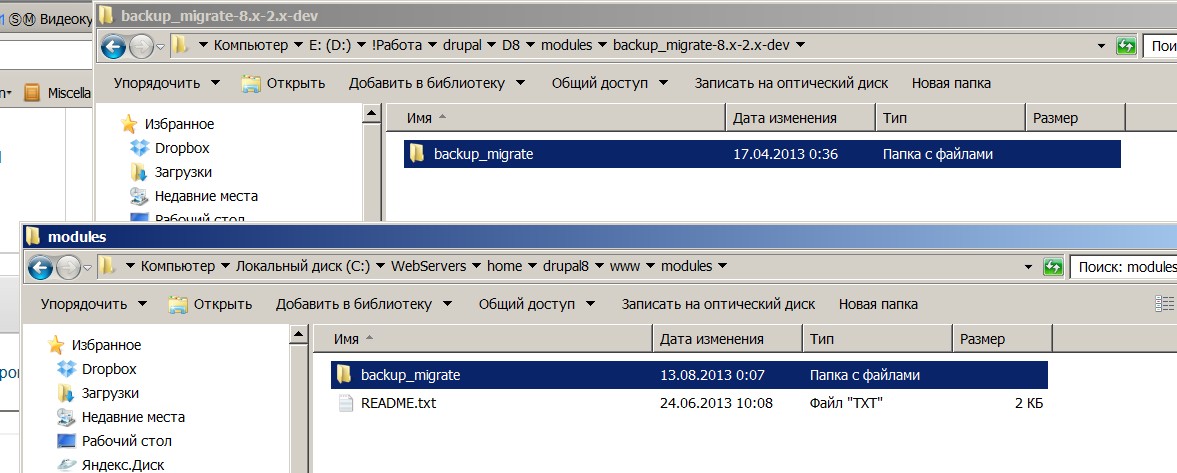
You can download it in either ZIP or TAR.GZ format—choose whichever is more convenient for you. After extracting the archive, you’ll have a folder named backup_migrate-8.x-2.x-dev, and inside it another folder named backup_migrate, which contains the actual module files.
You should copy the backup_migrate folder (the one with the module files) into your site's /modules directory.
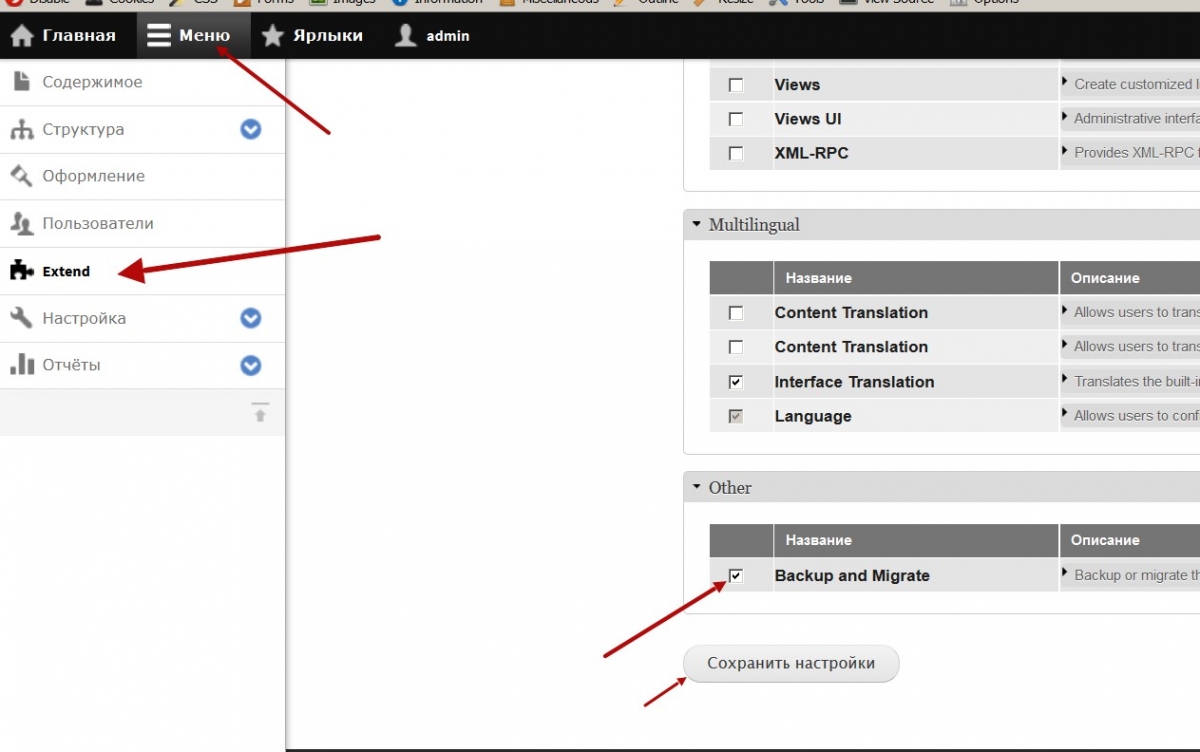
Now you can enable this module through the admin panel. Go to the Menu → Extend page:
/admin/modules
And enable the Backup and Migrate module.
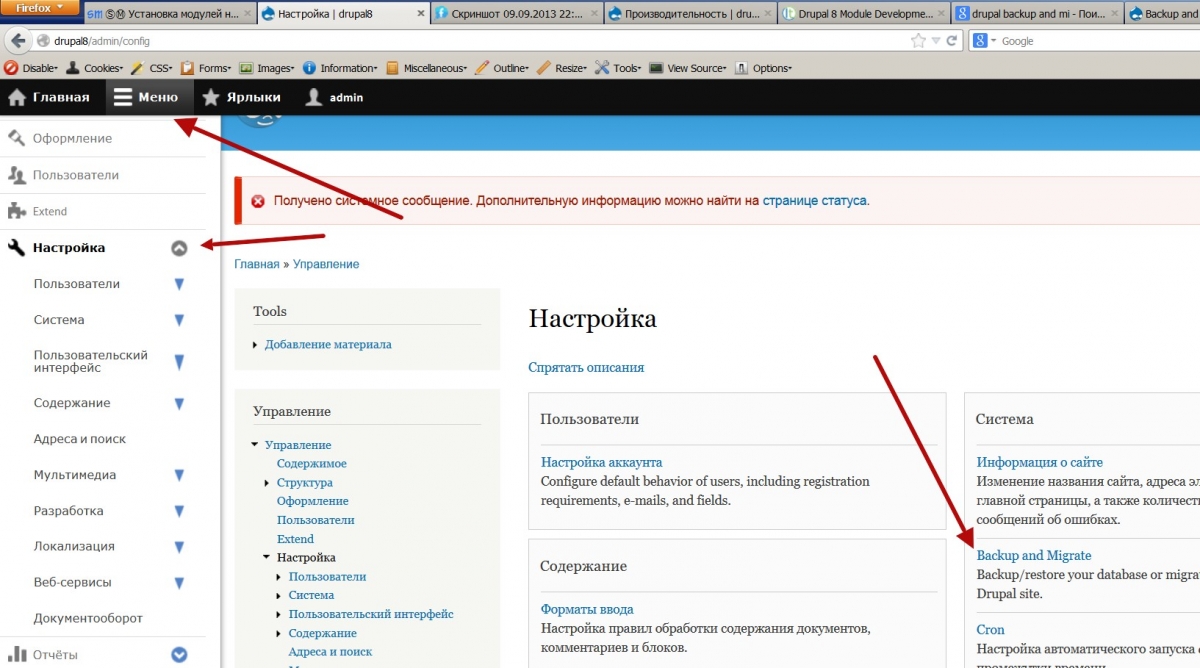
Now you can go to the module's settings page and create a backup:
/admin/config/system/backup_migrate
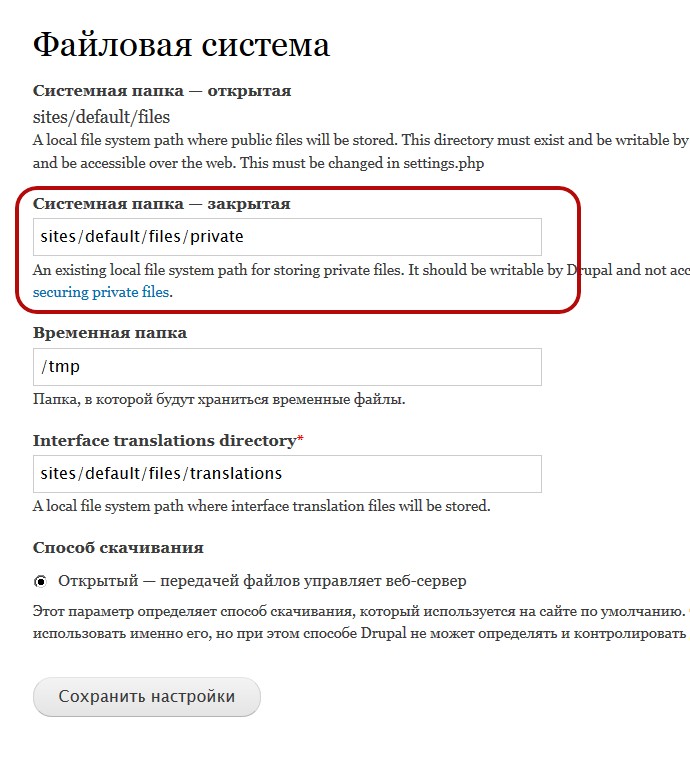
If you see the following message:
"You must specify a private file system path in the file system settings to backup to the server.",
then you need to follow the link to the file system settings:
/admin/config/media/file-system
And enter the path to the private folder. The best option is to specify:
sites/default/files/private
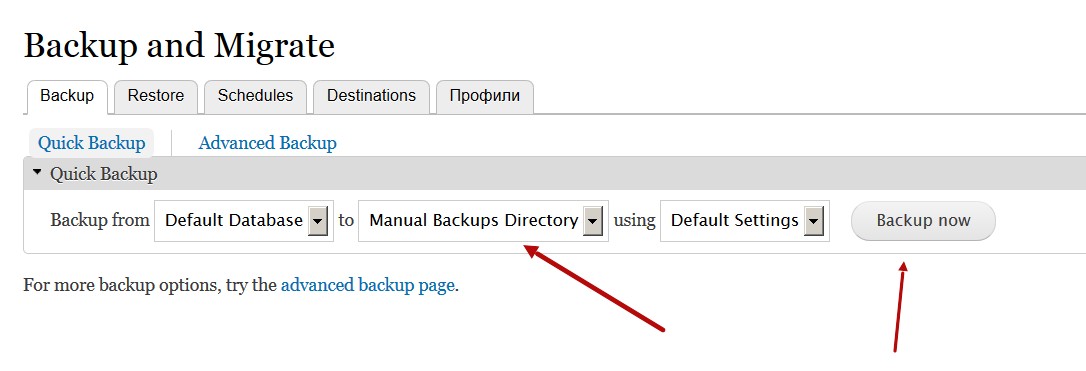
Now you can return to the Backup and Migrate settings page and create a site backup:
/admin/config/system/backup_migrate