Upgrade Using a Web Browser
Upgrade Using a Web Browser
Before You Begin
Before starting the upgrade, make sure you’ve reviewed the following documentation:
Ensure you’re using the latest version of Drupal 8. You can verify this on your site’s status report page (/admin/reports/status). Migration tools are under active development, so staying up to date with the latest core release ensures compatibility.
Ensure the following core modules are enabled on your Drupal 8 site:
- Migrate
- Migrate Drupal
- Migrate Drupal UI
Enable and install any contributed modules on your Drupal 8 site that you want to migrate configuration and content for.
Specify the Source Site
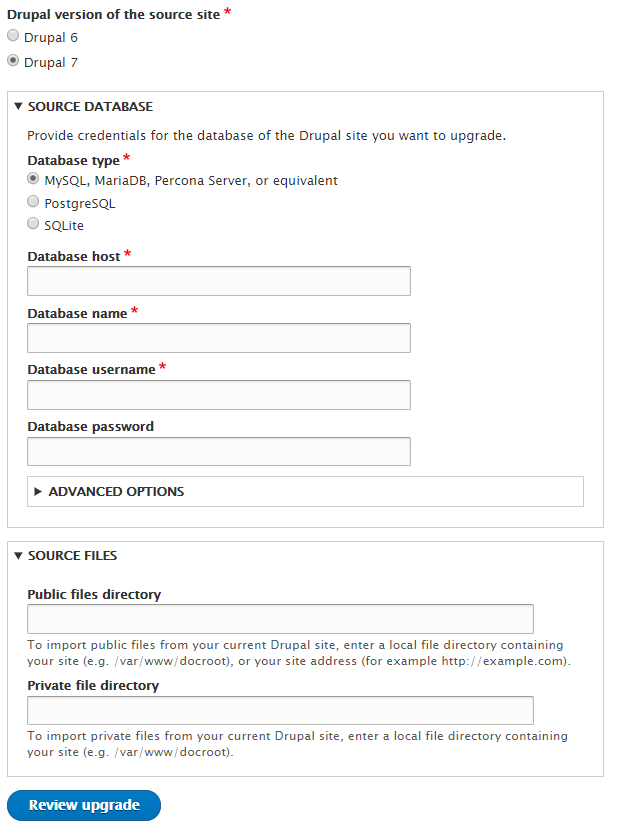
- Start the upgrade process by visiting the /upgrade path on your Drupal 8 site. If you see a "Page not found" message, ensure the "Migrate Drupal UI" module is enabled.
- Provide the database connection details for your Drupal 6/7 site. If a table prefix is used, be sure to expand the additional settings to include it.
- Specify the public and private file directories of your source site so that files can be copied to your Drupal 8 site.
- See the screenshot below for an example.
Review the Pre-upgrade Analysis
If the database credentials are valid, an upgrade review page appears (see screenshot). This page summarizes upgrade status for all installed modules on the source site.
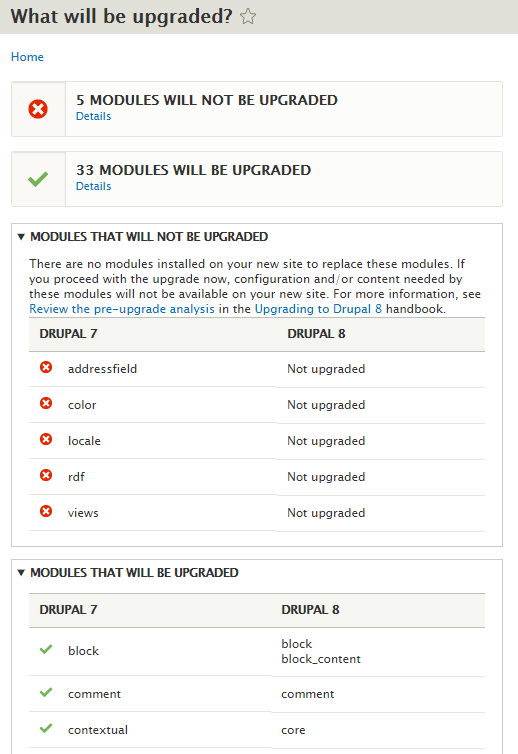
Carefully review modules that won’t be upgraded. Evaluate if your Drupal 8 site can operate without each module. Examples:
- Address Field provides an address field type.
— If you continue without enabling the Address module in Drupal 8, nodes using address fields will be migrated without the field data.
— The fix: enable the required module before continuing, then restart the upgrade.
- Color – a core module in Drupal 7 for theme color customization.
— Configuration settings for Color are not migrated.
— These must be manually reconfigured after the upgrade.
- Views allows creation of content lists.
— Even if Views is enabled in Drupal 8, it appears as "Not upgraded" due to the lack of an upgrade path.
— Views must be manually rebuilt post-upgrade.
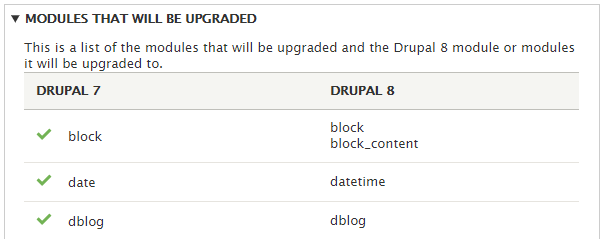
The list of modules that will be upgraded is collapsed by default. Expanding it gives insight into how modules are mapped or split in Drupal 8.
ID Conflict Warnings
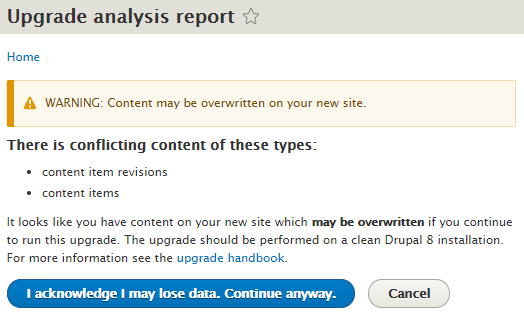
As noted in Preparing for an Upgrade, your Drupal 8 site should be empty before upgrading. If you manually created content in Drupal 8 that shares IDs with content from Drupal 6/7, it may be overwritten.
If conflicting IDs are detected, you’ll see a warning (see screenshot). You may proceed at your own risk or cancel and resolve conflicts using the known issues guide.
Run the Upgrade
The upgrade summary screen is your last chance to cancel. Clicking "Perform Upgrade" starts the process.
Large sites may take a significant amount of time (sometimes hours). User accounts in particular take time due to password encryption. You’ll see real-time feedback as it progresses:

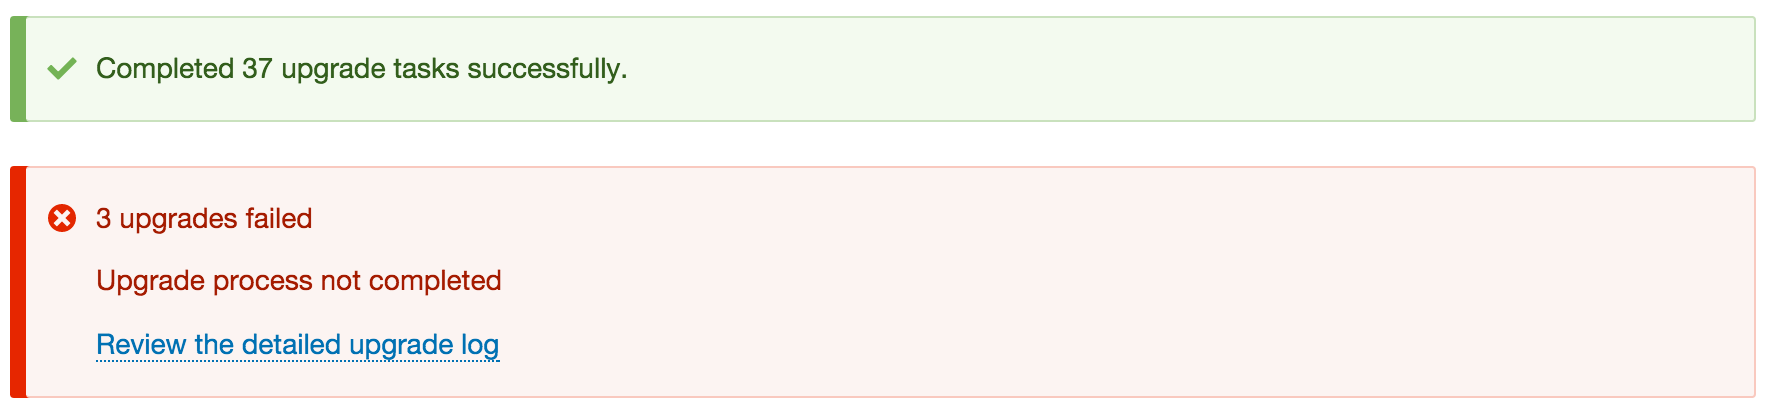
Review Migration Logs
After the upgrade completes, you’ll be redirected to the homepage with a summary of results:
You can view full migration logs. These are stored using Drupal’s logging system:
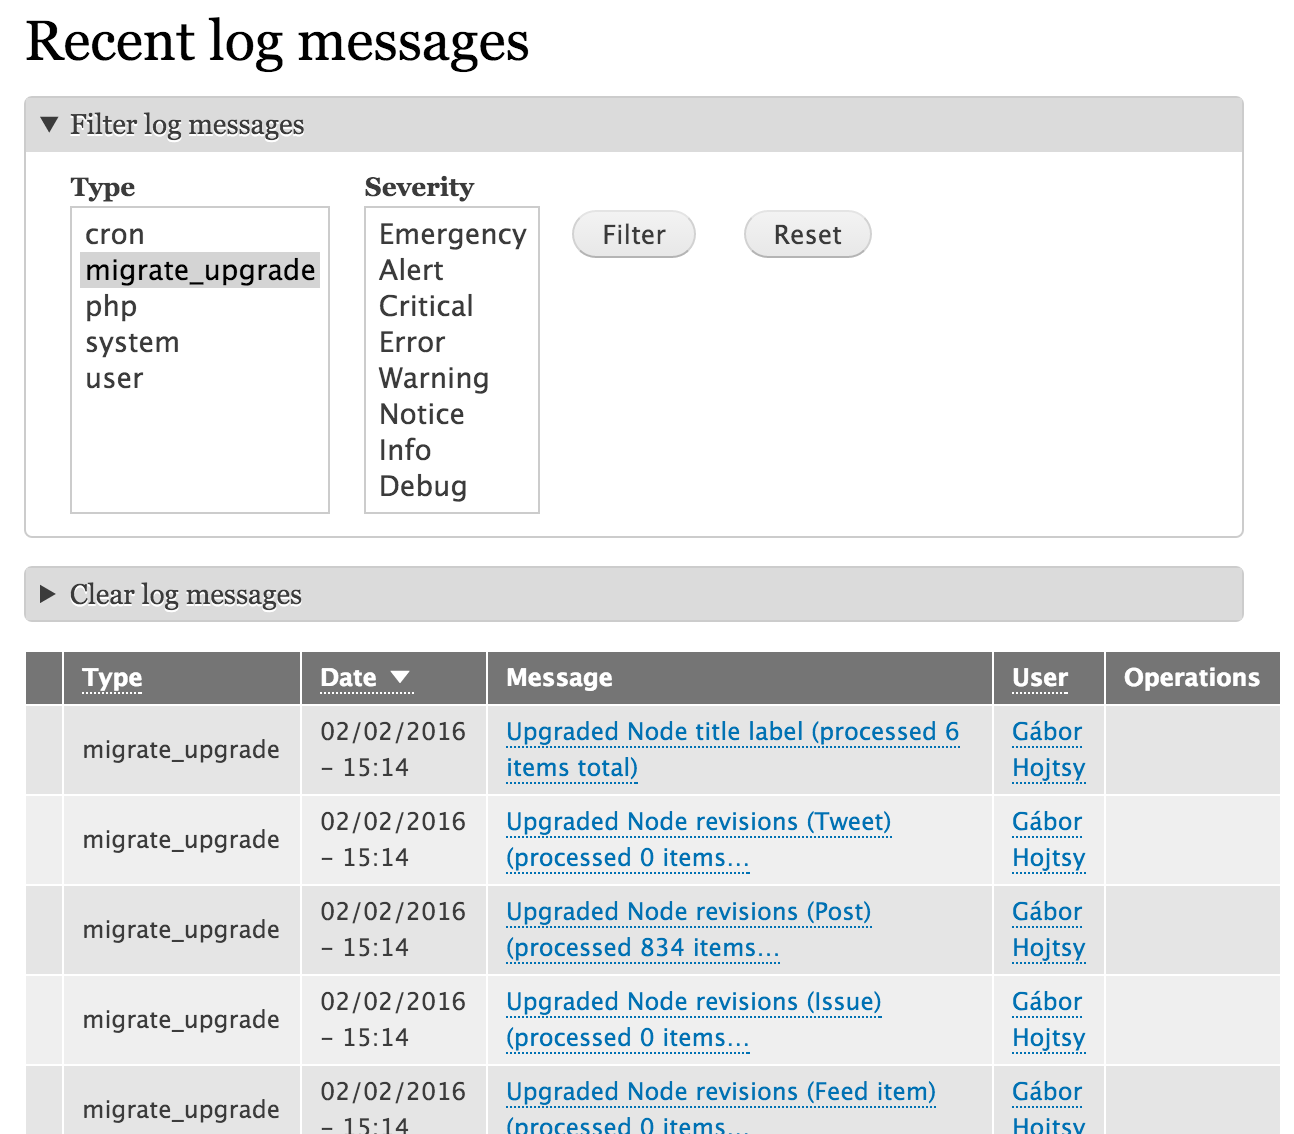
Filter for notifications (successes) or errors (failures). If the upgrade failed, you may be experiencing a bug (check the issue queue) or dealing with large data sets—try using Drush instead.