CORS in React: What It Is, Why It Matters, and How to Enable It
Understanding CORS in React
CORS has long been a source of confusion—and frustration—for developers, especially those just starting out. The concept can be tricky to grasp, particularly when you're building single-page applications (SPAs) with frameworks like React, Angular, or Vue and trying to interact with third-party APIs.
In this guide, I’ll help you understand CORS from the ground up. We’ll build a simple React app alongside an Express server to illustrate what triggers CORS errors and why they happen. More importantly, I’ll walk you through the different ways to resolve these issues—both in general and specifically within a React environment.
What Is CORS?
CORS, or Cross-Origin Resource Sharing, is a protocol that governs how web applications request resources from servers hosted on different origins. Much like HTTPS defines rules for secure communication, CORS sets the rules for cross-origin requests.
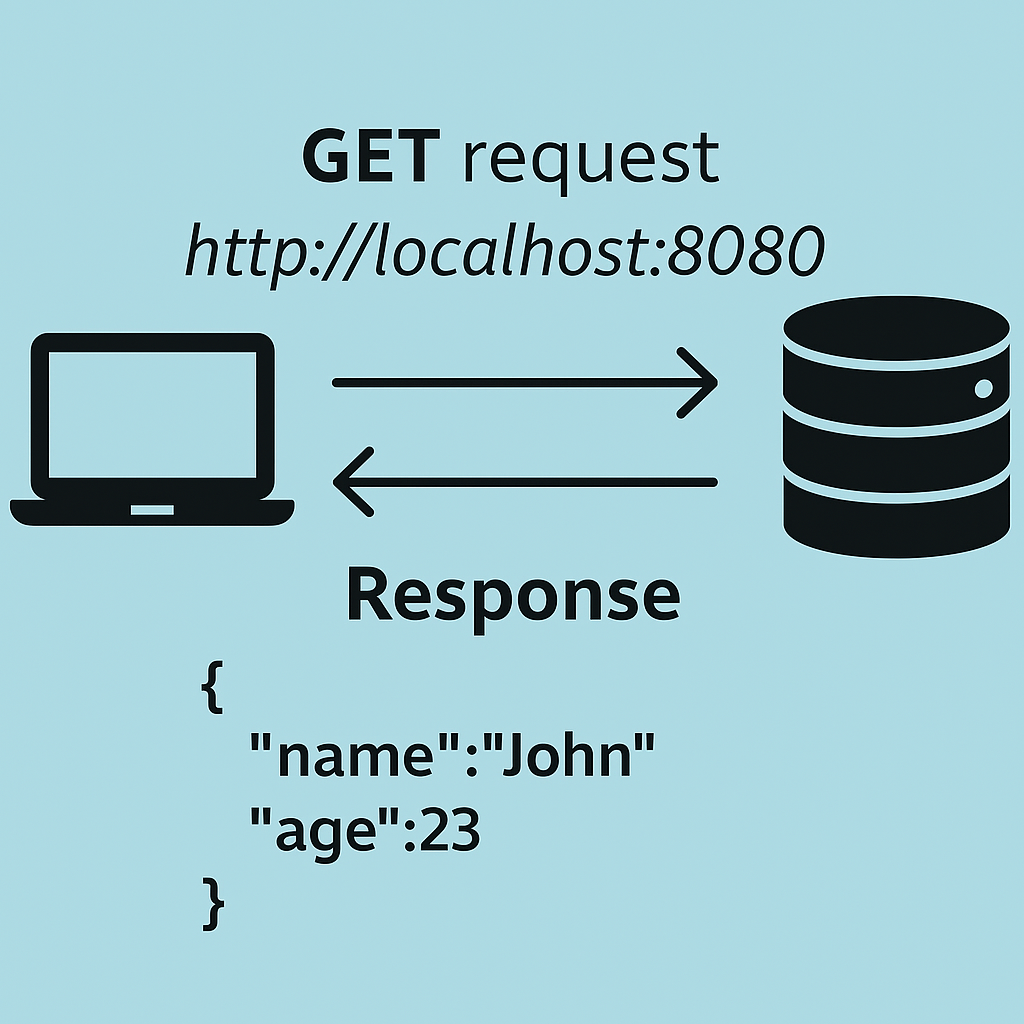
Modern web apps are typically split into two key parts: the client (the frontend running in your browser) and the server (usually an API or backend service). The client sends requests to the server—for example, to fetch data—and the server returns a response. CORS comes into play when these two parts live on different domains, ports, or protocols.
Why This Architecture Is So Common
This decoupled architecture—where the frontend and backend are developed and deployed as separate applications—is increasingly popular. One major advantage is flexibility: your backend can serve multiple types of clients, including web apps, desktop interfaces, mobile apps, or even IoT devices. Each client can consume the same APIs without being tightly coupled to the presentation layer.
The Same-Origin Policy and Cross-Origin Requests
Because the client and server are separate applications, they’re typically hosted on different domains, ports, or protocols. This means that even when your own frontend is trying to communicate with your own backend, the browser may treat the request as cross-origin.
This becomes even more common when working with third-party services—for authentication, analytics, payment gateways, and more. In all of these cases, your frontend needs to interact with a different origin by sending HTTP requests.
And here’s the catch: modern browsers enforce a security feature called the Same-Origin Policy, which restricts how scripts running on one origin can interact with resources from another. That’s where CORS comes into play—it’s a mechanism that safely enables those cross-origin requests.
Why Browsers Block Cross-Origin Requests
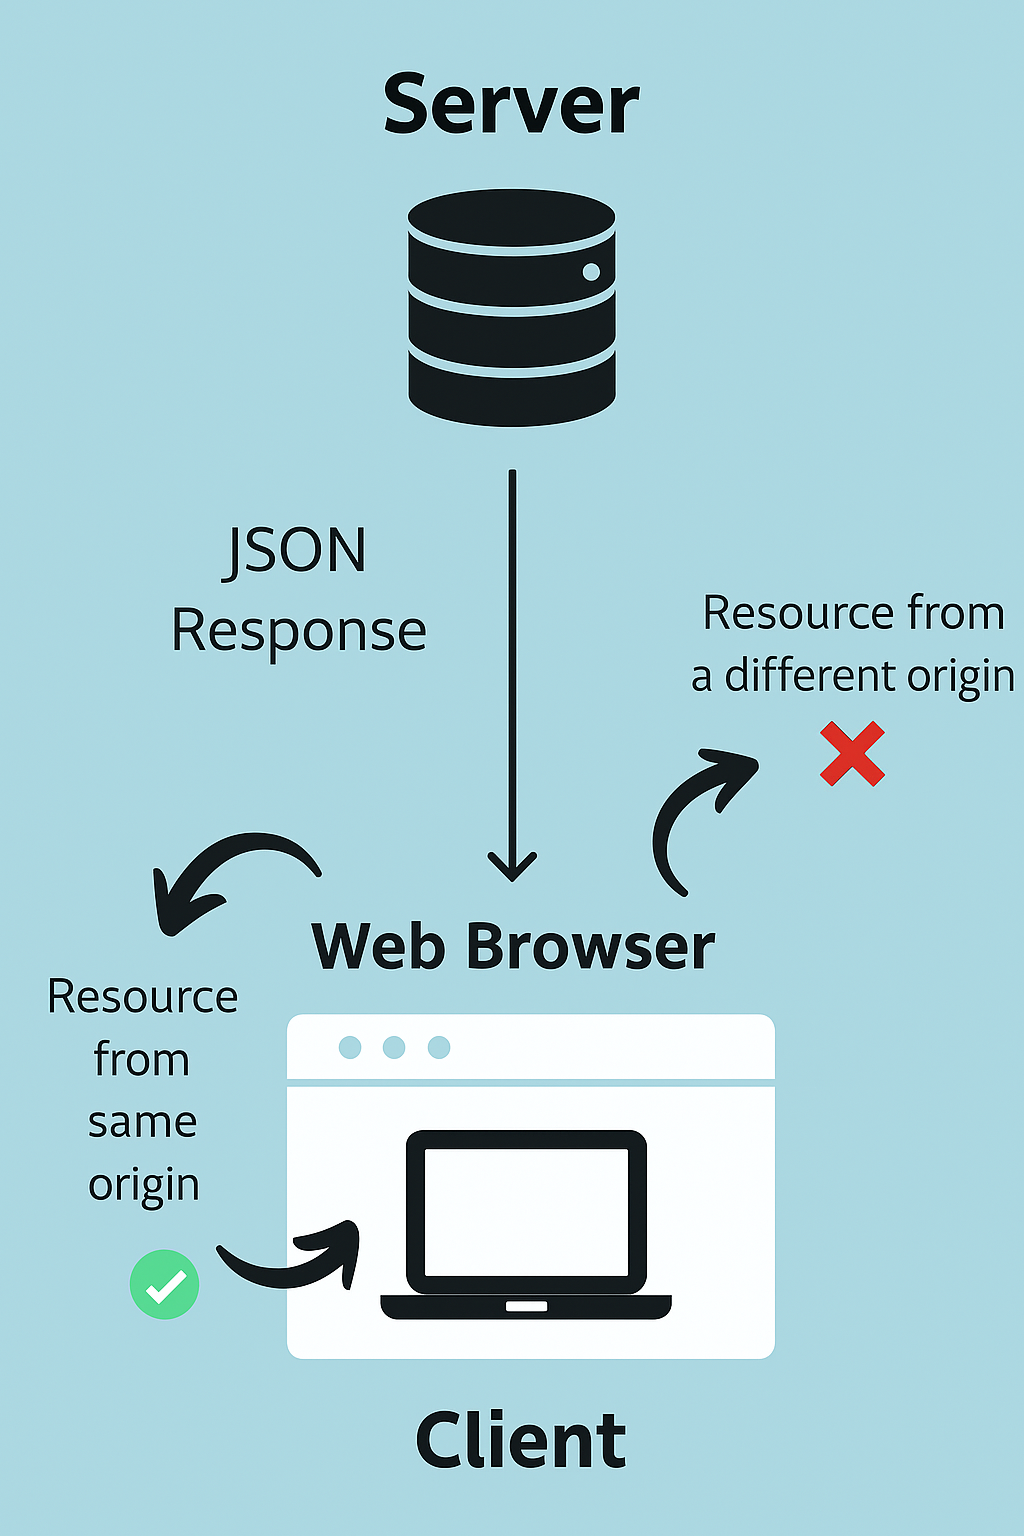
When your web application tries to request a resource from a different origin—such as a different domain, port, or protocol—the browser enforces a security feature known as the Same-Origin Policy (SOP). This policy is designed to prevent potentially malicious websites from accessing sensitive data on another origin without permission.
Historically, this made the web much safer. For example, a script running on xyz.com couldn’t silently grab personal data from abcbank.com, protecting users from cross-site attacks. However, the Same-Origin Policy also blocks legitimate use cases—like when your React app on localhost:3000 tries to fetch data from an API running on localhost:8080 or an external service.
Enter CORS: The Solution to SOP Restrictions
This is where CORS—Cross-Origin Resource Sharing—comes in.
CORS is a protocol that relaxes the Same-Origin Policy under controlled conditions. It allows servers to indicate—via specific HTTP headers—that certain cross-origin requests are safe and permitted.
So when your client application makes a request to a different origin, the server can respond with a special set of CORS headers. These headers act like a "permission slip" that tells the browser: "This cross-origin request is allowed." As a result, your browser no longer blocks the response, and the resource is shared successfully.
What Happens When CORS Is Enabled?
Once your browser detects the CORS headers in a server’s response, it permits the data to be accessed by your application—even if the origin of the request differs. That’s the essence of CORS: controlled access to resources across origins.
Now that you have a solid understanding of what CORS is and why it’s needed, let’s walk through a hands-on example to see it in action. If you want to dive even deeper, you can always check out this in-depth CORS guide for additional details.
🛠️ Step 1: Create an Express Server With API Endpoints
To demonstrate how CORS works, we need:
-
A client (built with React) that makes HTTP requests
-
A server (built with Express) that exposes API endpoints to respond to those requests
⚠️ To trigger a real CORS scenario, the client and server must run on different origins—for example, different ports like localhost:3000 and localhost:8080.
🧱 Set Up the Server
Let’s start by creating a basic Express server.
-
Create the project folder:
mkdir cors-server && cd cors-server
-
Initialize a new Node.js project:
npm init -y
This creates a package.json file with default values.
-
Install Express:
npm install express
-
Create the app entry file:
Create a file named app.js in the root directory and add the following code:
const express = require('express');
const app = express();

app.get('/', (req, res) => {
  res.send('Welcome to CORS server 😁');
});

app.get('/cors', (req, res) => {
  res.send('This has CORS enabled 🎈');
});

app.listen(8080, () => {
  console.log('Listening on port 8080');
});
This is a minimal Express server with two endpoints:
-
/returns a welcome message. -
/corssimulates a resource endpoint you’d fetch from your React app.
-
Run the server:
node app
Once it starts, visit http://localhost:8080/ in your browser, and you should see:
Welcome to CORS server 😁
And if you visit http://localhost:8080/cors, you should see something like this:

⚛️ Step 2: Set Up the React App
Now that our Express server is up and running, it’s time to create a simple React app to make HTTP requests to that server—and intentionally trigger a CORS error so we can learn how to fix it.
📦 Create a New React Project
In a separate directory from your server, run the following command:
npx create-react-app react-cors-guide
This will scaffold a basic React app in a folder called react-cors-guide.
Once it's done, navigate to the project directory and open the src/App.js file. Replace its contents with the following code:
import { useEffect } from 'react';
import './App.css';

function App() {
  const makeAPICall = async () => {
    try {
      const response = await fetch('http://localhost:8080/', { mode: 'cors' });
      const data = await response.json();
      console.log({ data });
    } catch (error) {
      console.error('CORS error:', error);
    }
  };

  useEffect(() => {
    makeAPICall();
  }, []);

  return (
    <div className="App">
      <h1>React CORS Guide</h1>
    </div>
  );
}

export default App;
🧠 What’s Happening Here?
-
We define a
makeAPICallfunction that makes aGETrequest tohttp://localhost:8080/using the Fetch API. -
The
{ mode: 'cors' }option explicitly tells the browser that this is a cross-origin request. -
The
useEffecthook ensures the request is triggered as soon as the<App />component is mounted.
🔥 Expect a CORS Error
If you run the React app with:
npm start
And check your browser’s developer console, you’ll likely see a CORS error that looks something like this:
Access to fetch at 'http://localhost:8080/' from origin 'http://localhost:3000' has been blocked by CORS policy.
This is the browser’s Same-Origin Policy doing its job: blocking access to a resource from a different origin.

Understanding the CORS Error
The error you saw in the browser console is a classic CORS issue. Even though both your client and server are running on localhost, they are on different ports—React on localhost:3000 and Express on localhost:8080.
This means they are considered to be on different origins according to the Same-Origin Policy (SOP), and the browser blocks the request for security reasons.
⚠️ Typical CORS Error Message
Here’s what the browser likely told you:
Access to fetch at 'http://localhost:8080/' from origin 'http://localhost:3000'
has been blocked by CORS policy: No 'Access-Control-Allow-Origin' header is
present on the requested resource. If an opaque response serves your needs,
set the request's mode to 'no-cors' to fetch the resource with CORS disabled.
Let’s break this down:
-
The browser is blocking the response because it didn’t find an
Access-Control-Allow-Originheader in the response from the server. -
It even suggests a workaround—setting the fetch mode to
'no-cors'—but that would return a limited, opaque response that you can’t work with. -
And crucially: your client didn’t do anything wrong. CORS isn’t a client-side error—it’s a browser-enforced rule based on how the server responds.
✅ CORS Should Always Be Handled on the Server
Since it’s the server’s response that controls whether the browser permits access, the proper solution is to configure your server to send the correct CORS headers.
You can work around CORS on the client side using proxies during development—but the clean, production-safe approach is to enable CORS directly on the server.
🔧 Enable CORS on the Express Server
Let’s return to app.js in your Express server and update the /cors endpoint:
app.get('/cors', (req, res) => {
  res.set('Access-Control-Allow-Origin', '*');
  res.send({ msg: 'This has CORS enabled 🎈' });
});
Here’s what’s happening:
-
The
Access-Control-Allow-Originheader is set to*, which means any origin is allowed to access this resource. -
This is a quick and easy way to enable CORS for demonstration purposes. (Later, you might want to restrict access to only specific origins.)
🔁 Update the React Client
Now, go back to your React app and update the fetch URL to target the new endpoint:
const response = await fetch('http://localhost:8080/cors', { mode: 'cors' });
Save your changes and restart the React dev server if needed.
🧪 Test It Out
Open your browser and refresh the app. This time, the browser should allow the response through, and you’ll see the following logged in your console:
{ data: { msg: 'This has CORS enabled 🎈' } }
Success! You’ve just made your first cross-origin request with CORS properly configured.

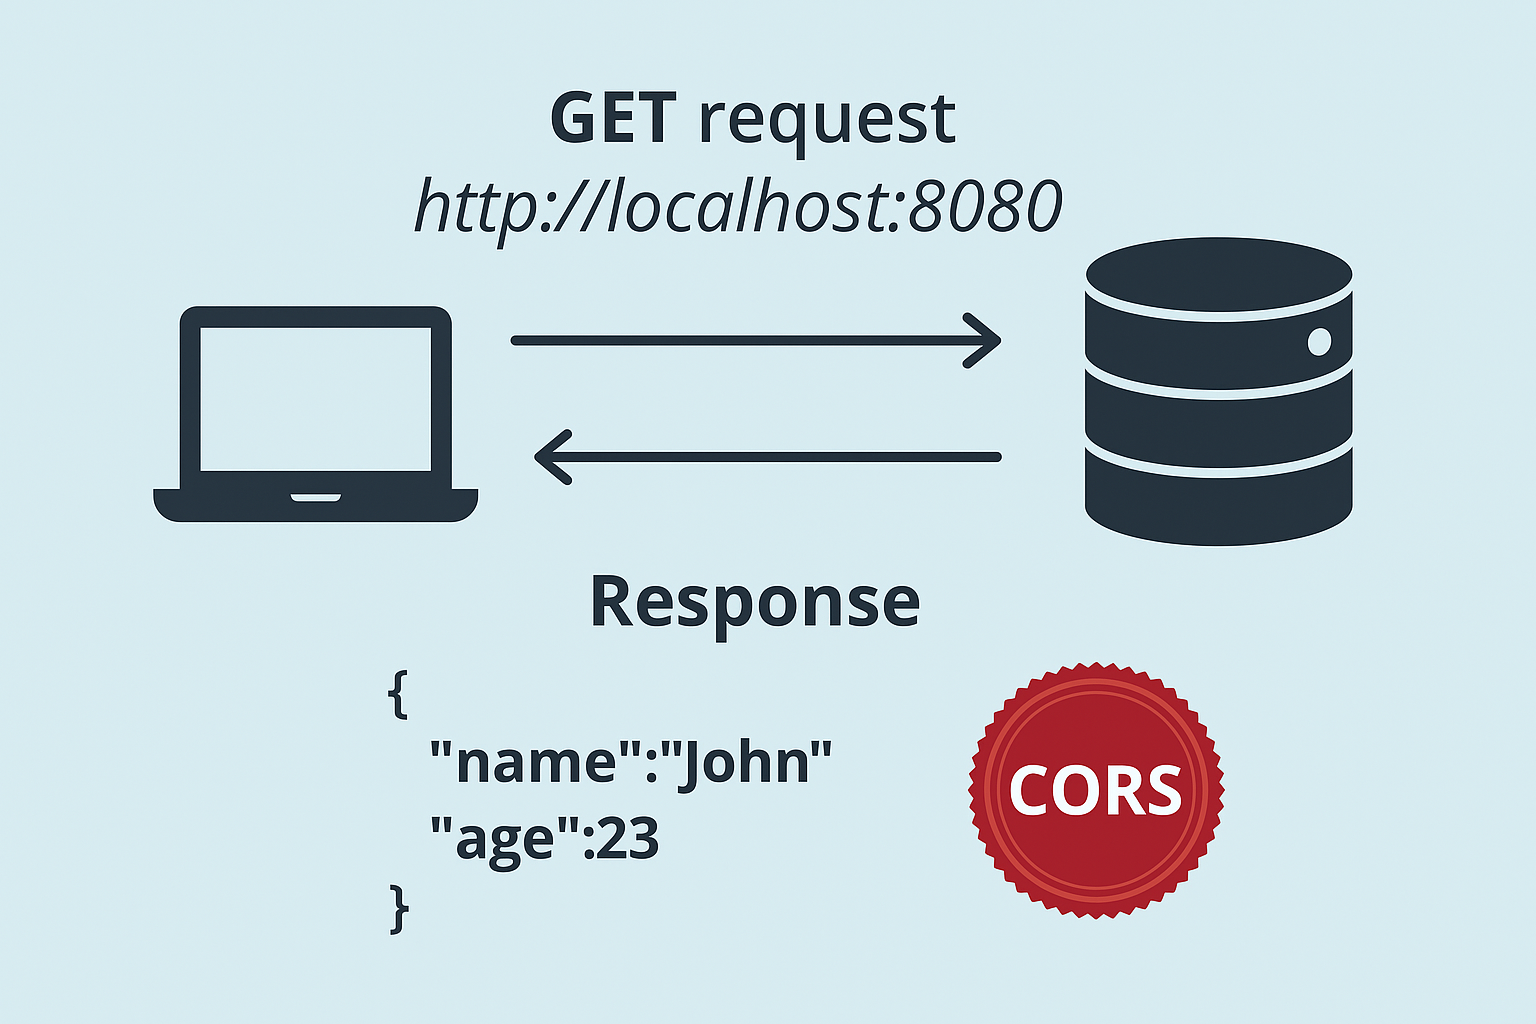
Confirming the Fix: CORS Works!
Once the CORS header is correctly set on the server, the error disappears and your React app successfully receives the response as JSON. 🎉 Everything works just as expected! Just don’t forget—you may need to restart your backend server after making changes for them to take effect.
🎯 Restricting CORS to Specific Origins
Instead of using a wildcard (*), which allows any origin to access your resources, you can restrict CORS to a specific domain—for example, your React development server:
app.get('/cors', (req, res) => {
  res.set('Access-Control-Allow-Origin', 'http://localhost:3000');
  res.send({ msg: 'This has CORS enabled 🎈' });
});
This is recommended for production environments to prevent unauthorized websites from accessing your API.
⚠️ When You Can’t Modify the Server
While modifying the server is the cleanest and most robust way to handle CORS, it’s not always an option. Many developers run into this issue when using third-party APIs—for authentication, notifications, email services, and more. In those cases, you can't change the server's CORS policy.
If that happens, you're stuck… or are you?
🧞♂️ Workaround: Using a Proxy in React
Here’s a clever workaround specifically for React development: proxy your API requests through the development server.
Think of proxying like answering a roll call for a classmate—your app pretends the request comes from a different source (i.e., the server’s origin), bypassing the browser’s SOP restrictions.
✏️ How to Set Up a Proxy
-
Open your
package.jsonfile in the React project root. -
Add a
proxyfield:
{
  ...
  "proxy": "http://localhost:8080"
}
-
Restart your React dev server (
npm start), and now all requests will silently be routed through the backend.
When you fetch data from /cors, for example:
const response = await fetch('/cors');
This internally gets proxied to http://localhost:8080/cors, making the request look same-origin to the browser.
🧪 Want to Use a Third-Party Service?
No problem! You can proxy to that too:
{
  ...
  "proxy": "https://randomservice.com"
}
Keep in mind:
-
Only non-HTML (typically API) requests are proxied.
-
The
Acceptheader of your request must not betext/html. -
For more complex setups (e.g., multiple proxies), use http-proxy-middleware to configure custom proxy behavior.
🧹 Wrapping Up: Best Practices for CORS in React
When it comes to CORS, here’s what you should remember:
-
Always fix CORS at the server level—it’s the most reliable, secure solution.
-
During development, React's proxy setup can help you avoid CORS issues without needing server changes.
-
If you don’t control the API server, reach out to the provider—or use a proxy server of your own.
-
Tools like CORS Unblock Chrome extensions may work temporarily, but should never be used in production.
-
Always specify
{ mode: 'cors' }in your fetch requests to keep behavior explicit. -
Understand that most browser-based workarounds won’t work once you deploy—plan for production early.