9.3. Create a custom Drupal module. Display page programmatically.
Let's start creating our module with a little ordering. Let's continue to separate custom and contributed modules. In Drupal modules are in the / modules folder. Now we do not need to put them deep into /sites/all/modules, although readme says that this should work, use the /modules folder after all. Inside the /modules folder, we will create two custom and contrib folders. The contrib folder will store additional modules from drupal.org, and our custom modules will be stored in the custom folder.
English subtitles:
Code examples can be viewed on github:
https://github.com/levmyshkin/drupalbook8
Such a trifle as dividing modules into contrib, custom folders seems so unnecessary, but believe me, when there are 200 counter modules and 30 custom modules on your site, you will understand how difficult it is to find all the custom modules and all the custom code on the site. Also, if you change some code in the plug-in module (which should be done only if absolutely necessary), then it would also be nice to move it to the custom folder so that you do not accidentally overwrite the changes during the update (or another programmer will overwrite your changes or even you will overwrite, Suspecting nothing, changes of another programmer).
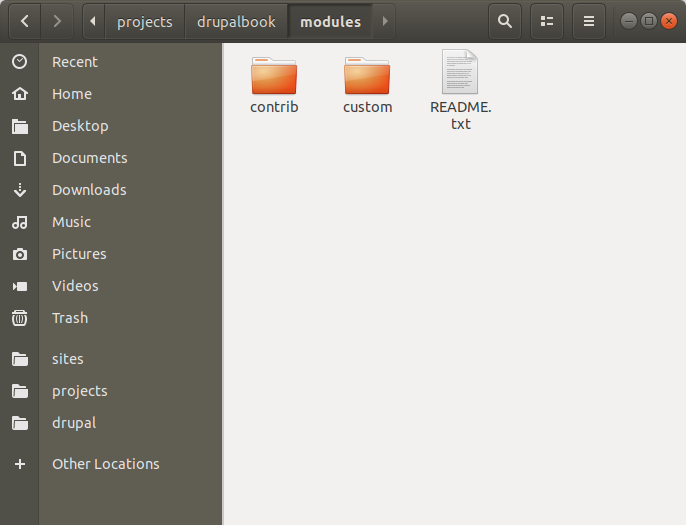
So, let's create our custom module. Create the folder /modules/custom/drupalbook. In this folder we will need to create the drupalbook.info.yml file:
name: DrupalBook
description: Custom module for learning Drupal 8
type: module
core: 8.x
core_version_requirement: ^8 || ^9
package: DrupalBook
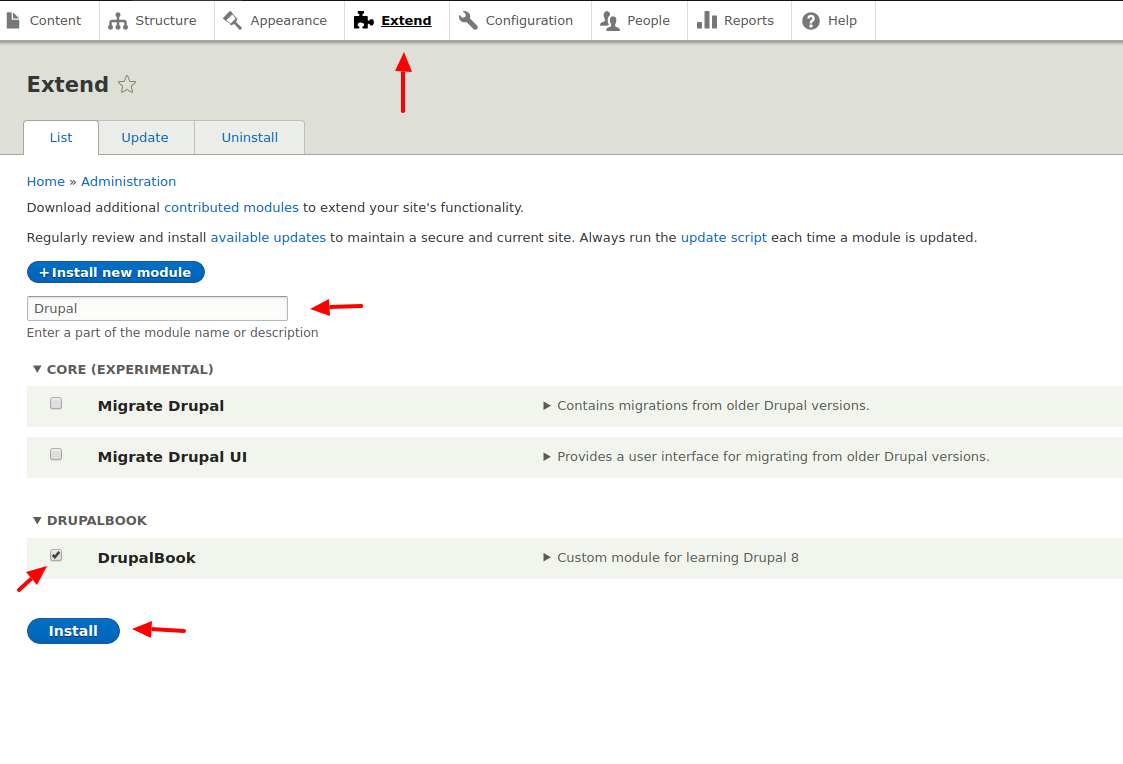
* .info.yml file is responsible for the description of the module. The information that is indicated in it will be displayed on the Extend page. The file name itself consists of the module name + .info.yml.
Drupal YML files are a standard format for configurations and settings. Fields and values in YML files are separated by a colon, a new line comes with indentation in two spaces. Formatting is very important for a YML file, if an error is made in the formatting, an extra space or a colon is missing, then Drupal may give an error or the YML file cannot be read correctly.
Go to the Extend page and enable your module:
Now that we have the include module, we can add functionality and it will work on our site. To get started, we will display plain text on the page. To do this, we need to create another YML file drupalbook.routing.yml:
drupalbook.first_page:
  path: '/first-page'
  defaults:
    _controller: '\Drupal\drupalbook\Controller\FirstPageController::content'
    _title: 'Hello World!'
  requirements:
    _permission: 'access content'
Let's take a closer look at what is in this YML file.
drupalbook.first_page: - here is the name of our route, the path along which the drupal will collect a list of all routes, paths. This name must be unique, it is best to use module_name.rout_name, because you can have several routes in one module: drupalbook.first_page, drupalbook.second_page and so on.
path: '/ first-page' - the path to your route. Pay attention to the indentation of two spaces, it is mandatory, so if you use a test editor that exposes tabulation on the tab button, it is better to change this setting and make two spaces instead of tab.
defaults: - defines the default route settings and how to create a route. The fact is that there are several ways to create a route, one of them through the Controller class, but it is also possible through other classes for dynamically creating routes. Perhaps later we will analyze all the possibilities for working with routing, but for now we will consider a simple example through the Controller class. Drupal routing has migrated from Symfony and uses the Symfony libraries. Symfony is an MVC framework, it is very tidy and is also used in other projects, for example in Laravel, which is also a very popular MVC framework. MVC involves the use of Model, View, Controller (here, View is not a Views module, but just a template for displaying information, Model - entity classes with which you can add information to the database, much like the Entity API does in Drupal). The controller from MVC is needed just for routing, which is what we are doing in this lesson.
_controller: '\Drupal\drupalbook\Controller\FirstPageController::content' - In this parameter, we determine which PHP Class will display our page. After the class name :: we indicate which particular class method the page will display. Such a large number of slashes, it is necessary for Drupal to understand which folder your PHP class is in.
_title: 'Hello World!' - The title of our page
_permission: 'access content' - Permissions to view this page, the user must have a role with these rights to open this page.
After we add the YML file for routing, we need to add the PHP class to display our page. To do this, we first need to understand the automatic connection of class files from our modules. The fact is that there are a lot of classes in Drupal and not all of them are needed to load a specific page, so we only load the necessary classes and work with it. Drupal uses PHP auto-plugin for PSR-4 classes:
https://www.php-fig.org/psr/psr-4/
Let's look at the line in the route where we pointed the PHP class:
\ Drupal \ drupalbook \ Controller \ FirstPageController
\Drupal - means that the class is connected using the Drupal library. Drupal is now also a separate library, though quite large, which can be connected via packagist:
https://packagist.org/packages/drupal/drupal
Next, we indicate which module we want to use:
\drupalbook
After that, we either indicate immediately the class name in the folder of our module or indicate further nesting. But then all the folders will already be inside the src folder, that is, if we specified the Controller folder, then it will lie here:
/modules/custom/drupalbook/src/Controller
Pay attention to case, PHP is case sensitive, so controller and Controller are different folders.
And at the end, we specified the file name, we need to add .php to it:
/modules/custom/drupalbook/src/Controller/FirstPageController.php
Let's create this file:
/**
 * @return
 * Contains \Drupal\drupalbook\Controller\FirstPageController.
 */

namespace Drupal\drupalbook\Controller;

/**
 * Provides route responses for the DrupalBook module.
 */
class FirstPageController {

  /**
   * Returns a simple page.
   *
   * @return array
   *   A simple renderable array.
   */
  public function content() {
    $element = array(
      '#markup' => 'Hello World!',
    );
    return $element;
  }

}
This should be the structure of the files:

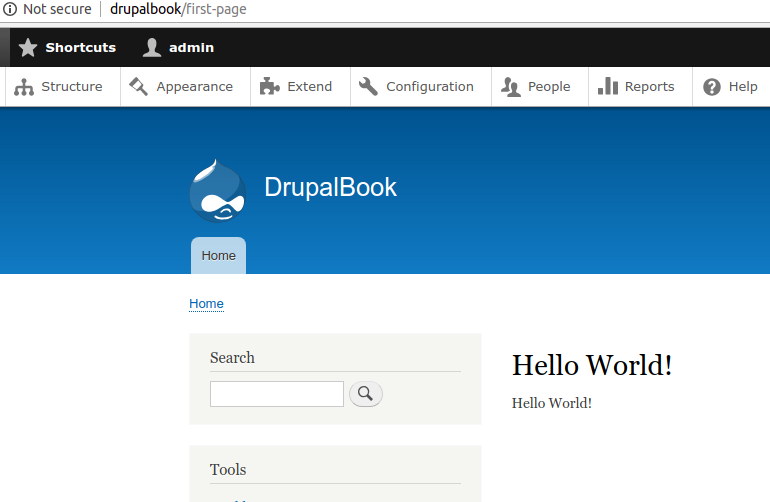
Now we need to clear the cache so that our new route connects. And the page should earn http://drupalbook/first-page:
Now let's look at the PHP class that displays this page.
/**
 * @return
 * Contains \Drupal\drupalbook\Controller\FirstPageController.
 */
Here we indicate the path the same as in the routing YML file, it shows where Drupal should connect this class from.
namespace Drupal\drupalbook\Controller;
namespace indicates the path to your class file. Be careful when copying code from other sites, when you copy namespace, you need to change the name of the module to your own, I have drupalbook, you may have something else.
class FirstPageController {

  /**
   * Returns a simple page.
   *
   * @return array
   *   A simple renderable array.
   */
  public function content() {
    $element = array(
      '#markup' => 'Hello World!',
    );
    return $element;
  }

}
And our class that displays the page. It has a content () method that we specified in drupalbook.routing.yml. In this method, we return an array with the #markup element in which we put the HTML in the output. We return an array, not a string, because through a regular route it is possible to display not only HTML, but also a JSON endpoint for an API, XML or CSV file.
The module code can be viewed on github:
https://github.com/levmyshkin/drupalbook8
That's all in the next lesson, we will continue to expand the capabilities of our module.