Drupal Online Store - Installation
So, you've downloaded the archive with the distribution — next, it needs to be installed. I'll demonstrate the installation on Denwer, but you can install it on your own hosting or server. Learn more about Denwer and how to use it here: Is it hard to build websites with Drupal?
Create the directory:
/home/commercetest/www
And copy all the files into it:
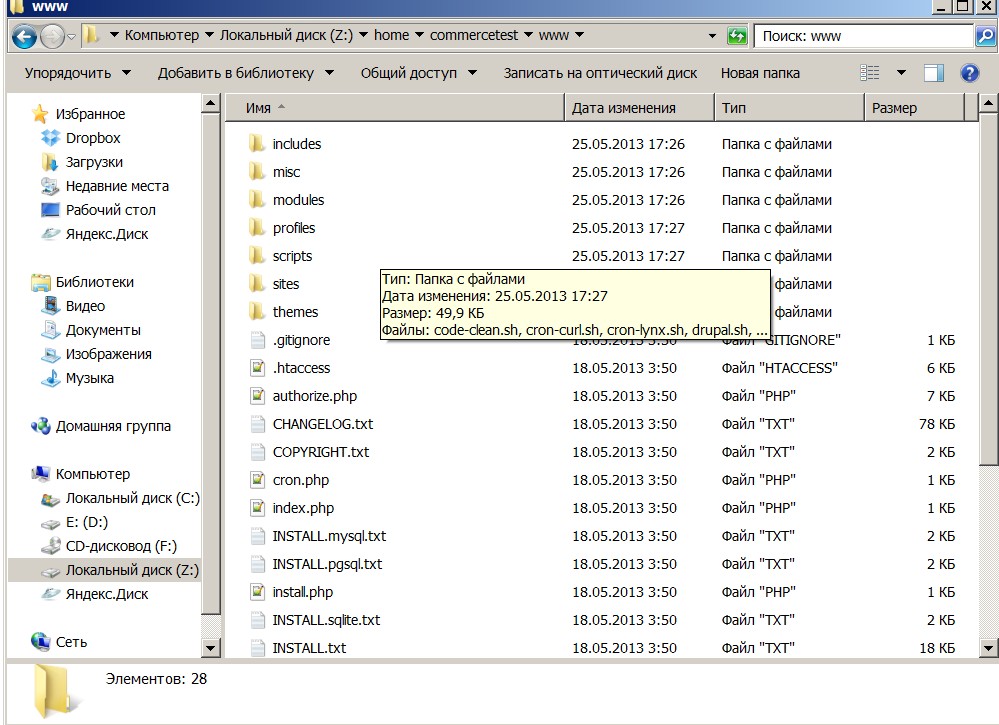
Then restart Denwer to detect the new site. Launch the site and you’ll see a message like this:
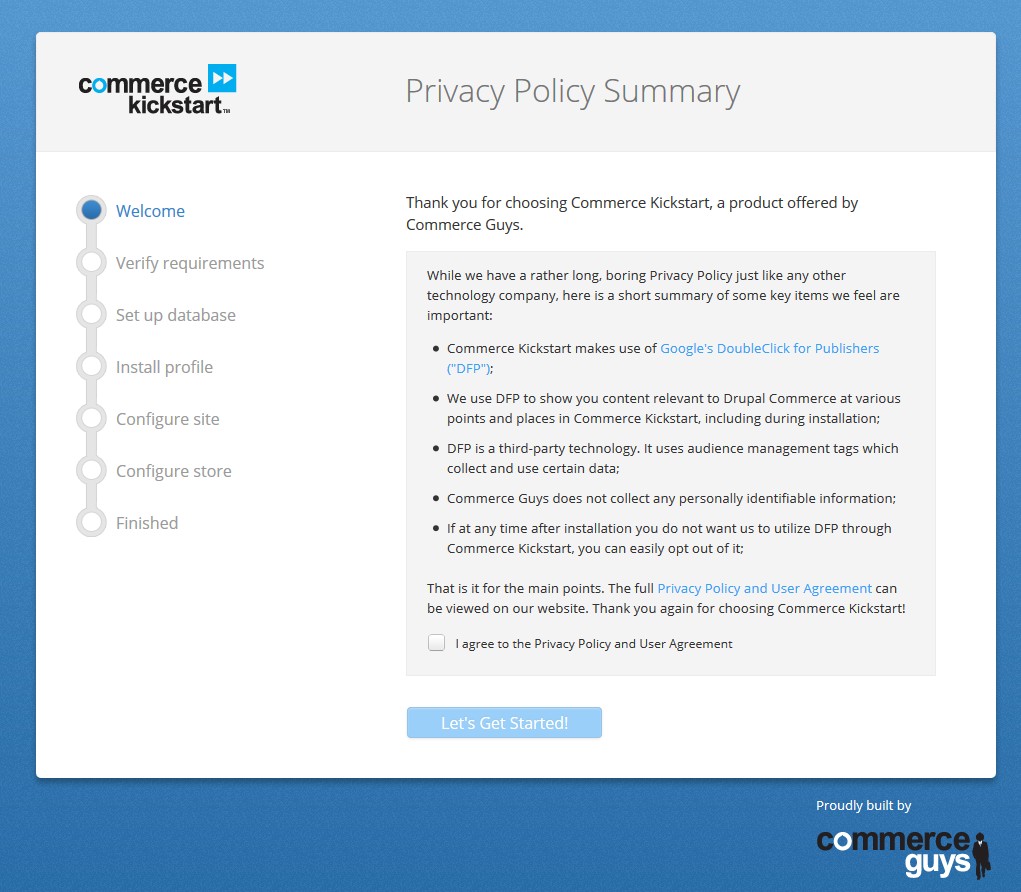
You don’t need to install commerce_kickstart — it's already installed and configured. So take note of the URL:
http://commercetest/install.php?profile=commerce_kickstart
Replace "commerce_kickstart" with "minimal" and reload the page:
http://commercetest/install.php?profile=minimal
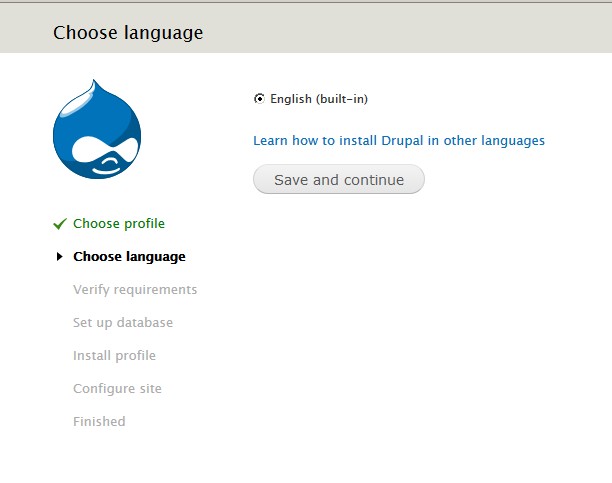
Continue installing Drupal as usual.
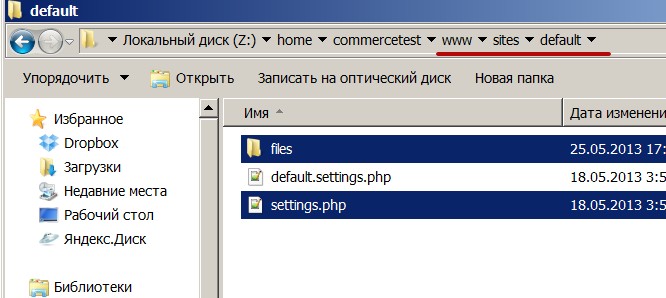
You might need to create the settings.php file from default.settings.php and set file permissions to 777 for settings.php and the files directory:
Continue with the Drupal installation. On the next page, enter the database credentials. In this example, we create a new database via phpMyAdmin (available with Denwer):
http://localhost/tools/phpmyadmin/ – go to the “Databases” tab
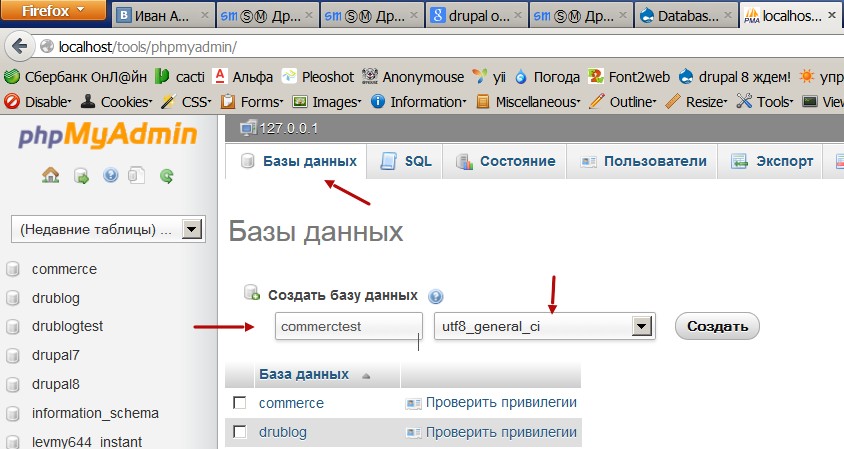
Make sure the database uses the utf8_general_ci collation.
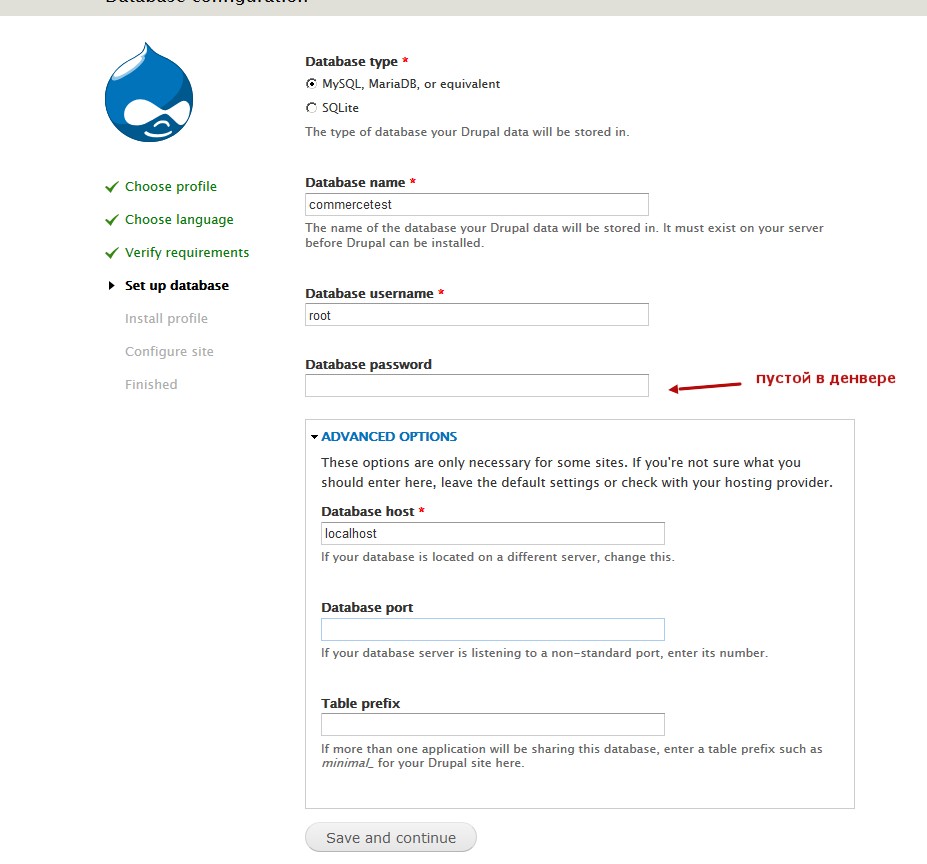
Now return to the Drupal installation page. Enter the database name (e.g., commercetest), username (root), no password, and leave the server as localhost:
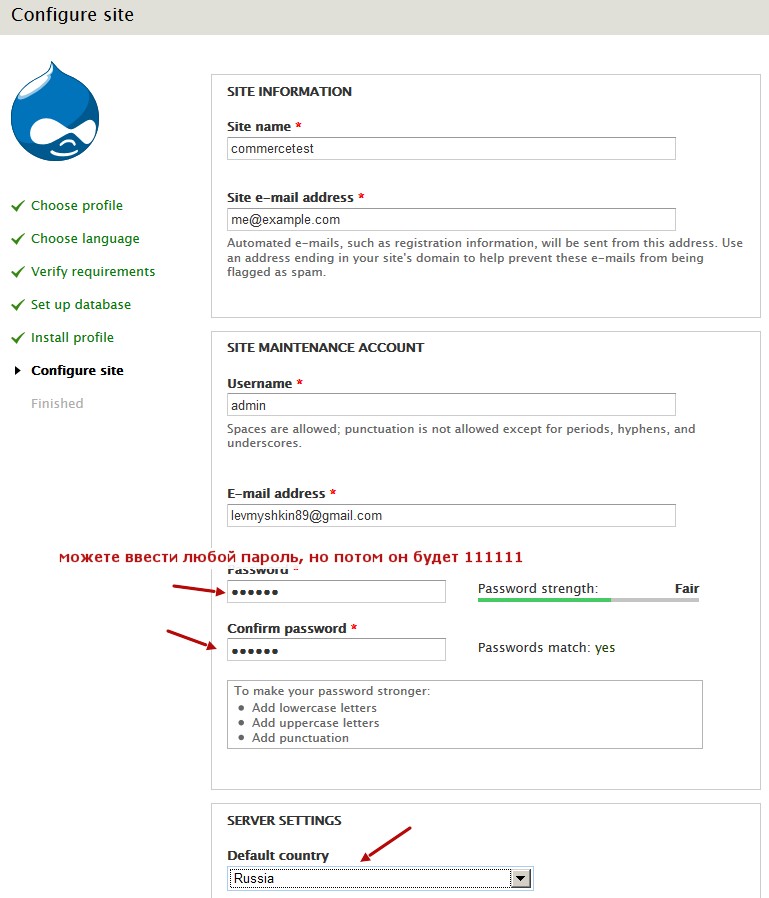
Next, fill in site information — but note that these details will be overwritten by the distribution later.
The admin login will be admin and the password 111111.
Click “Visit your new site”:

Drupal is now installed. Next, we need to restore the site from the distribution backup. This was saved using the Backup and Migrate module, so enable it first. Go to the Modules page:
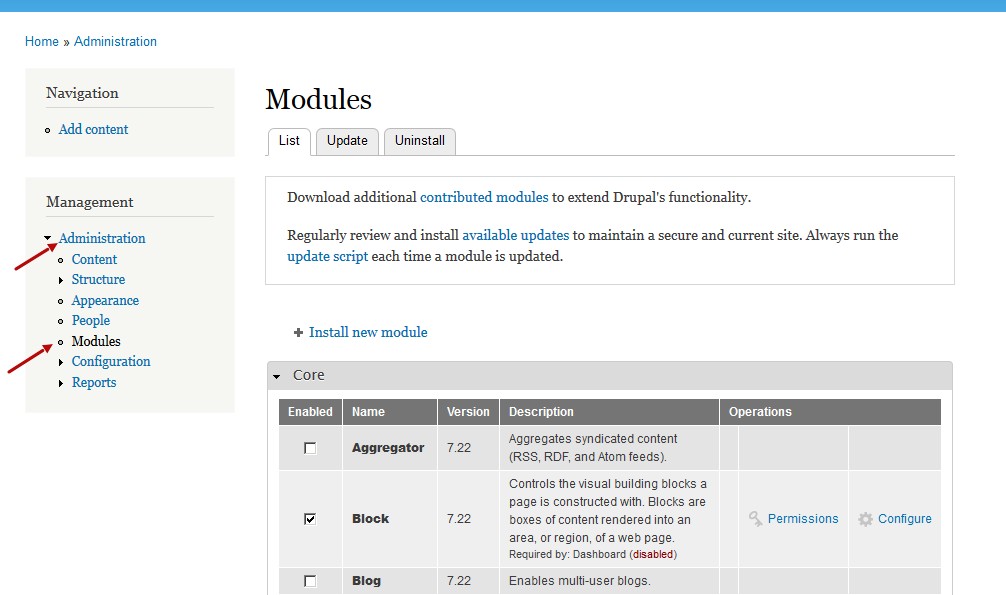
Enable the Backup and Migrate module and click Save:
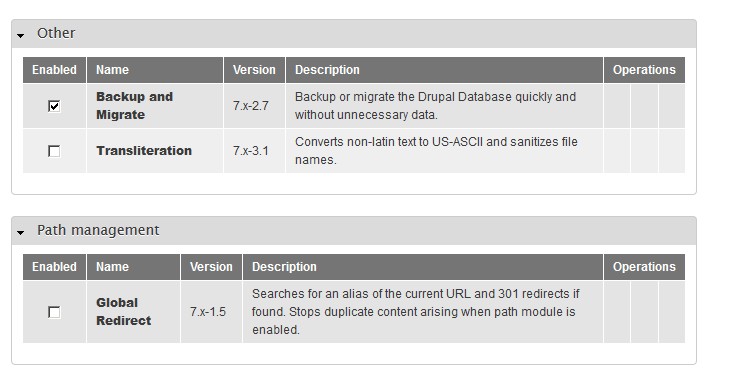
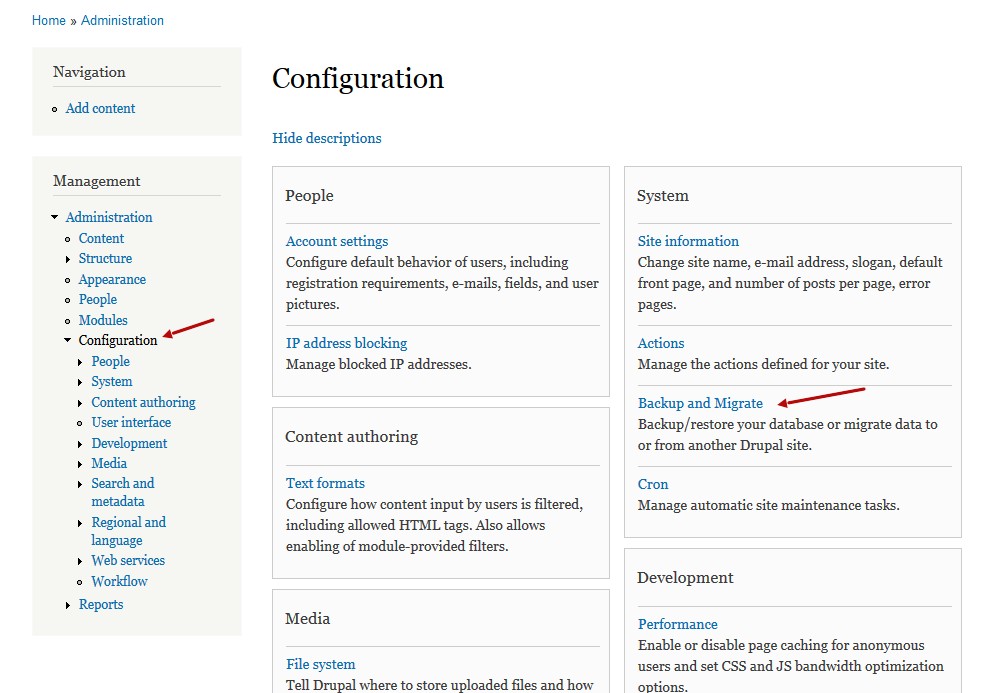
Other modules don’t need to be enabled — they’ll be restored with the backup. Go to Configuration → Backup and Migrate:
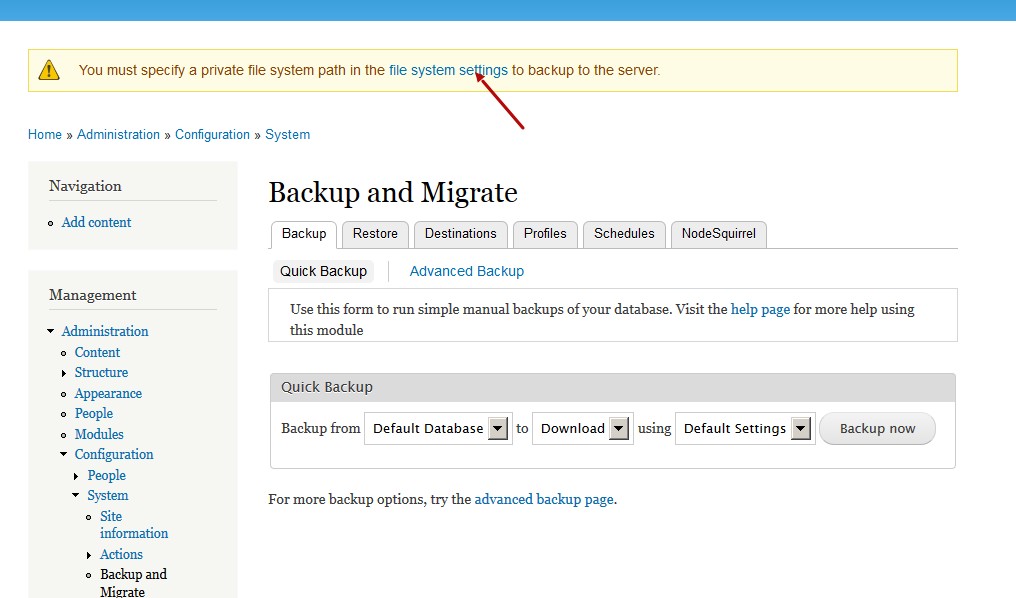
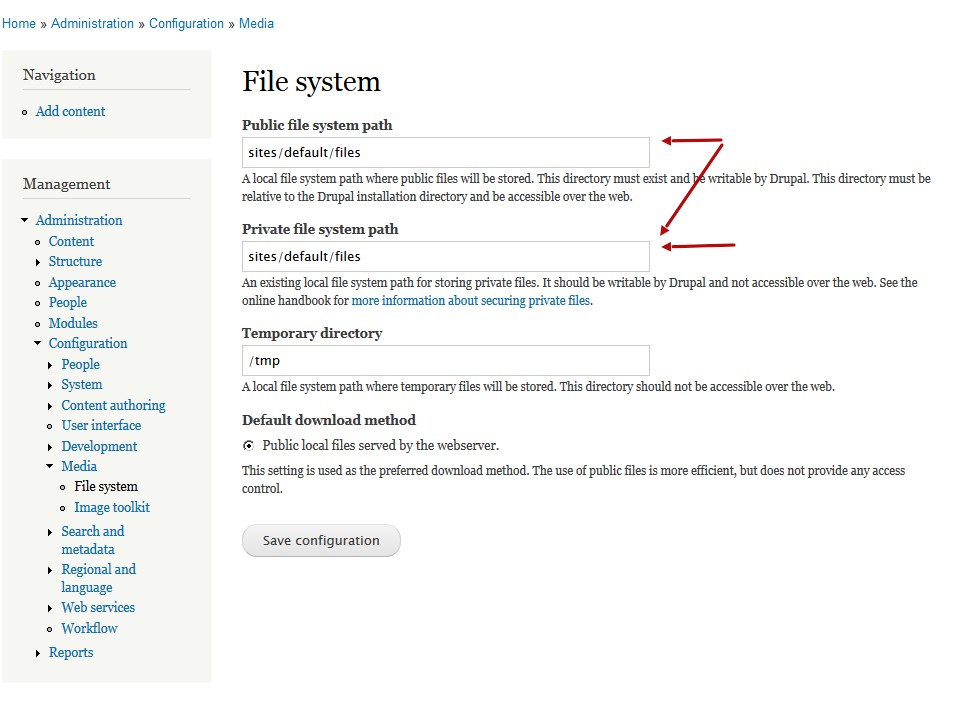
Click on File system settings and configure the paths:
Set the private file path to sites/default/files:
Now return to Configuration → Backup and Migrate → Destinations. Find Manual Backups Directory and click list files:
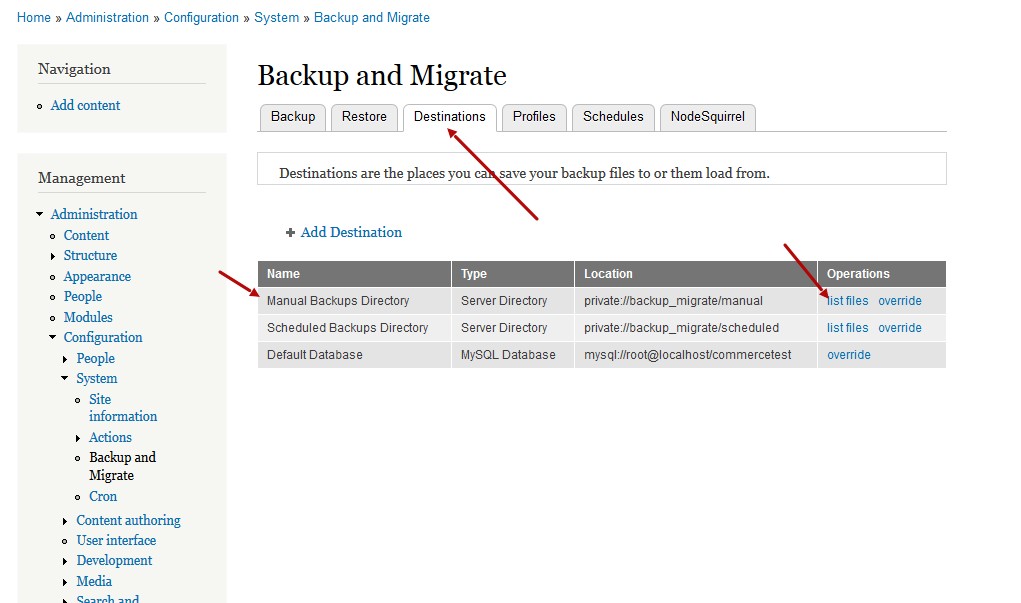
You'll see one backup file — click restore to deploy the store:
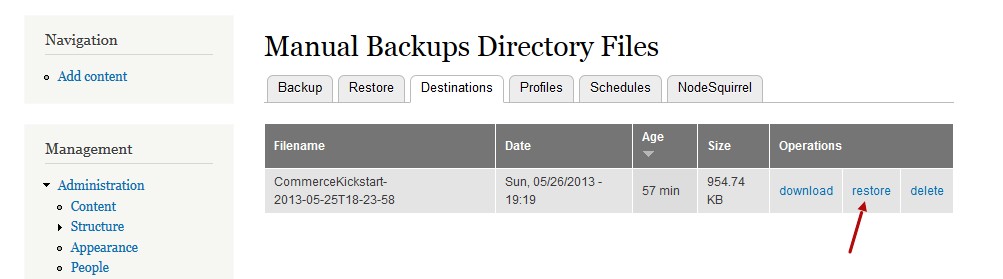
Click "Restore" and wait 5–10 minutes for the deployment to complete. Once finished, you’ll see your online store right away:

Now, finalize your site settings:
- /user/1/edit – Set your own admin password and email
- /admin/config/system/site-information – Set the site name and site-wide email
In upcoming videos and articles, I’ll explain how to configure payment systems, shipping, the cart, and other e-commerce attributes.
Note: After installation, update all modules and Drupal itself!