Ubercart Store Administration
Order Configuration
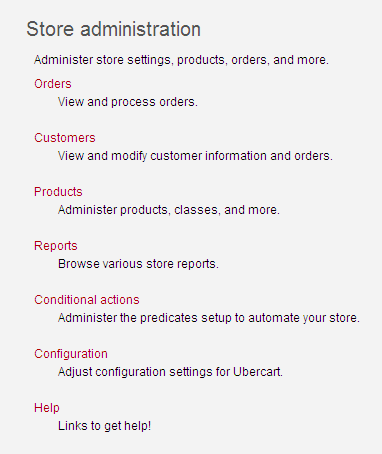
I assume you’re already familiar with Drupal’s capabilities and the interface of its admin panel. Now it’s time to get to know the Ubercart administration panel. Go to your site’s admin panel: your_site_name/admin. Among the various site settings, there is the Store administration section:
Let’s review what each setting does:

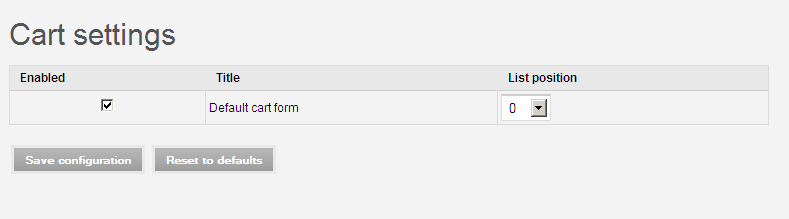
- Cart settings: (if the Cart module is enabled)
The Cart settings page has three groups: Cart settings, Cart panes, and Cart block. Click Edit to access cart configuration:
- In Add to cart redirect, enter the page name where the user will be redirected after adding a product to the cart. Leave it blank to avoid redirection.
- If you want to set a minimum order value, enter the desired amount.
- The next two options let you define how long the cart should persist for anonymous and authenticated users. Choose the expiration time and unit as per your preference.
- When a user adds a product to the cart, they’ll be redirected to the cart page. The “Continue shopping” display setting allows you to choose whether to show a link or button for returning to the catalog.
- The next four fields — default “Continue shopping” URL, custom “Continue shopping” link text, custom cart breadcrumb text, and custom cart breadcrumb URL — are used to customize cart navigation. You can leave these blank for now.
- Click Save configuration.
Now go to the second tab, Cart panes. Here you can select which panes will appear on the cart page. You need at least the default view. For your store, you can enable all four available panes, especially if you install additional Ubercart modules. Click Save configuration.
Select the third tab, Cart block. Click Cart block to configure the cart sidebar block, usually located on the left and used to display the current cart contents.
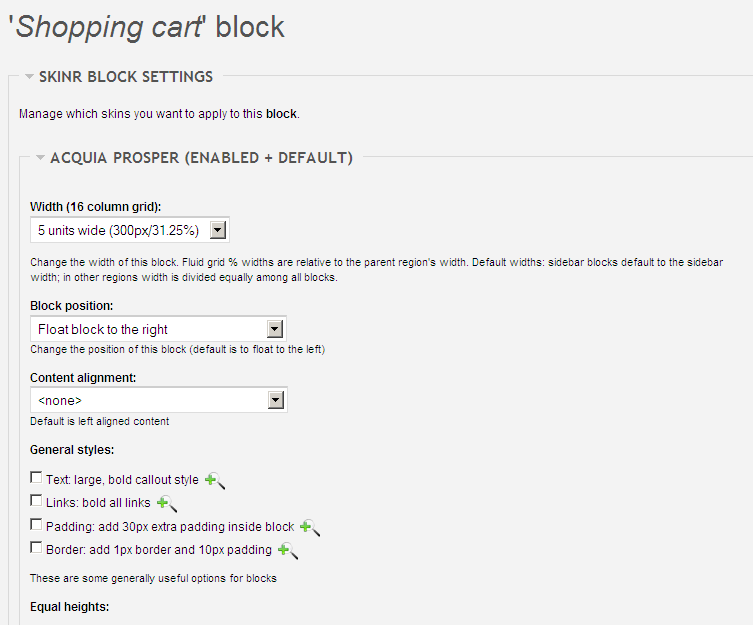
- The default name for this block is Cart, but you can rename it by entering a new title in the Block title field.
- In the next group of settings, you can decide whether to hide the cart block when it’s empty, show a cart icon, expand the cart block by default, and show a help message.
- In Cart help, you can customize the help message displayed in the block.
- The final section lets you control the visibility of the block — show or hide it by default, restrict it by roles, or display it only on specific pages.
- Don’t forget to click Save block.
- Return to the Store Configuration main page and select Catalog settings.
Catalog Settings
With catalog settings, you can control how your product catalog appears to customers. It has two tabs: catalog settings and product settings. Click Edit to begin.
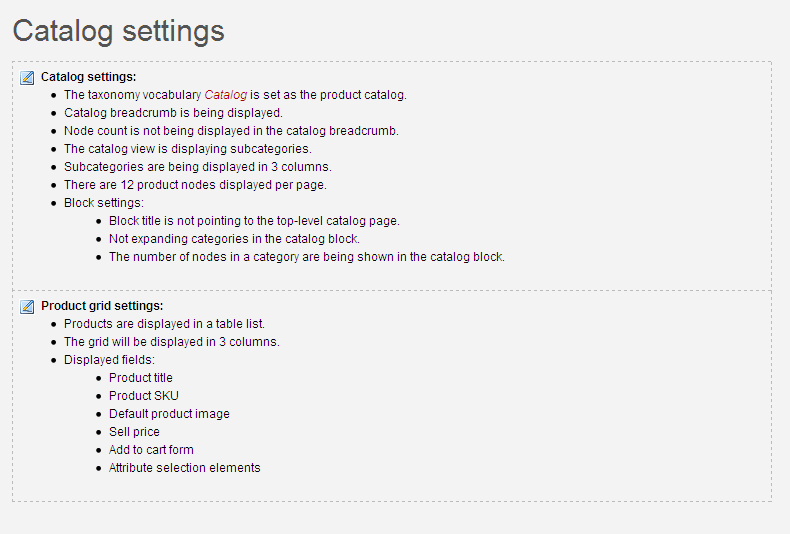
- The catalog settings page has three groups of options to configure various elements of the catalog taxonomy.
- If you want to use a custom taxonomy for your catalog, you can choose it from the drop-down under Catalog vocabulary. In the same group, you can choose whether to show catalog breadcrumbs, display the number of products in each category, or show subcategories. You can also select the number of columns in the category grid.
- The next setting defines how many products will be displayed on each catalog category page.
- Finally, in the Catalog block options, you can choose to make the block title link to the top-level catalog page, select which categories appear in the block, and choose whether to show product counts in the block.
- Click Save configuration.
- Click the Product settings tab. These options configure the product grid view within the catalog.
- Under product grid settings, choose whether to show products in a grid layout. Select the number of columns and which fields to display in the catalog. Click Save configuration.
Checkout Settings
The checkout settings allow you to customize the appearance and behavior of the checkout process. There are four tabs. Click Edit.
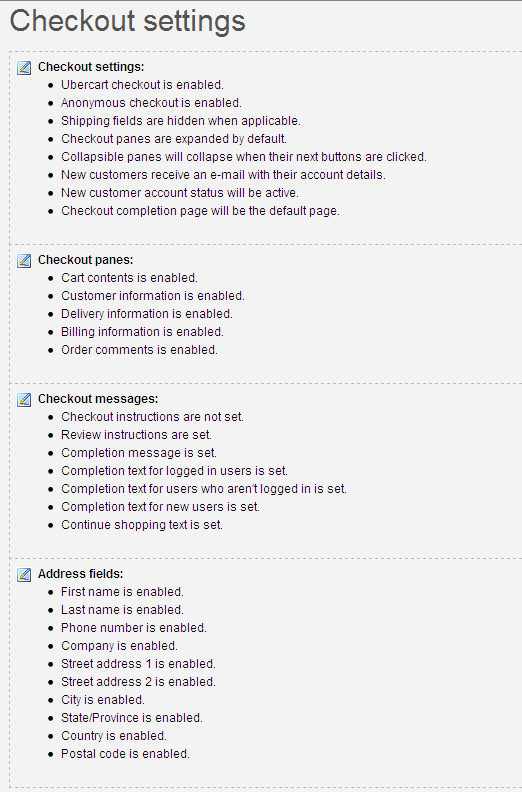
- On the Checkout settings page, there are several checkboxes for enabling or disabling basic options. If you’re using a third-party checkout module, you can disable the Ubercart checkout by unchecking the first option. We’ll keep using Ubercart’s default, so leave it checked.
- The second checkbox enables or disables anonymous checkout.
- The next checkbox hides the shipping address section — a useful feature that we’ll leave enabled.
- Checkout display settings let you choose whether to use a sliding panel or collapse it when clicking the button. Leave the default options selected.
- The last group of checkboxes controls how your e-commerce site handles new customer accounts. First, decide whether to send email notifications to new customers — which is useful, so leave it checked.
- If the next box is enabled, Drupal will automatically create an account when a customer places an order. The final checkbox activates new user accounts. It’s recommended to keep this on; otherwise, you’ll need to manually activate accounts after each order.
- The last field allows you to set a custom checkout completion page. Leave it blank to use the default.
- Click Save configuration to apply your settings.
Next, click the Checkout panes tab. It consists of three groups of settings:
- The first group allows enabling or disabling specific checkout panes. All panes are useful, so leave them all enabled.
- In the customer account section, decide how to handle anonymous account creation. If you want email confirmation and allow users to set their own usernames and passwords, check the next three options.
- If you don’t need to modify the help messages or show a checkout preview, just click Save configuration.
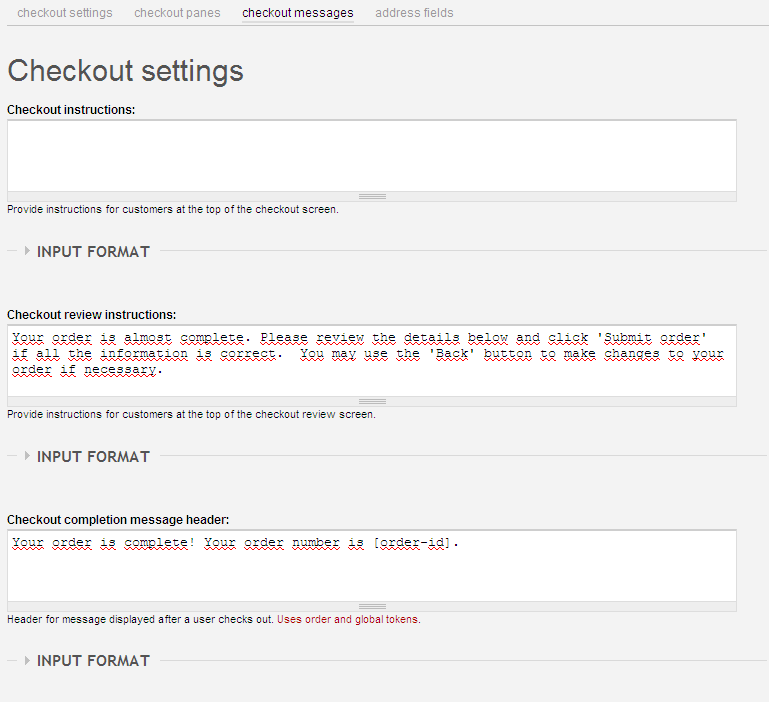
Next is the Messages tab. This page allows you to view and edit the various system messages displayed to users during checkout. We’ll leave these at their default values.
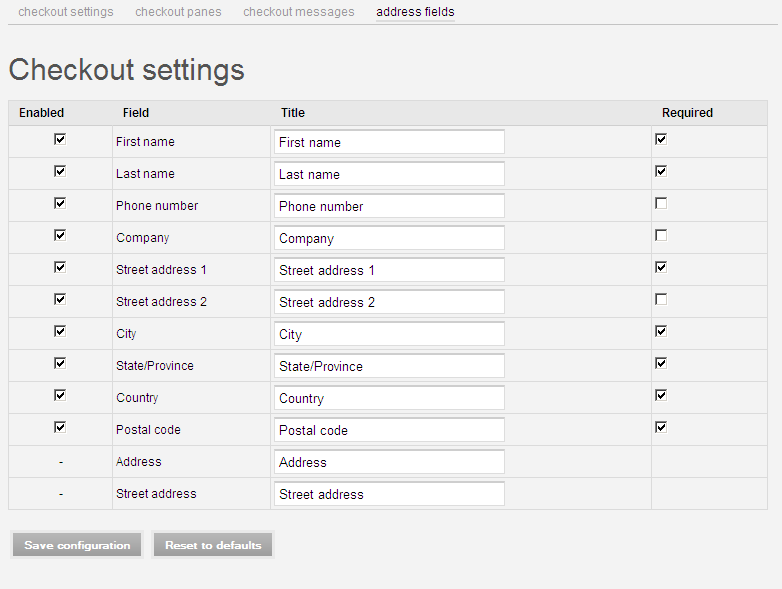
Now click the final tab to configure store address fields. You can enable or disable fields, rename them, and decide which are required.