Drupal CCK+Views. Content types. Output of pages via Views. Creation of gallery of employees
In the previous lesson, I told you about what a node is in Drupal. Nodes are our Blog Entries, Pages, Stories. In this lesson, we will create a new content type called "Employee". This content type will be used to create a list of employees with a photo and a description of each one.
So, which modules will we need for this:
Drupal CCK
1. CCK (Content Construction Kit) – this module allows you to create new content types and add various data entry fields to them.
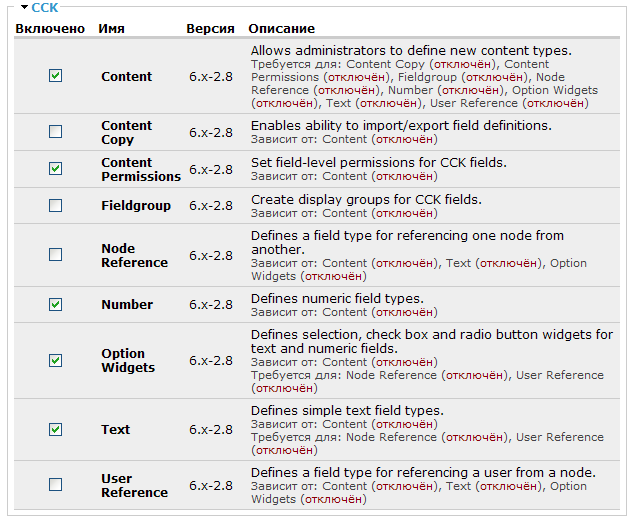
The CCK module is so large that it has been split into several submodules. We will need the following submodules:
- Content – for creating new content types.
- Content Permissions – for setting view/edit permissions on our content type.
- Number – allows adding a numeric field to the content type, which could be used for employee ID.
- Option Widgets – allows adding fields with checkboxes, selects, or radio buttons.
- Text – allows adding text input fields to the content type.
Other CCK submodules include:
- Content copy – lets you duplicate existing content types with all their fields.
- FieldGroup – groups fields together. Since we only have a few fields, this won’t be necessary.
- NodeReference – allows referencing another node, e.g., an employee’s personal page.
- UserReference – allows referencing a user. Useful if employees are registered users on the site.
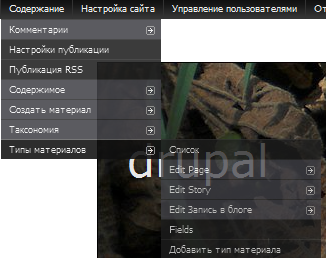
Save the configuration. Now a Content Types link should appear under Structure in the Admin menu:
We’ll add the content type in a moment; first, let’s install the next modules.
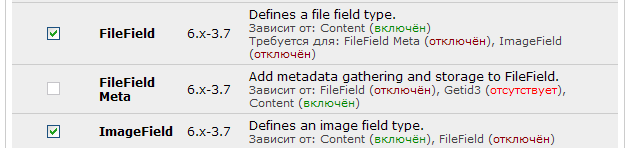
FileField and ImageField for Drupal
2. FileField and ImageField. FileField allows file uploads, while ImageField restricts uploads to image formats (jpg, gif, png). These will be used to upload employee photos.
Save the configuration and continue to the next modules.
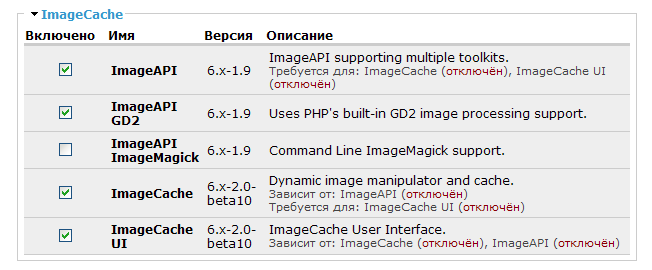
Imagecache for Drupal
3. ImageCache and ImageAPI. ImageAPI replaces the standard image.inc API. ImageCache allows us to create image presets, so uploaded images are displayed with uniform size regardless of their original dimensions.
You can also install lightbox2 for click-to-expand image effects. After installing it, additional presets with lightbox support will be available.
4. The Views module. This is a query builder that lets you display lists of content without needing to know SQL. Install the module.
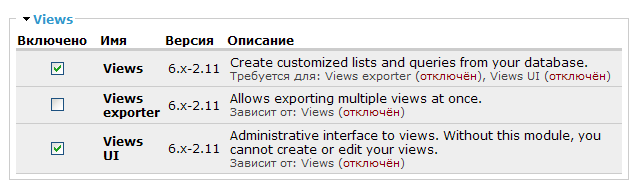
Save the configuration. We’re now ready to build the employee listing.
Creating an Employee Directory in Drupal
Start by creating the content type "Employee". Go to Structure - Content Types - Add content type
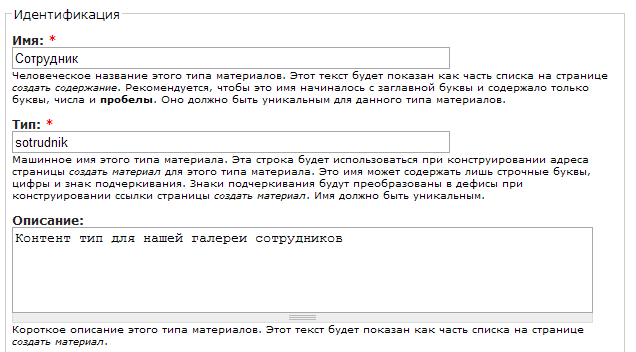
Note: the “Name” field should be in Russian for UI clarity; the “Type” field (machine name) should be in lowercase Latin characters with underscores only.
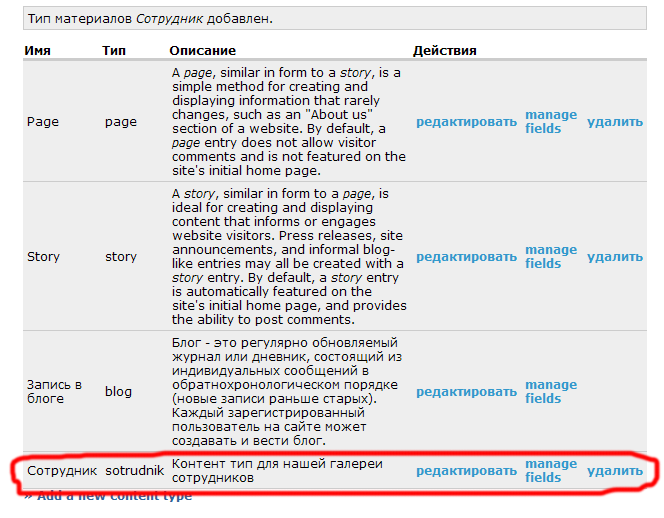
Now that the "Employee" content type exists, click "Manage Fields" to add fields for data entry.
Add a new image field with:
- Label in Russian
- Field name in Latin characters (e.g., field_employee_photo)
- Data type: File
- Widget: Image

Click save and accept the default settings.

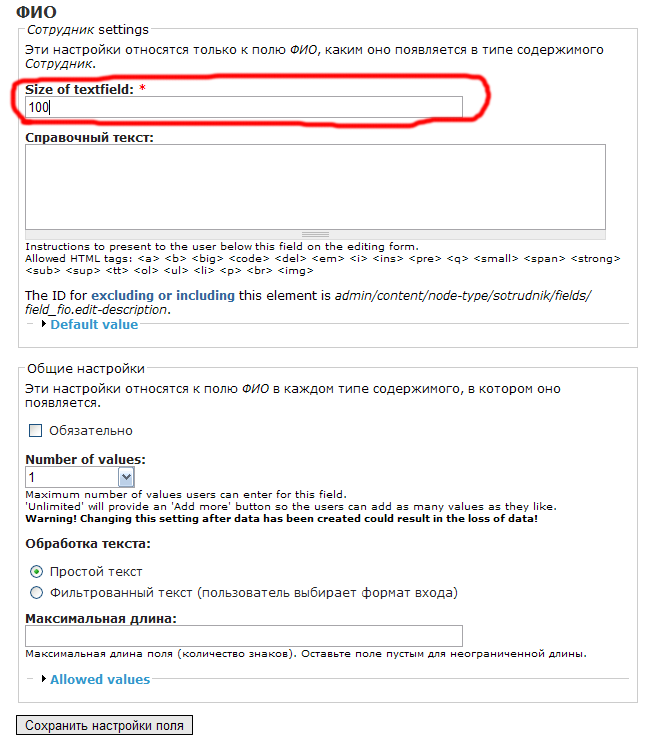
Next, add text fields for “Full Name” and “About Employee”. For "Full Name", use text field with length set to 100.
For “About Employee”, use textarea. Set text processing to “Filtered text (user selects input format)”.

Your fields should now look like this:

The content type is now ready. Go to Content - Add content - Employee

Fill out the fields. You'll see the image, name, and about fields. You can use the default title and body fields as well, or ignore them depending on your needs.
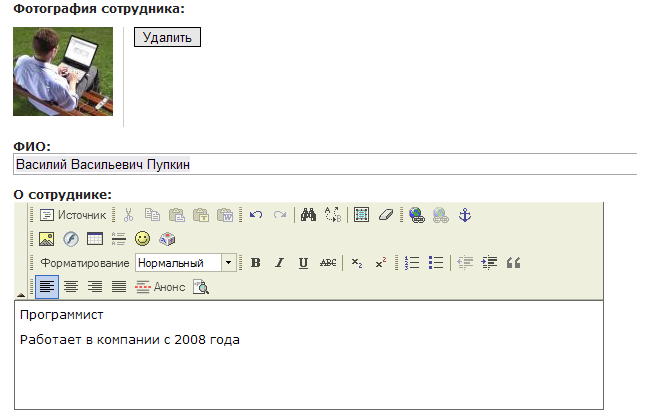
Save the employee. The node URL will look like node/9. Use this URL to test functionality.
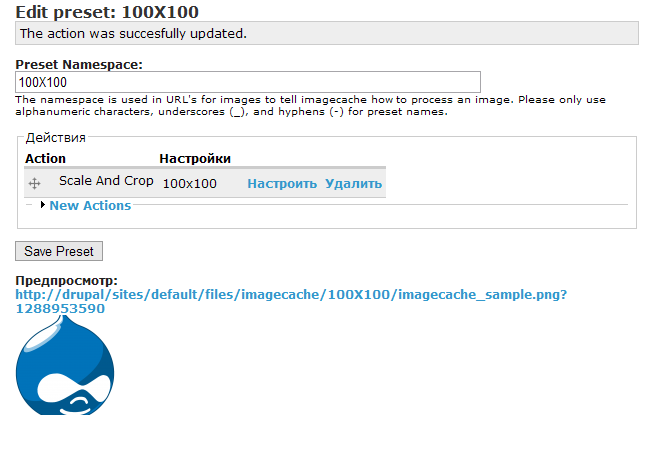
Create ImageCache Preset
Go to Structure - ImageCache - Add new preset. Name the preset e.g., 100x100. Choose "Add scale and crop", set to 100x100 pixels. Save the preset.
Now create the employee gallery view using Views
Go to Structure - Views - Add view. Name it view_employees. Select "Content" as the view type.
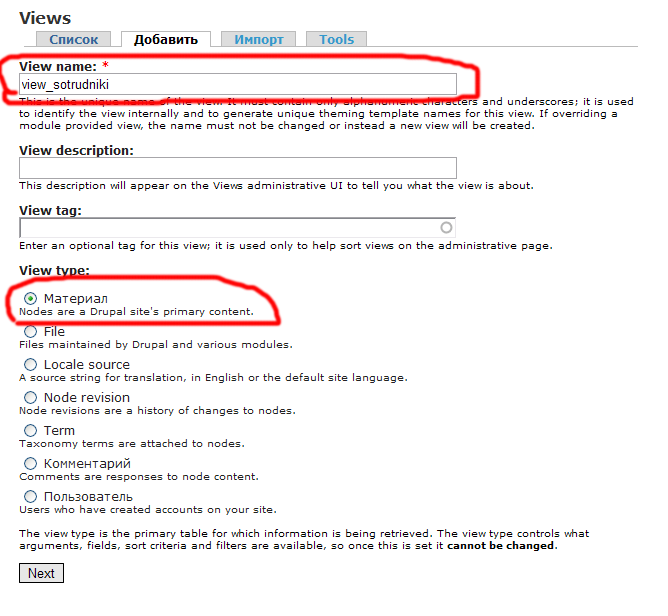
Click “Next” to go into the Views UI.
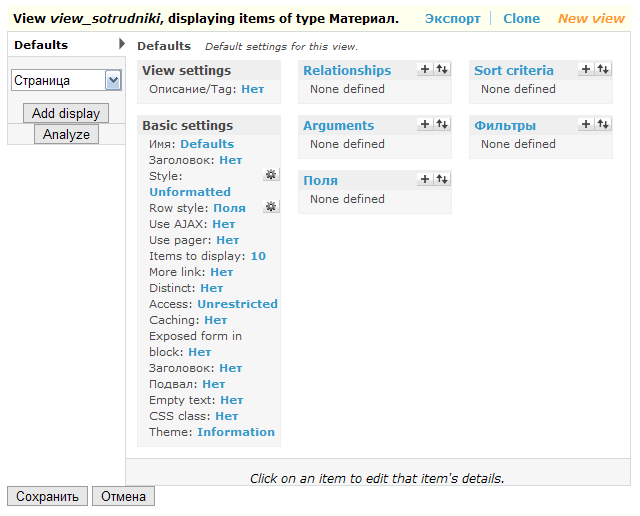
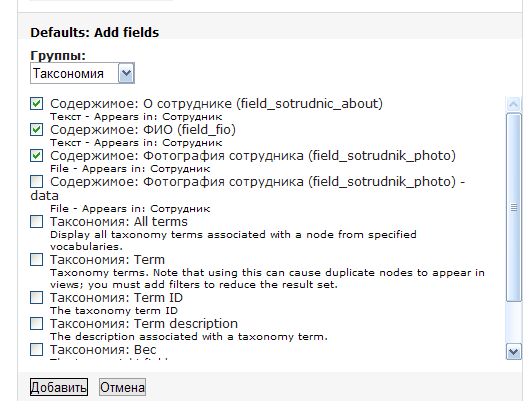
Add fields: Content: Full Name, About Employee, Photo. Remove labels if necessary. For the image field, select the 100x100 preset or lightbox variant.
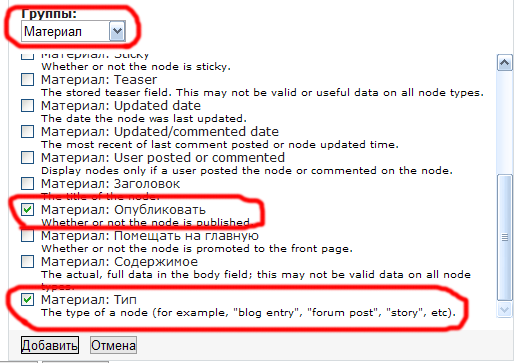
Configure filters: show only published content of type “Employee”.
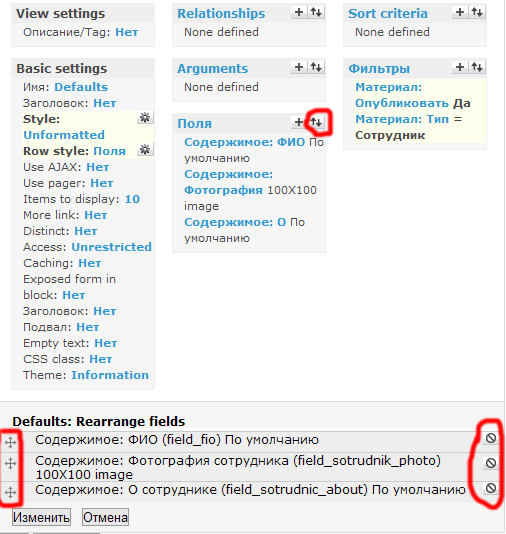
Adjust the display order of fields as needed.
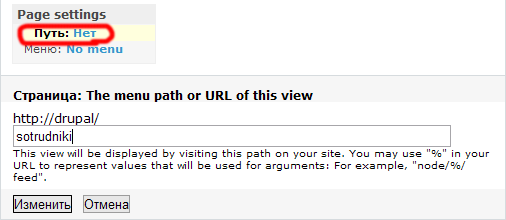
Add a page display. Set a path, e.g., sotrudniki
Save the view. Now your employee gallery is available at yoursite.com/sotrudniki
In the next lesson, we’ll improve this view with blocks and enhancements.