Photo Gallery, Photo Albums in Drupal
Photo albums and a photo gallery will enhance any site, whether it's a personal blog or a company website. Beautiful images are what keep people engaged on Facebook, VK, and other social networks. So let’s add a photo gallery to our Drupal site.
I suggest creating a simple gallery using Colorbox effects. Colorbox is a jQuery plugin, and it's better to use it instead of thickbox or lightbox. Colorbox is convenient because it automatically resizes images to fit the screen. This is very helpful considering the variety of screen sizes and resolutions nowadays.
Let’s begin. I’ll show you how to make a photo gallery in Drupal 7, but it’s similar for Drupal 6.
We’ll need the following modules:
- Colorbox – http://drupal.org/project/colorbox
- Libraries API – http://drupal.org/project/libraries
- Views – http://drupal.org/project/views
- Fields API (for Drupal 7 this is core; for Drupal 6 it’s the CCK module)
- Imagecache – http://drupal.org/project/imagecache
- File (included in Drupal 7 core; use Filefield for Drupal 6)
- Image (in Drupal 7 core; use Imagefield for Drupal 6)
For Drupal 6, you’ll also need the jQuery update module to update jQuery to version 1.3.2.
Download and install these modules.
Now download the actual Colorbox library from:
http://colorpowered.com/colorbox/
Unzip the Colorbox archive and place it into the folder sites/all/libraries. If the libraries folder doesn’t exist, create it and copy the Colorbox folder inside.
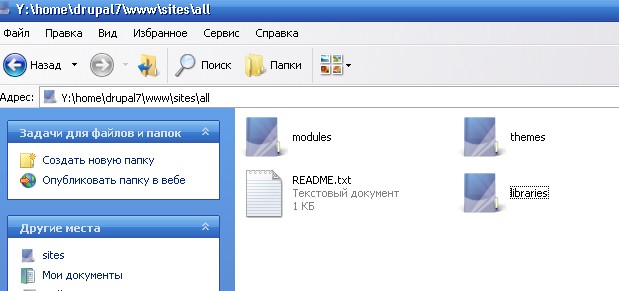
Inside the libraries folder, we have Colorbox:
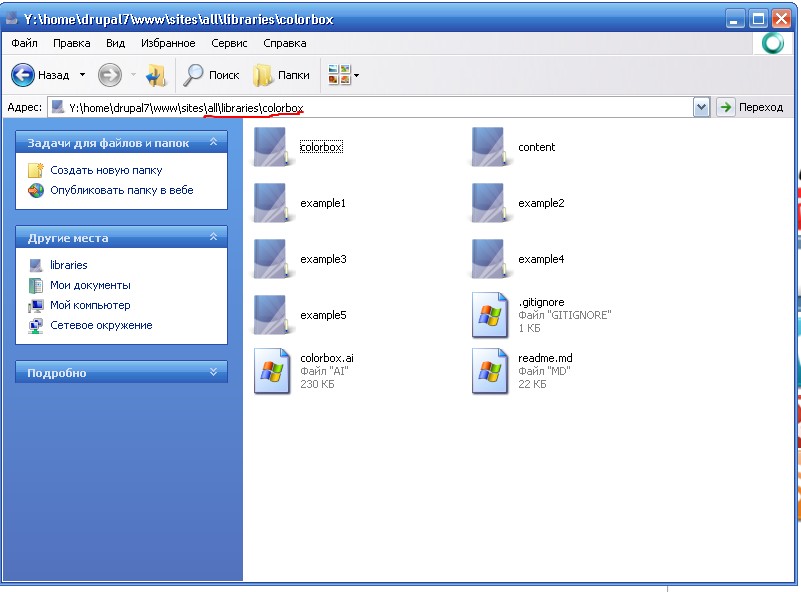
You may notice I copied Colorbox with all its examples. I did this to always be able to see how Colorbox works.
If everything is done correctly, the status report should indicate success:
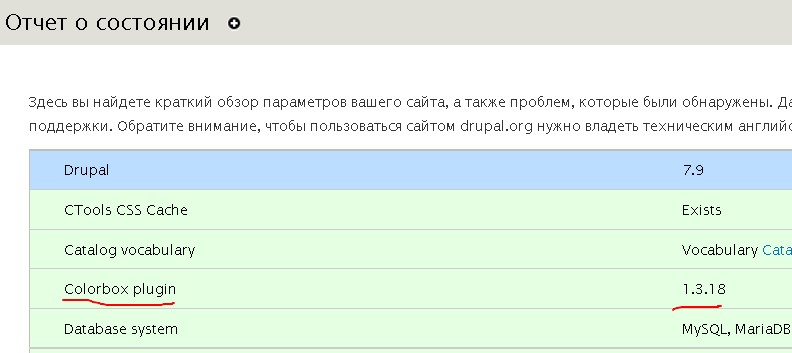
Great, everything is set up and the modules are enabled. Preparation is complete — let’s create a gallery.
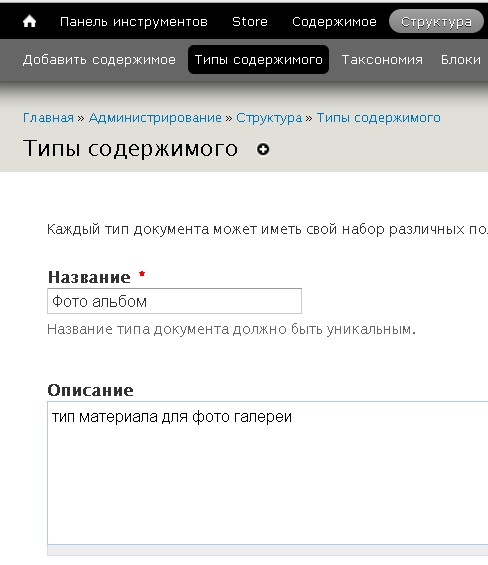
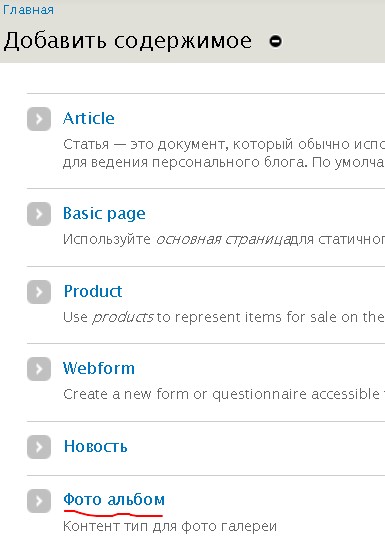
Create a content type for Photo Albums
Go to:
/admin/structure/types/add
Fill in the fields for your new content type.
Manage Fields
Navigate to:
/admin/structure/types

Add a new field called “Photos” with a data type for storing images.

In the field settings, allow unlimited uploads (or restrict it to, say, 10 images per album).
Save the field. Your album content type is ready. You can configure permissions for who can create albums at:
/admin/people/permissions
Create a Photo Album Node
Go to:
/node/add
Enter the album title, description, and upload photos:
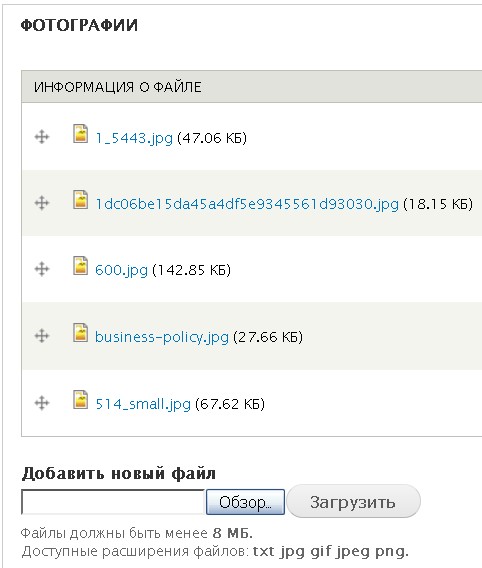
Save the node.
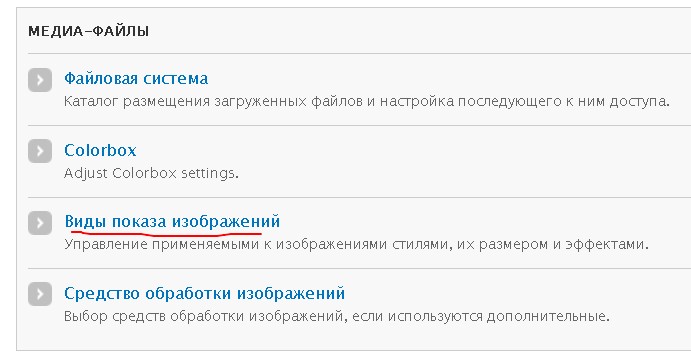
Style the Gallery with ImageCache
Currently, the images display in their original size. To make it a stylish gallery, use the ImageCache module to crop, resize, or tint images attached to nodes.
Find the Image styles config page at:
admin/config
Create a new image style (e.g., crop150x150) to crop images to 150×150 pixels.
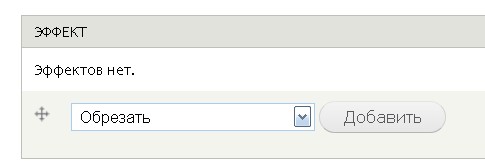
Set width and height to 150×150. Save the effect. Now your preset is available on the display settings page for your content type.
Set Display Format to Colorbox
Navigate to:
/admin/structure/types
Choose "Manage display" for your album content type.

Set the photo field to display as Colorbox:
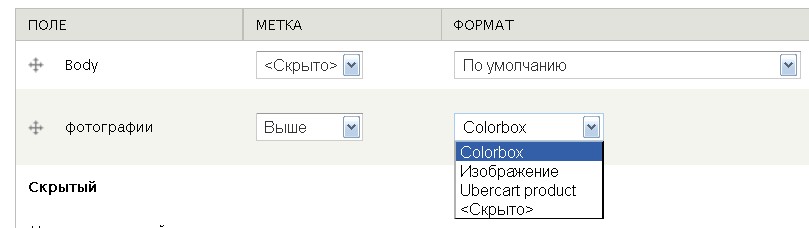
Continue configuring Colorbox display settings:

Select "Node image style": crop150x150, our custom preset.
Save your settings.
Final Touch – CSS Styling
Now photos appear in a 150×150 gallery with Colorbox effect. To style the layout, add the following CSS:
.field-name-field-photos .field-item {
  float: left;
  margin-bottom: 15px;
  margin-right: 15px;
}
You may need to adjust the CSS class or margins depending on your theme. And here is the final result: a photo album as a node-based gallery.