Product Catalog on Drupal via Taxonomy
A product catalog is implemented in many CMSs, and Drupal is no exception. You can use ready-made solutions such as Ubercart, e-Commerce, or another module that implements a catalog in Drupal. However, these modules may have more functionality than you need. A catalog can also be created using CCK (to create the product content type), Taxonomy (to categorize products), and Views (to display the products). Additionally, we’ll need an extra module to render a menu from taxonomy terms — Taxonomy Menu.
Let’s first understand what Taxonomy in Drupal is. Let’s start with a definition of Taxonomy:
TAXONOMY (from Greek "taxis" — arrangement, order, and "nomos" — law) is the theory of classification and systematization of complex domains of reality that usually have a hierarchical structure (e.g., biology, geography, linguistics, ethnography, etc.). The term (introduced in 1813 by Swiss botanist A. de Candolle) was long used as a synonym for systematics. In the 1960s–70s, taxonomy started to be defined as a part of systematics — a study of taxonomic categories denoting subordinate groups of objects (taxa).
Now enable the Taxonomy module in Drupal:

The taxonomy hierarchy in Drupal is as follows: all terms are grouped into vocabularies, and each term can be a parent to one or more child terms. This results in a tree-like structure with the vocabulary at its root.
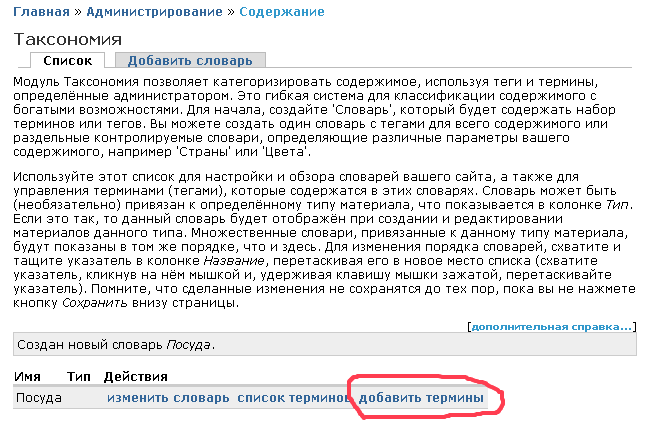
Let’s add a vocabulary (admin menu: Content - Taxonomy - Add vocabulary) and call it “Dishes”.
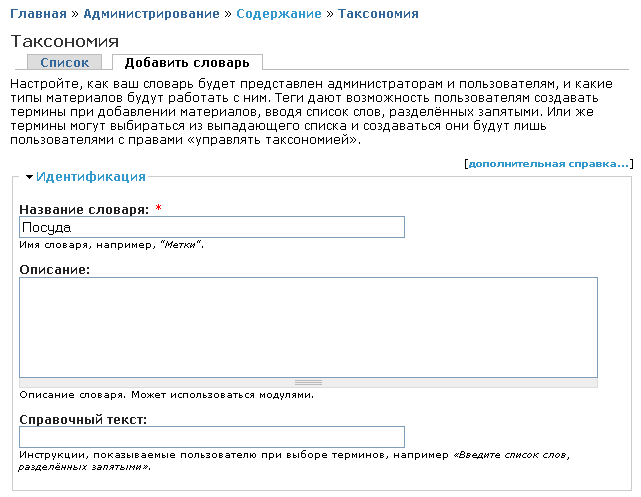
We’ll configure the other vocabulary settings later, for now let’s add some terms to the vocabulary.
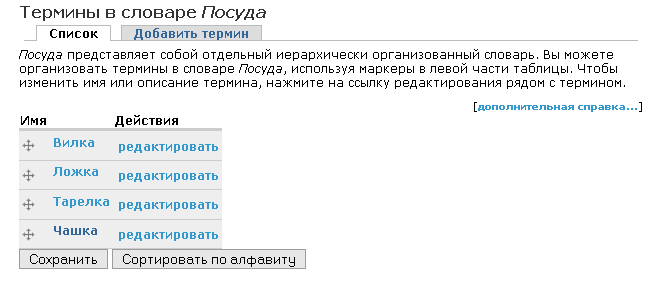
Add terms such as Cup, Plate, Fork, Spoon — or anything else you prefer. You’ll get a list of terms like this:
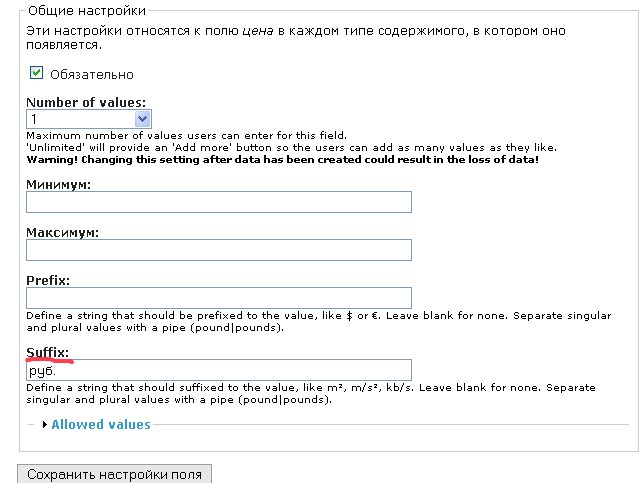
Now let’s create a content type for catalog products using the CCK module. We need to add an image field and a price field (with data type: integer and input field: text field). You can also add more fields to describe product attributes. (You can read more about creating content types in the previous lesson.) I’ve also set a suffix in the price field settings — this is what will be displayed after the price value.
Now go into the settings of the “Dishes” vocabulary and enable the ability to select a term when creating a “Product” node:
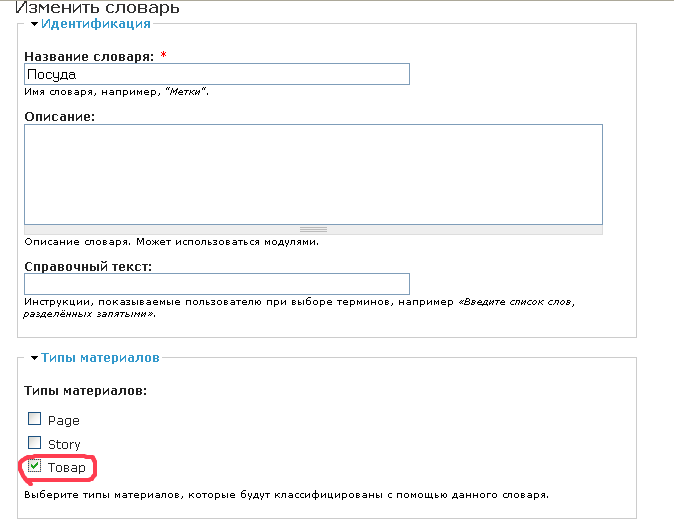
Also set the taxonomy term to be required in the vocabulary settings.
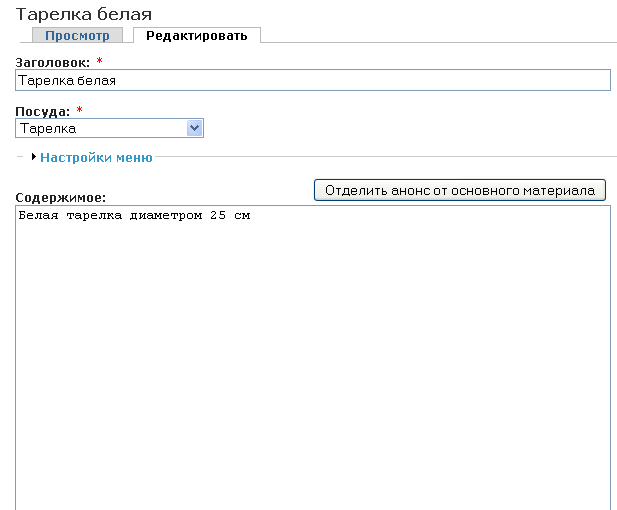
Now you can start adding products to your catalog by going to the admin menu: Content - Add content - Product:
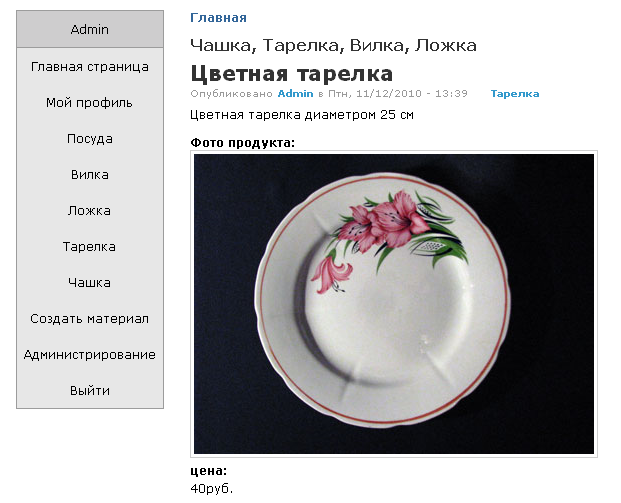
The product page currently looks like this:
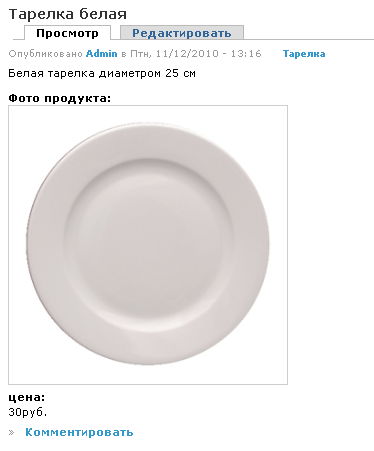
You’ll be able to customize the appearance of product pages later using templates and CSS — more on that in future lessons. For now, let’s add another product (a plate) and use the taxonomy menu module to build a navigation menu. Install the module. After that, vocabulary settings will include options from the Taxonomy Menu module:
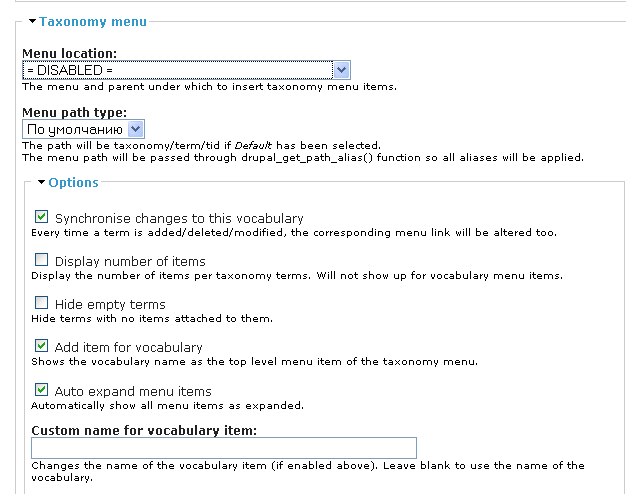
Let’s choose menu location: <Navigation> — this way, all terms in the vocabulary will become menu links, and clicking them will show the corresponding products.
As you can see, populating such a catalog is quite easy. A bigger task will be configuring the display of the catalog — but that’s for future theming lessons.