Creating a blog on Drupal. We use modules FCKeditor, pathauto.
Today there are many solutions for creating a blog, probably the most popular is Wordpress. Wordpress is positioned as a CMS for blogs, and you can find a lot of information about such blogs via search engines. However, I believe that a similar blog will work faster on Drupal.
If you chose Drupal for your new blog, then let’s build it together. It shouldn't take us more than half an hour. We already have Drupal installed, the Admin Menu module enabled, and maybe you've already done something with your site’s theme.
Let’s start building our fresh blog. What do we need for that:
1. Enable the Blog module, which is part of the standard set of Drupal modules.

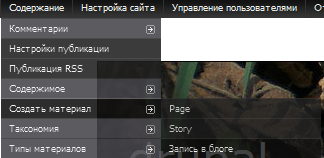
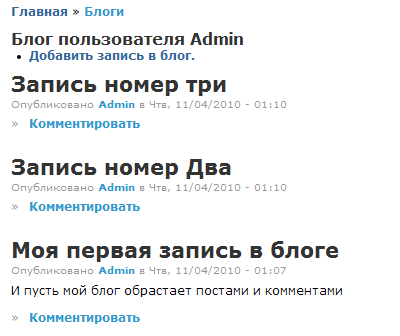
Now we can create "blog posts":
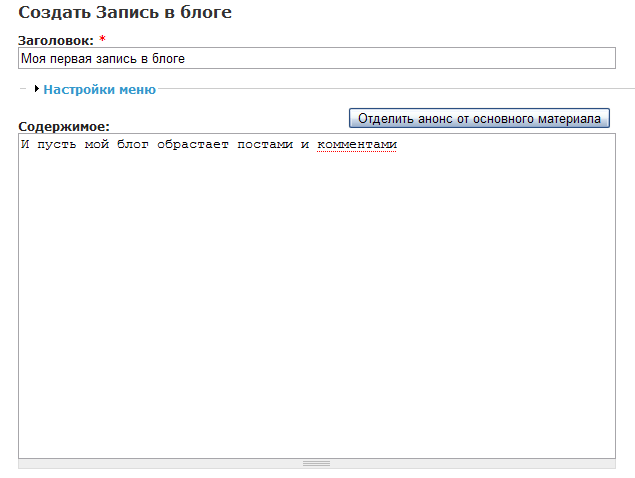
Fill in the Title and Body fields and click "Save":
Our post has been created, and like all other posts, it will be available at site_name/blog/1. Add a few more posts to see how new posts rise to the top of the blog.
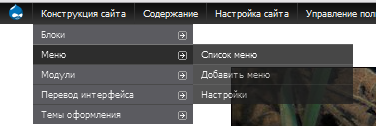
Let’s add a link to blog/1 in a separate Navigation menu item. In the admin menu, go to Site Structure - Menus - Menu List, then choose Navigation and Add link. You can reorder menu items by dragging them with the cross icon in front of each title.
Let’s also make the blog page the homepage of the site. Go to Site Settings - Site Information in the admin menu
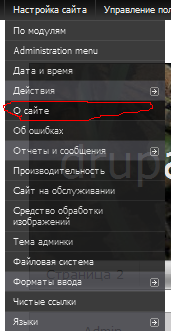
And in the "Default front page" field, enter blog/1:

The second thing we’ll need is a convenient visual editor for writing new posts and editing existing ones.
2. Installing CKEditor on Drupal.
To install the visual editor, we will need the following modules:
- WYSIWYG – allows installing various visual editors (CKEditor, FCKeditor, jWysiwyg, markItUp, NicEdit, openWYSIWYG, TinyMCE, Whizzywig, WYMeditor, YUI editor). I usually use CKEditor.
- Download the visual editor itself from CKEditor.
We’ll likely also need an image upload feature. CKEditor doesn’t support this by default and assumes using the CKFinder add-on, which is paid. For image uploads, we’ll use IMCE instead. IMCE is a file uploader for the server. To install IMCE, we’ll need the following modules:
- IMCE – the uploader module itself.
- IMCE Wysiwyg bridge – a module to integrate CKEditor with IMCE.
Since you’ve downloaded and installed Drupal, installing these modules should not be a problem. So let’s get started.
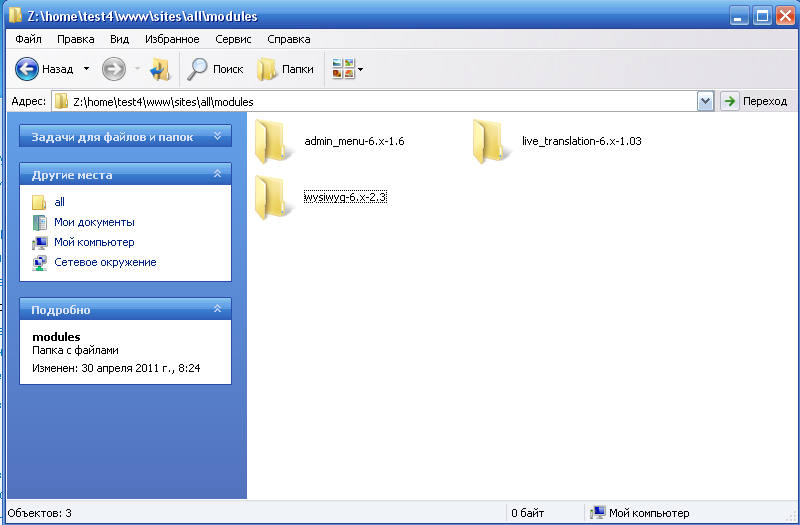
Unzip the WYSIWYG module into the sites/all/modules folder (create the modules folder inside all if it doesn’t exist).
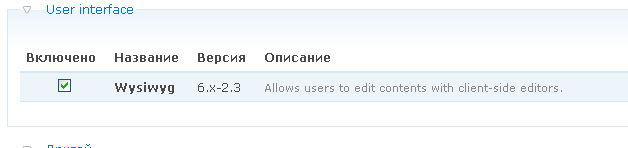
Enable the WYSIWYG module:
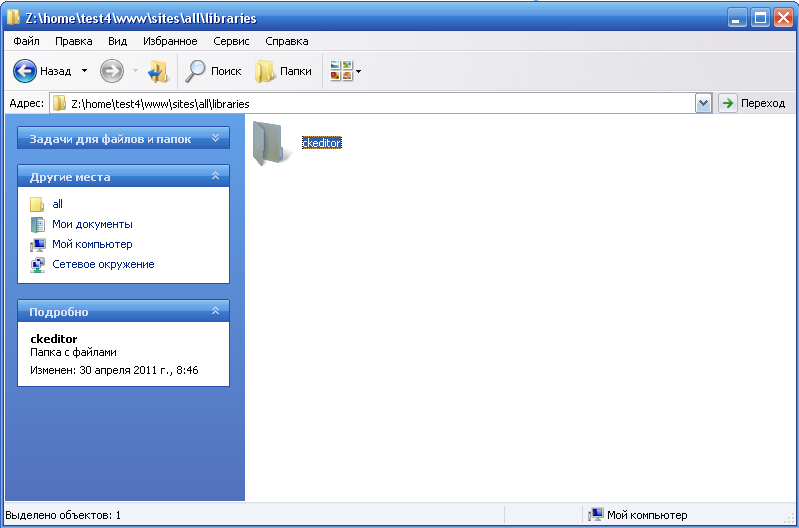
To make the editor work, you also need to copy it into the sites/all/libraries folder (note that CKEditor is not a module but a visual editor, so it should be placed in the libraries folder, not modules).

Copy CKEditor to the libraries folder:
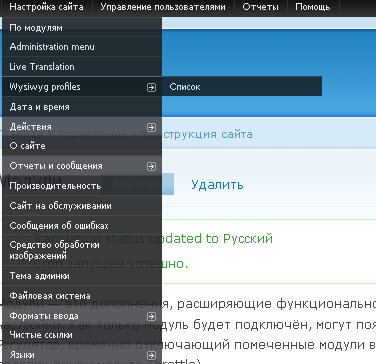
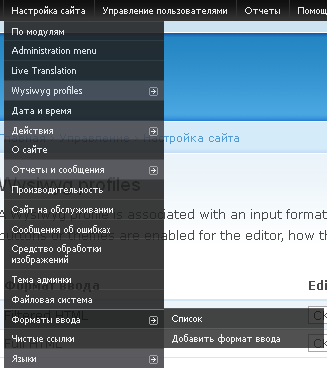
Now go to WYSIWYG module settings (if you don’t have the black admin menu, you should install the admin menu module):
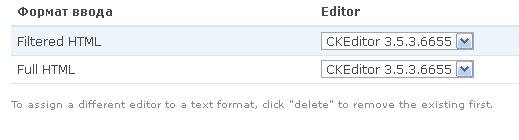
If you're using default input formats, then for Filtered HTML it makes little sense to use CKEditor, because most HTML tags will be filtered out. But you can configure CKEditor for all input formats.
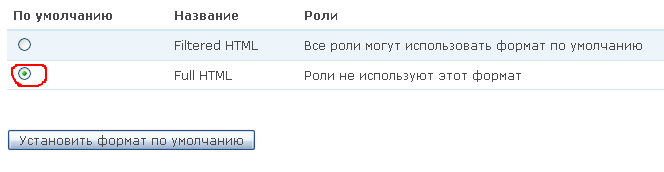
Now if we create a new page or story, we can use CKEditor to edit it. To preserve all tags and images, select the Full HTML input format.
Set Full HTML as the default input format:
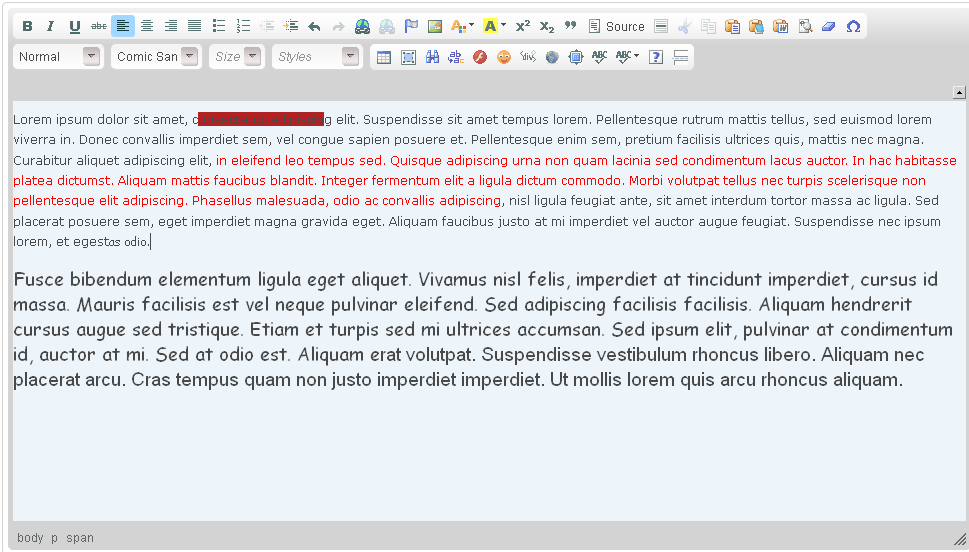
Enough talking – let’s create a new page and see how CKEditor looks:
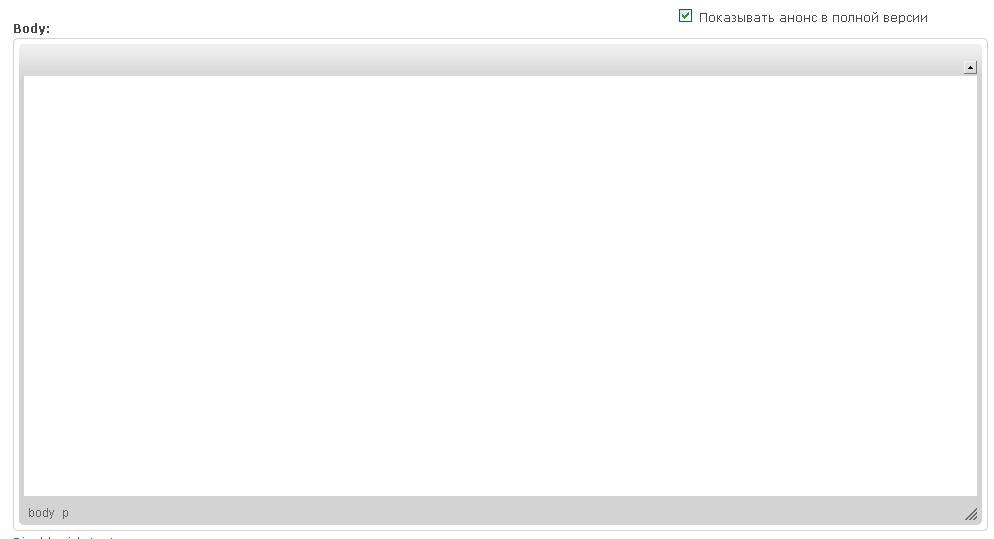
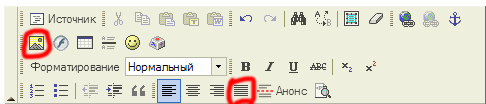
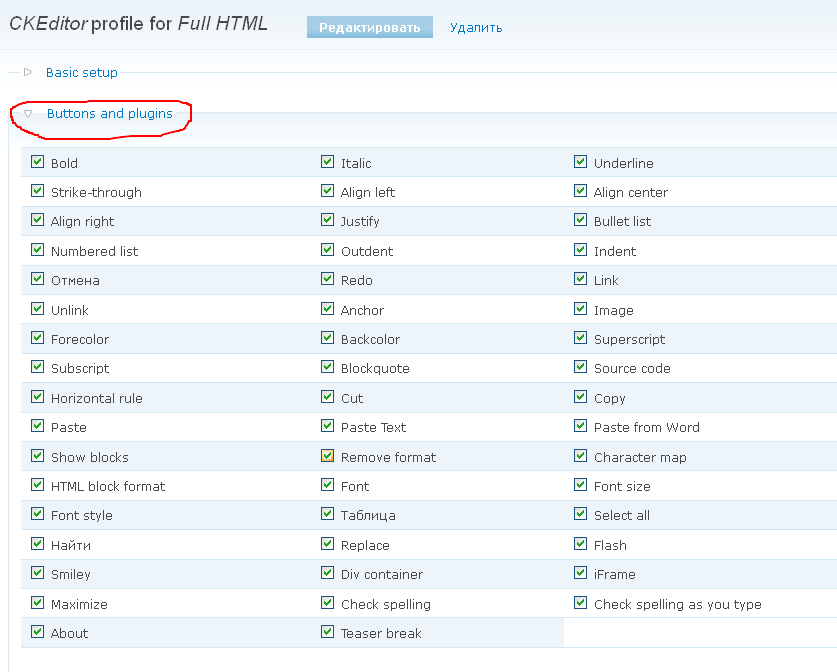
CKEditor works! Now let’s add more buttons. Go to CKEditor settings and add buttons

Note that each input format has its own FCKeditor settings. If the buttons don't show up, you probably added them for a different format.
We added buttons, now let’s test CKEditor in action by creating another Page:
Now we can style the text however we like. But we also want to add images to articles. For that, copy the IMCE and IMCE Wysiwyg bridge modules to sites/all/modules and enable them.
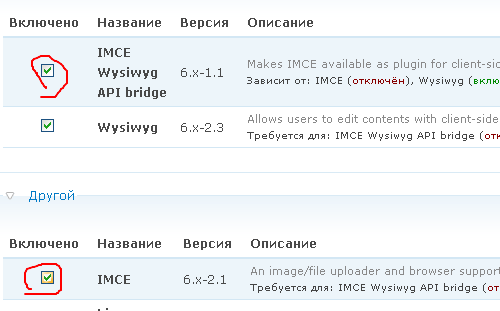
Now a new IMCE button appears in WYSIWYG settings – enable it:
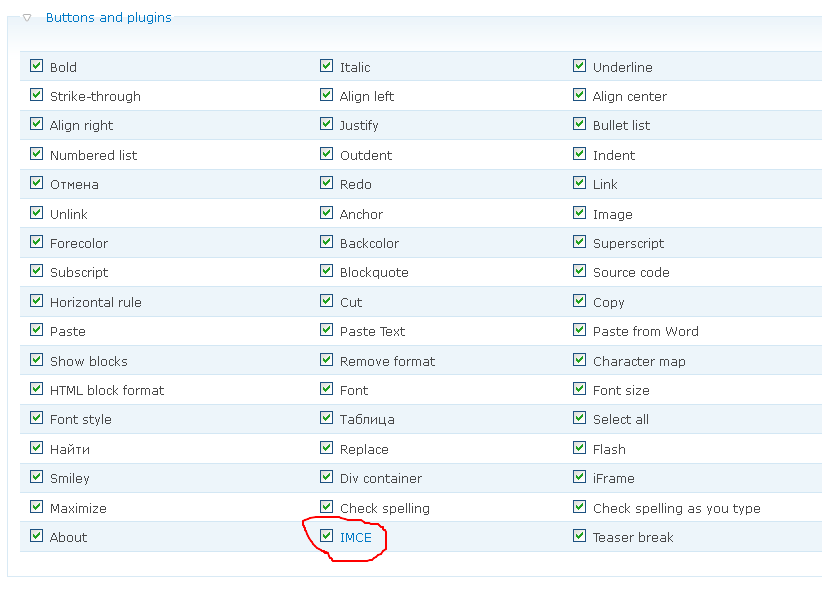
Now there’s an image upload button on the CKEditor toolbar:

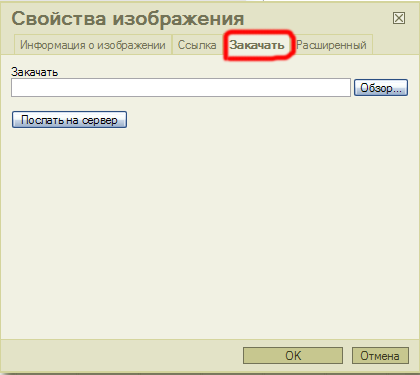
Let’s upload an image:
Browse Server -> Upload -> Insert file
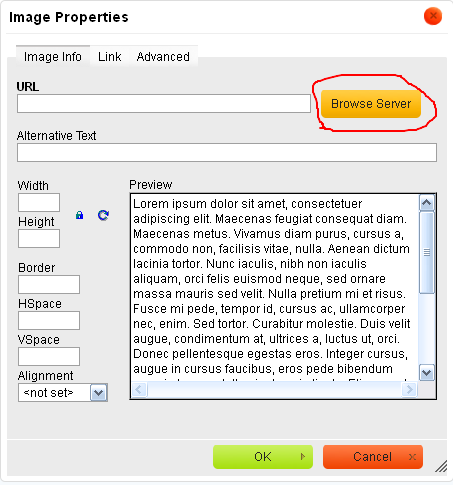
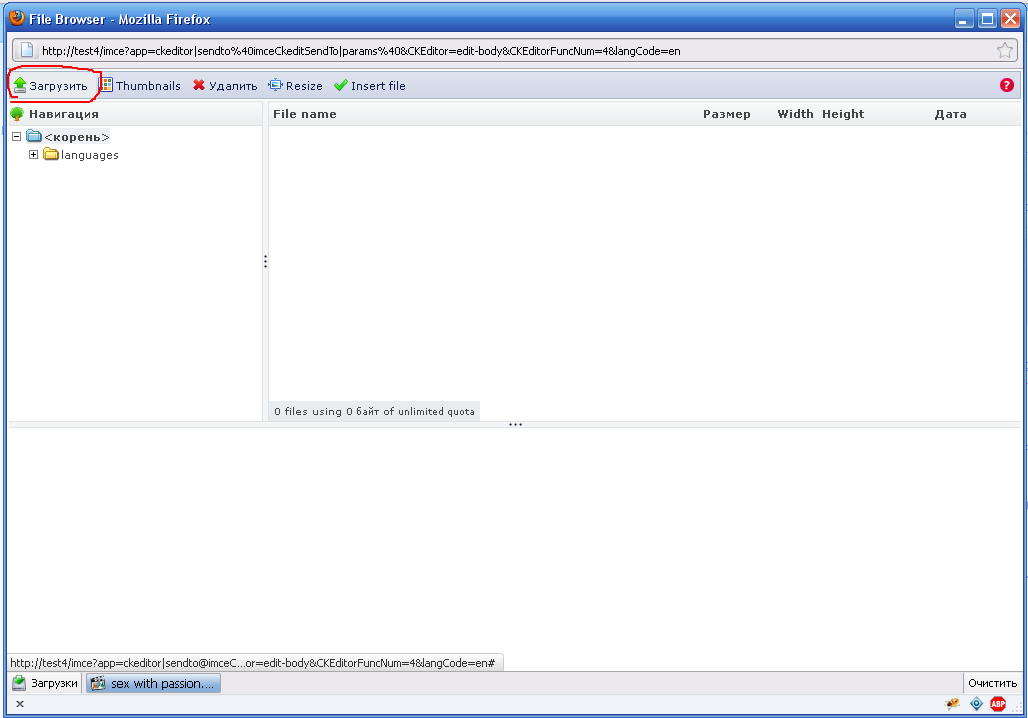
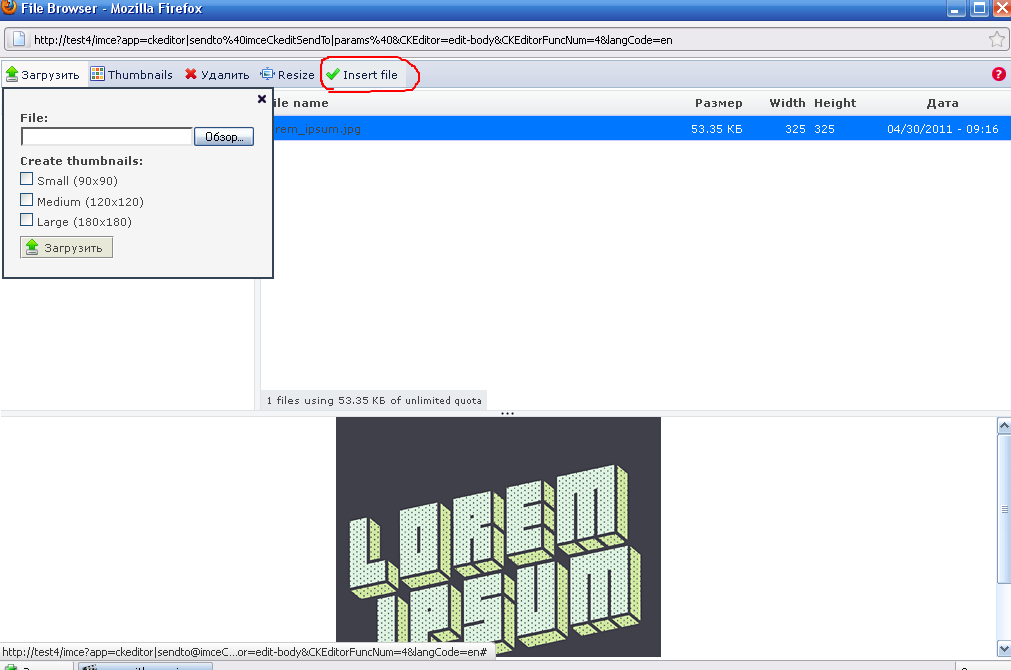
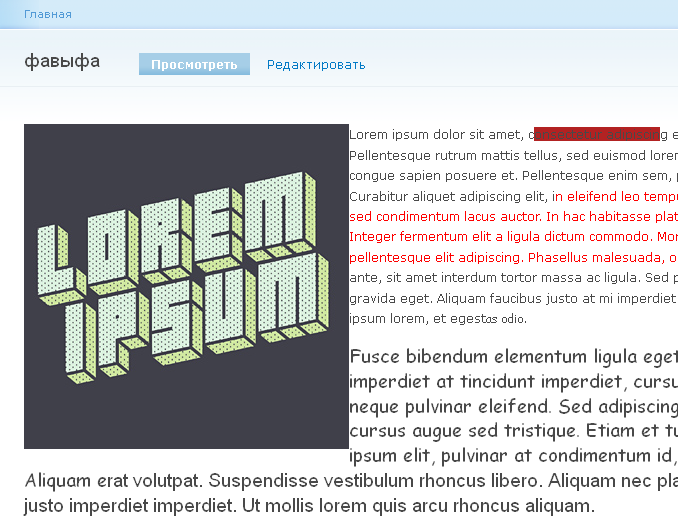
Click OK and the image should appear – now we have a full-featured visual editor:
3. Use the Pathauto module to generate unique URLs for your posts.
The Drupal distribution includes the Path module, which allows you to create URL aliases. For example, if your page address is your_site/node/13/, you can use this module to also access the page at your_site/content/your-page. But writing aliases manually for each page is tedious, so the Pathauto module automates this. First, download Pathauto.
Pathauto requires the Token module. Copy it to sites/all/modules as well. Some modules depend on others.
Go to Site Structure - Modules in the Admin menu and enable the Pathauto module. Drupal will prompt you to enable the required Path and Token modules as well.
I didn’t add more screenshots about installing modules, because I already covered module installation in a previous article.
Now all new Blog posts, Pages, and Stories will automatically have readable URLs.
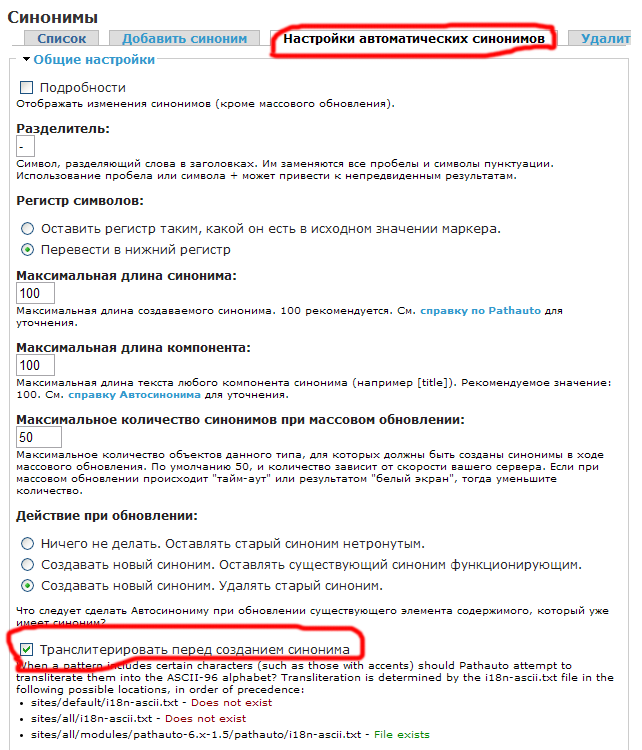
However, they may be in Russian by default, which isn't always desirable. To transliterate Russian characters in URLs, rename the file in the Pathauto module folder from “i18n-ascii.example.txt” to “i18n-ascii.txt”.
Then go to the Path module settings. As with other modules, you can access Path settings through Admin menu - Site configuration - by modules. Go to the "Aliases" tab.
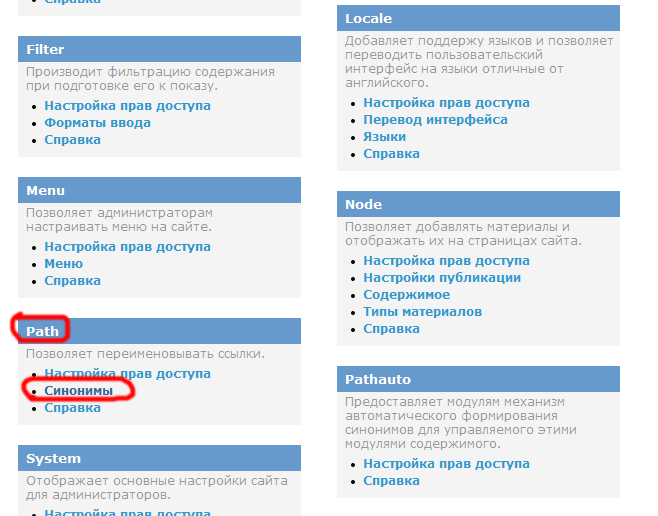
In the "Aliases - Automatic alias settings" section, check the box "Transliterate prior to creating alias". After saving, all URLs will be in Latin characters.
(Old version of the article) Installing FCKEditor in Drupal (FCKEditor is outdated, so I recommend using CKEditor or another visual editor)
FCKeditor is a free WYSIWYG editor that can be used to create HTML markup without writing code. You can perform the same text operations as in office software directly on your site without external programs.
So, we need to download the Drupal module FCKeditor from drupal.org and the FCKeditor itself from ckeditor.com. Due to branding changes, FCKeditor evolved into the new WYSIWYG editor CKEditor. I will cover installing and configuring CKEditor later, but for now, let’s download FCKeditor.
Unpack the archives. Inside the Drupal module folder named fckeditor, there’s another fckeditor folder. You need to copy the downloaded FCKeditor files into that inner folder.
Copy the module along with the embedded editor into your modules folder and enable it in Site Structure – Modules. You may notice missing features like full justification and image uploads via the browser. If those aren’t important to you, you can skip the following settings. I personally can’t imagine a blog without these features, so let’s configure FCKeditor a bit.
- Change line 30 in
/modules/fckeditor/fckeditor/editor/filemanager/connectors/php/config.phpfrom false to true:$Config['Enabled'] = true;
- In line 34, shorten 'userfiles' to 'files'
- In line 40, specify the root folder for uploaded files:
$Config['UserFilesAbsolutePath'] = '/your_site/public_html/files/';
- Add a new line (41) with the following:
require_once "../../../../../filemanager.config.php"
- Find the file
fckeditor.config.jsinside the module folder. On line 23, locate:['JustifyLeft','JustifyCenter','JustifyRight'],
And add 'JustifyFull' to make it:
['JustifyLeft','JustifyCenter','JustifyRight','JustifyFull'],
Additionally, you may need to edit Drupal’s settings.php file. If you're working on a local site using Denwer or another local server and your OS is Windows, there should be no issues. If you're on Linux or a remote server, you may face file permission issues. By default, after installing Drupal, settings.php is set to permission 444, which makes it read-only. You can change this using Total Commander, for example:

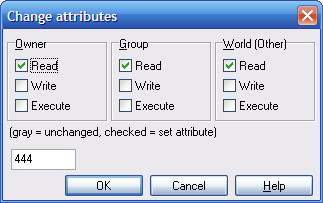
Select all checkboxes to set the permission to 777, allowing editing of settings.php. If you need to delete this file, also set the folder’s permissions to 777.
Don’t forget to change the permissions back to 444 after editing settings.php!
In line 169 of settings.php, remove the # symbol to uncomment the line and specify your site’s domain name, like this:
$cookie_domain = 'site-name.com';
If you haven’t enabled the FCKeditor module yet, do it now. A new item called FCKeditor should appear in the Site Settings menu – click it.
If registered users will also use FCKeditor, you need to grant them permission via Admin Menu → User Management → Permissions.

- Access fckeditor – allows users to use the editor.
- Administer fckeditor – manage the editor settings (should be enabled for admins only).
- Allow fckeditor file uploads – permission to upload files via the editor.
Now configure the access settings for FCKeditor (Admin Menu → Site Settings → FCKeditor).
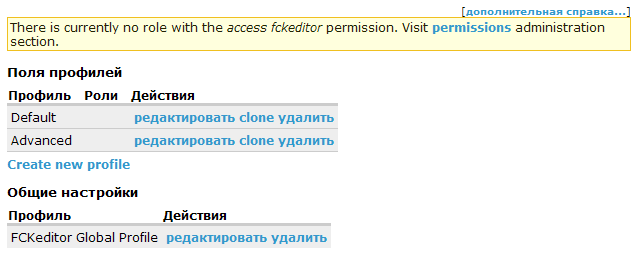
Edit the Default and Advanced profiles to enable fast browser-based file uploads.
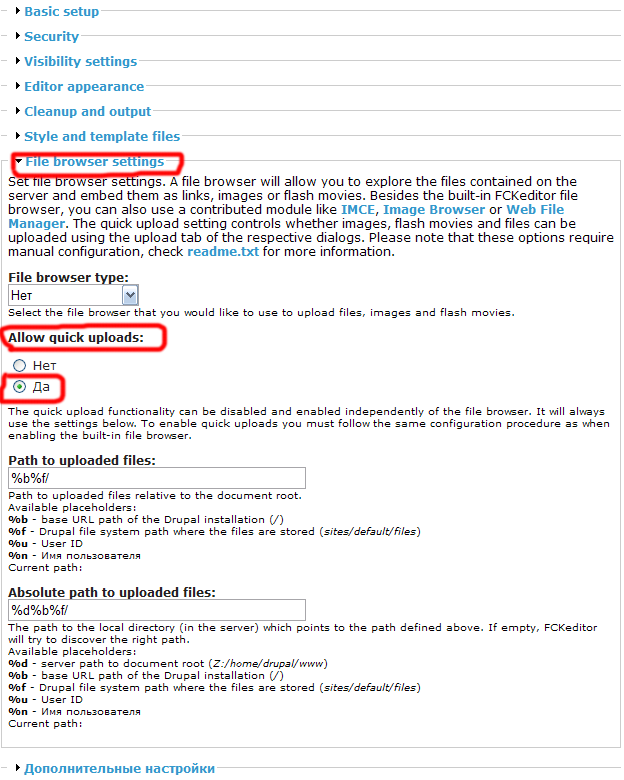
Save your settings. After that, new features should appear: