Backup of the site (backup of the site). Transferring the site on Drupal to another domain name
Creating a Backup with Backup and Migrate
Use the Backup and Migrate module to create a copy of your Drupal site.
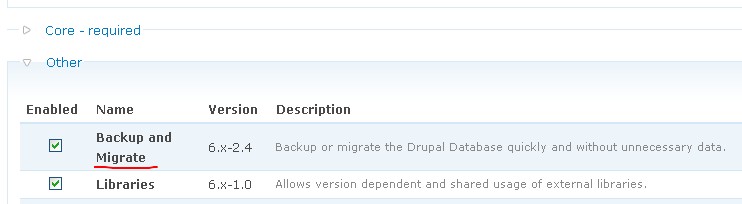
Download the module backup and migrate. Install and enable it.
Now go to the admin section Administration > Content Management > Backup and Migrate. This will take you to the Backup and Migrate module page. If you immediately click "Backup now", Drupal will create a database backup that you can save on your computer. If you choose Manual Backups Directory, the backup will be saved to the folder sites/default/files/backup_migrate/manual (this is the default path, and it may vary depending on your Drupal configuration).

So, we saved or downloaded a database dump. Now transfer ALL Drupal files to a new hosting or server. I use Filezilla with a 10-thread transfer setting, which significantly increases the speed of uploading Drupal to hosting. To learn more about FTP, FTP clients, and how to use them, read one of the previous articles on drupalbook.org.
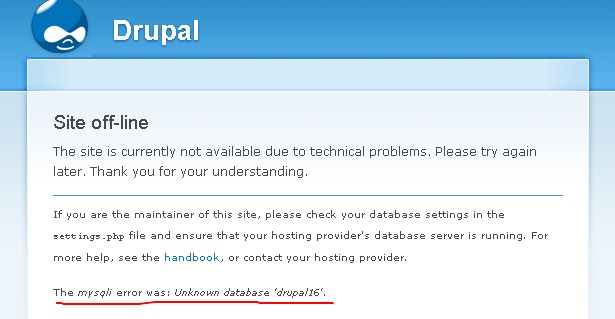
If everything is done correctly, you should see the following window:
The files are now on the hosting. Create a MySQL database for your new Drupal site. If you are using hosting, you probably have access to a control panel (cPanel, DirectAdmin, ISPmanager). To learn how to create a database using one of these panels, see an article on drupalbook.org.
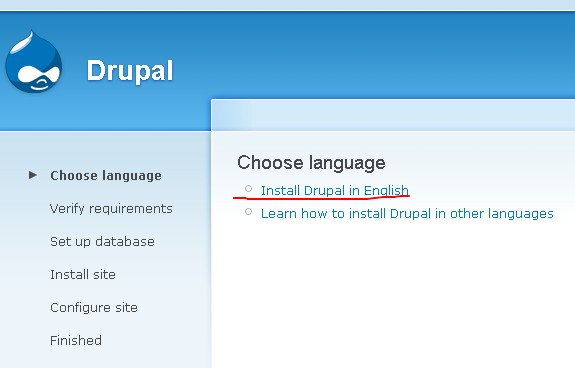
Once the database is created and files are transferred, delete the Drupal settings file settings.php. It is located in the folder sites/default/settings.php. After deleting this file, Drupal will launch the installer. Install Drupal as usual:
Drupal is installed. All modules currently in the folder sites/all/modules are still there, just not enabled. Let's enable the Backup and Migrate module. After enabling it, go back to its settings page, and this time go to the Restore section.
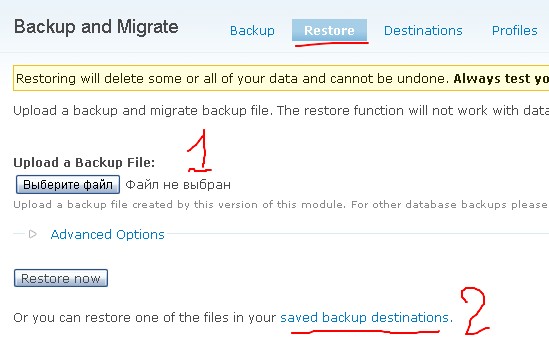
If you saved the database dump to your computer, use the first option: upload the dump file and click "Restore now". If you saved the dump directly on the site, click "saved backup destinations". Then click "list files" for Manual Backups Directory and select "restore" for the desired dump. Confirm the database restoration, and your site will be fully migrated.
Creating a Backup with Sypex Dumper
Using Sypex Dumper makes migrating a Drupal site more complicated, because the ready-made module Backup and Migrate makes transferring a site from Denwer to hosting (or from hosting to Denwer) very simple.
Sometimes you need to transfer a site from one host to another, or you created a site on Denwer and now need to move it to live hosting. In one of the next articles, we will go over how to publish a site from your local machine to the internet. But for now, let's go through the steps.
Backing up a Drupal Site
First, download the application that lets you copy your database. I usually use Sypex Dumper. You can download it here. The lite version is enough.
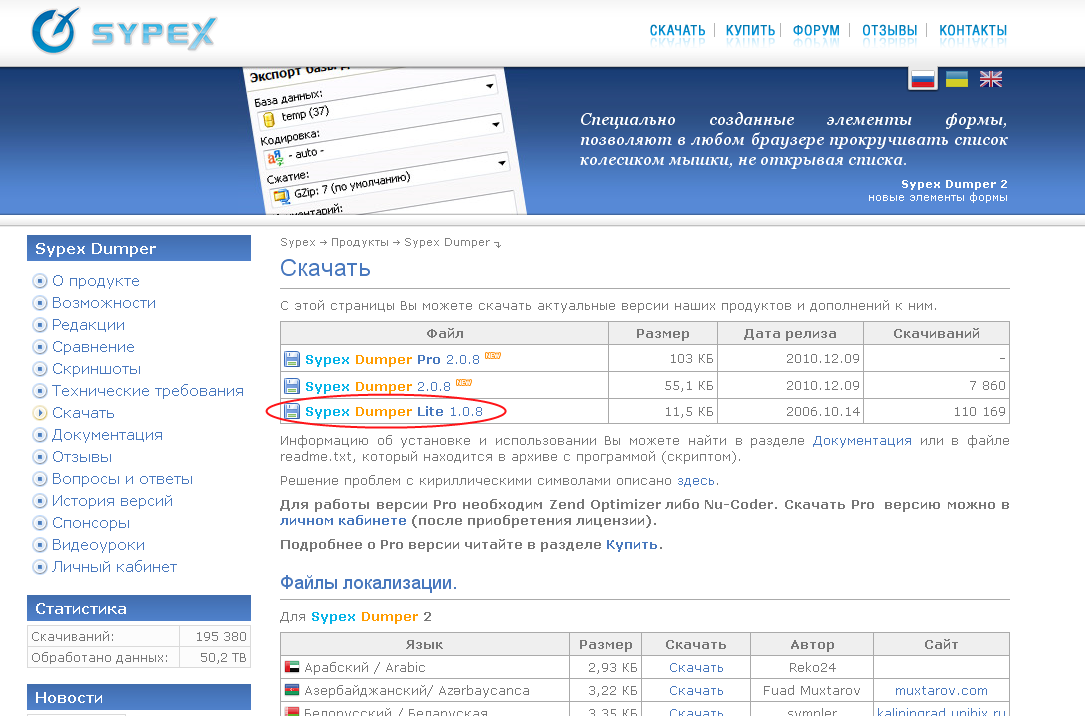
The archive contains 2 files: dumper.php and readme.txt. The readme.txt file already explains what to do, but below I’ll describe in more detail how to create a full site archive:
Installation
1. Extract the downloaded zip file.
2. Upload dumper.php to a directory on your server (web accessible).
3. Set CHMOD 777 for this directory.
Usage
1. Open in your browser: http://domain.com/dumper.php.
2. Enter your DB login and password.
3. To create a database backup:
a. Select the database from the top section of the main page.
b. Leave the filter blank (all tables of the selected DB will be dumped).
c. Select compression method (bzip2 is most efficient, but slowest).
d. Choose compression level (7 is optimal).
e. Click "Apply".
f. When finished, click "Download file" or retrieve via FTP. File name includes DB name and timestamp.
4. To restore a DB from a backup:
a. Select the database in the bottom section.
b. Choose the file from the dropdown (upload to the backup folder if needed).
c. Click "Apply".
d. Watch the restore process.
Filters
Table filters can use the following wildcards:
* — any number of characters
? — any single character
^ — exclude tables
Examples:
ib_* — all tables starting with "ib_" (e.g., Invision Board)
ib_*, ^ib_sessions — all ib_ tables except ib_sessions
ib_s*s, ^ib_sessions — all ib_s*s tables except ib_sessions
^*s — all tables except those ending in "s"
^ib_???? — all tables except those starting with "ib_" and four letters after the underscore
Let’s now follow the steps provided by Sypex developers.
1. Copy dumper.php to your site root folder.

2. Open dumper.php in a text editor and change:
define('URL', 'http://'); to
define('URL', 'http://example.ru');
where example.ru is your domain.
define('DBNAMES', ''); to
define('DBNAMES', 'your_database_name');
3. If the site is live, switch it to offline mode (Maintenance Mode). Also clear the cache to reduce backup size.
Then open dumper.php in the browser by entering example.ru/dumper.php
You should see this window:
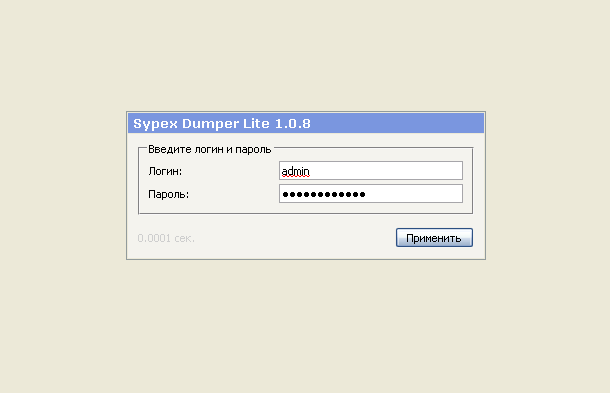
Enter your DB username and password. If using Denwer, it’s usually root with no password.
4. After logging in, create a database dump (a text file of SQL queries):
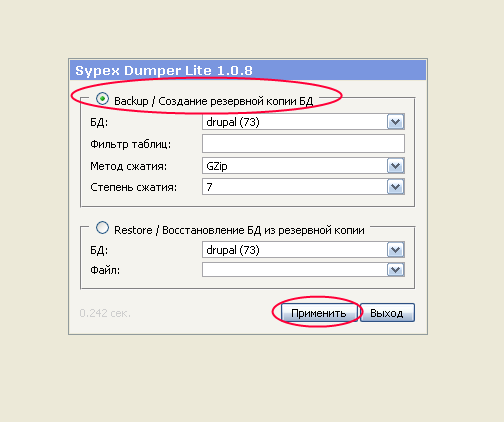
Click "Apply" and the dump will be created.
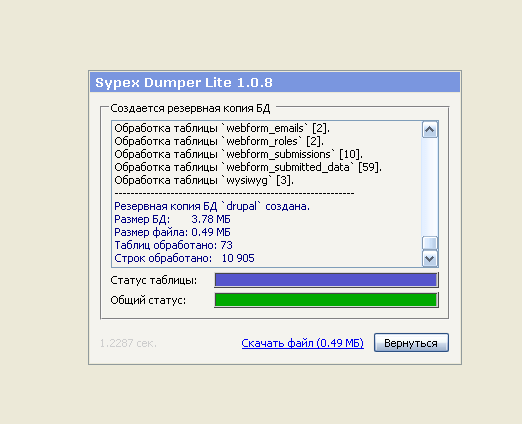
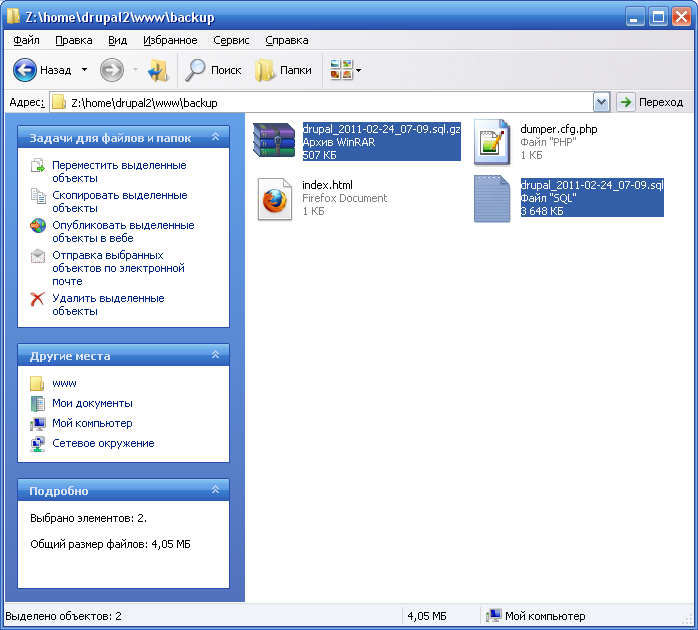
5. Now there is a backup folder on your site containing the DB copy.
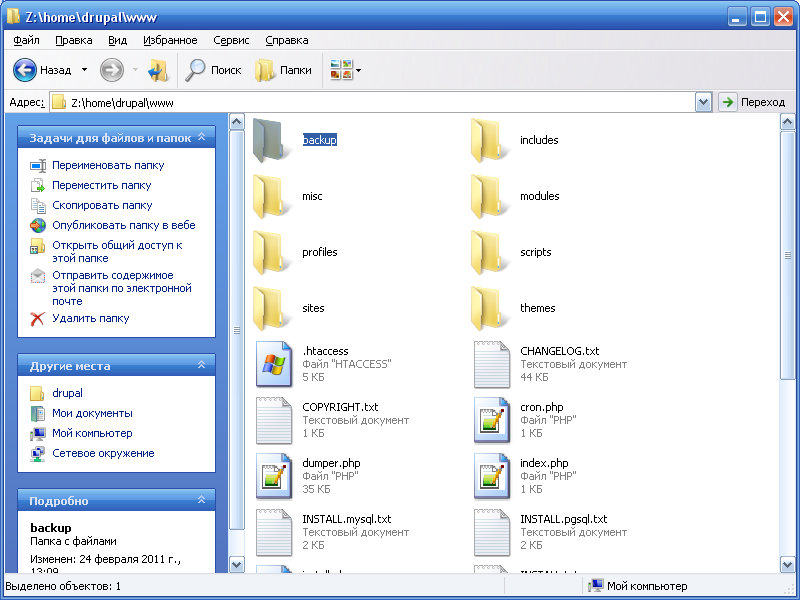
6. Copy all site files including the backup folder. These files are your site’s archive.
Transferring a Site to Another Hosting (from Denwer to Hosting)
1. Create a site backup as described above.
2. Copy all files to the new hosting.
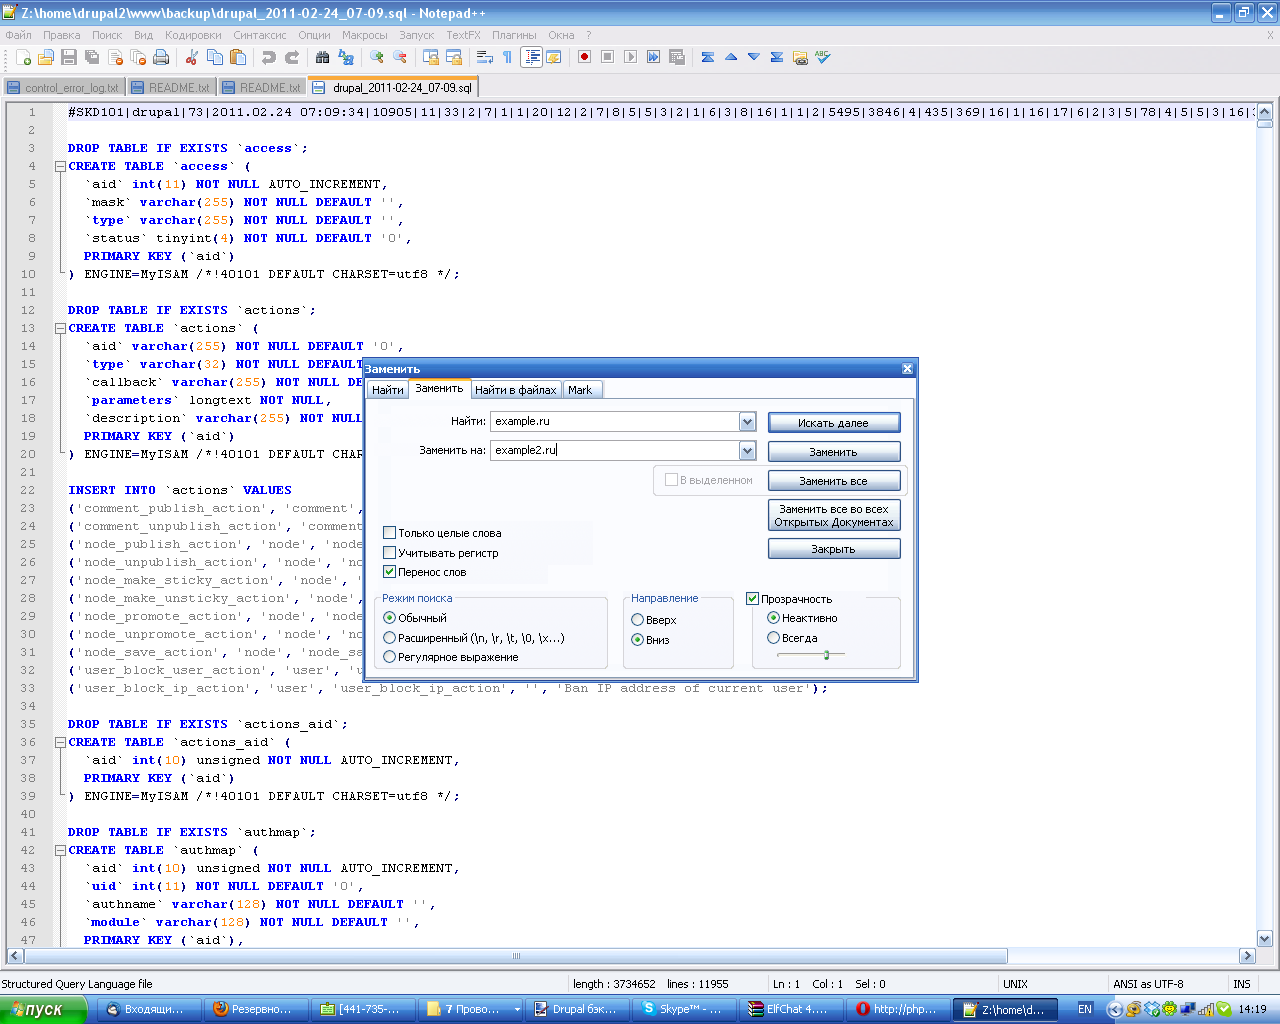
3. If the domain changes, open the DB dump in a text editor (I use Notepad++) and replace the old domain with the new one. If the dump is compressed, extract it first.
4. Create a new database for the site.
5. Open dumper.php and enter the new site domain and DB name.
6. Edit the Drupal settings file sites/default/settings.php and update the $db_url variable with the new DB login credentials.
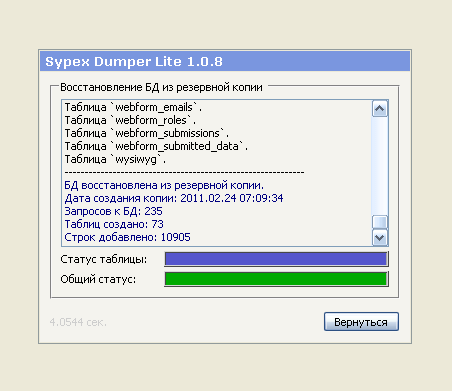
7. Launch dumper.php on the new site. Choose "Restore", select your modified dump, and restore the DB.
If you did everything correctly, the site should be live at the new address. For DNS changes, DB creation, and hosting, refer to previous articles.