Templates, Drupal themes. Customize themes, regions and blocks.
In the previous lesson, we installed the Drupal theme Forest Floor, after which the appearance of the site changed, but all the content and menu links remained. This is because the theme controls only the site's appearance. Now let's take a look at what each Drupal theme consists of.
File: theme_name.info
name = theme_namename – the name of the theme
description = A 3 column fixed width theme that also works very well with one or even no columns.description – description of the theme. Displayed with the name in the themes list.
screenshot = screenshot.pngscreenshot – screenshot of the theme
core = 6.xcore – the Drupal version the theme is compatible with.
engine = phptemplatePHPTemplate – the template engine developed specifically for Drupal.
Information added by drupal.org packaging script on 2009-01-31Information about when it was added to drupal.org’s theme list.
version = "6.x-1.7"Specifies the Drupal version (6.x here) and the theme version (1.7).
project = "forest_floor"project – project name on drupal.org
stylesheets[all][] = theStyle.cssUsed to attach CSS stylesheets to the theme.
scripts[] = myscript.jsUsed to attach JavaScript files to the theme. Note that jQuery is loaded by default.
regions[left] = Left sidebar
regions[right] = Right sidebar
regions[content] = Content
regions[header] = Header
regions[footer] = Footer
In the regions array, we define the theme's regions where blocks will be placed. We will cover creating regions in detail in an upcoming lesson.
Regions and Blocks
Blocks are placed into the theme’s regions defined in the .info file. You can configure block placement via Admin menu: Site Building - Blocks.
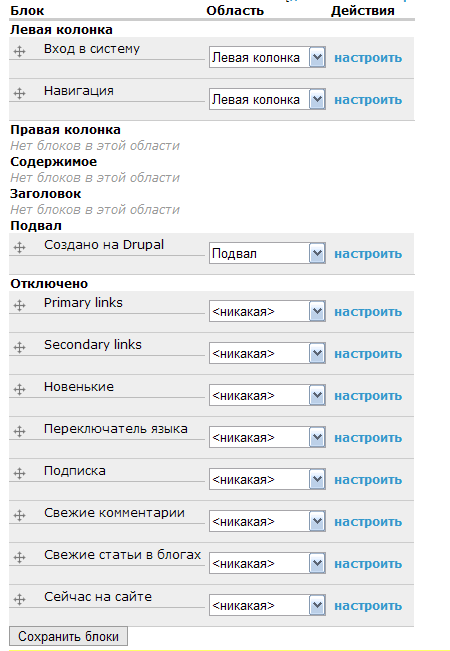
By default, several blocks are available for use. Simply drag a block to the desired region (area).
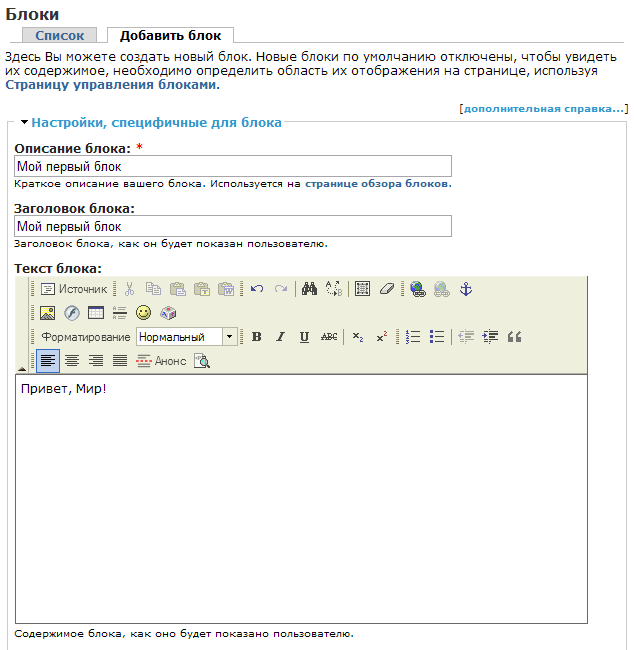
Let’s click “Add block” and insert some text content.
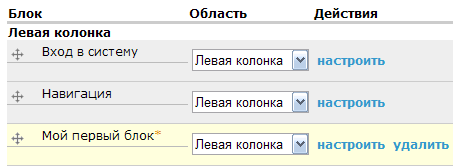
We will display the block in the left column and save the configuration.
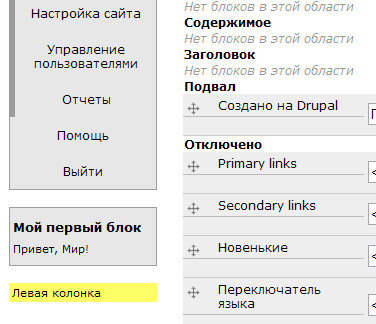
Now your block appears in the left column (left sidebar).